The eyeball version of quick and simple

I’ve had an unexpected health change. I’m well enough to sew a bit but not at home. My elves brought me the project and a portable machine and all the notions I need. This was actually to be part of a toddler’s Christmas which has been delayed, so it’s right on time.
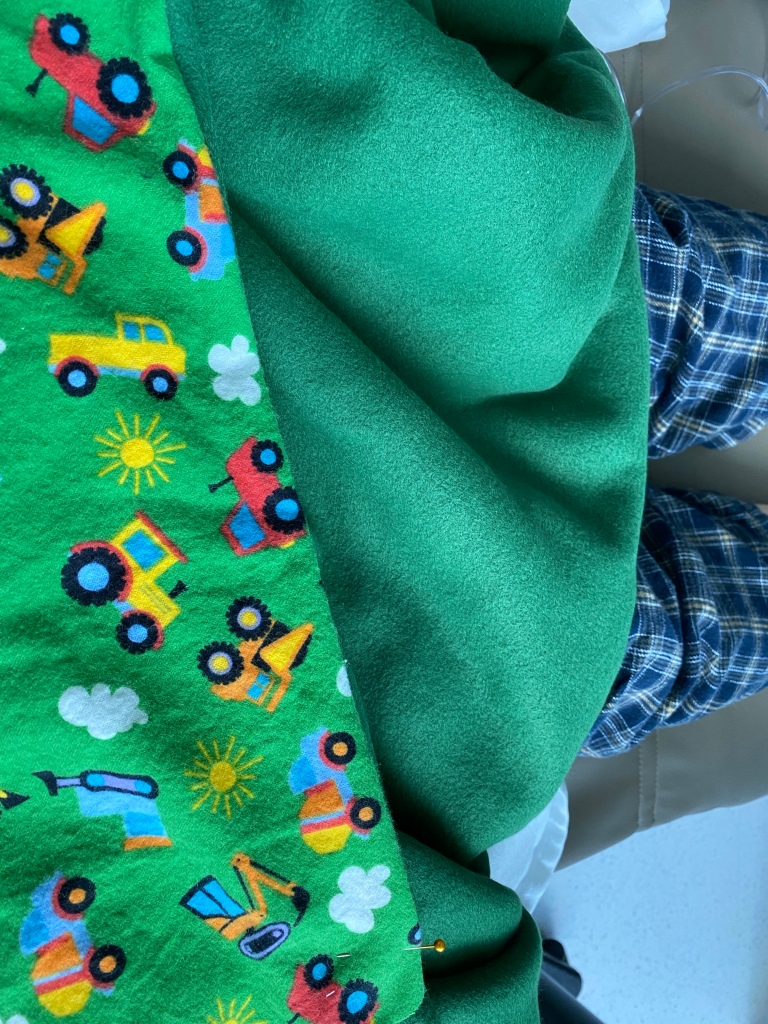
I squared up the flannel first. I did a combination of smoothing it out, folding this way and that, and I’m satisfied it’s as square as if I used my whole work table. I knew the fleece was cut squarely at the store.
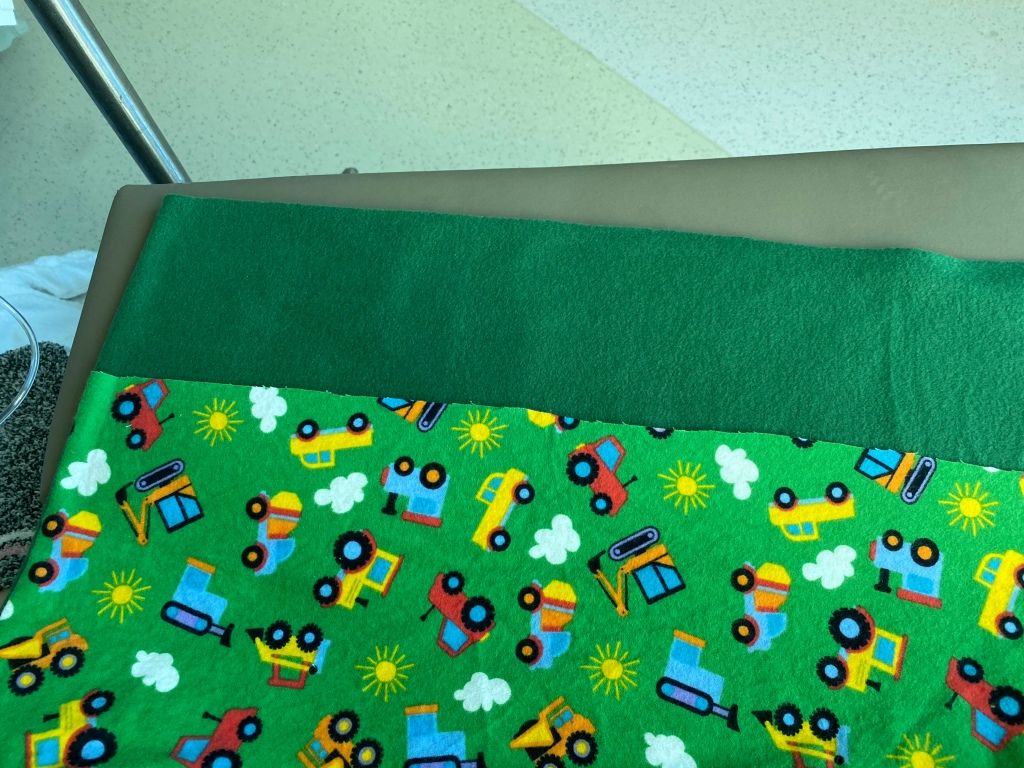
To find the width was no issue with the flannel, that’s obvious. With the fleece I used a corner and brought the two sides together until I could tell which was shorter. I folded the flannel in half-width and the fleece the same, and pinned them together temporarily. I cut the edges of the fleece as straight as I could, actually following the poke holes of the selvage. That will be the edge of the self binding so it won’t need to be folded under again.
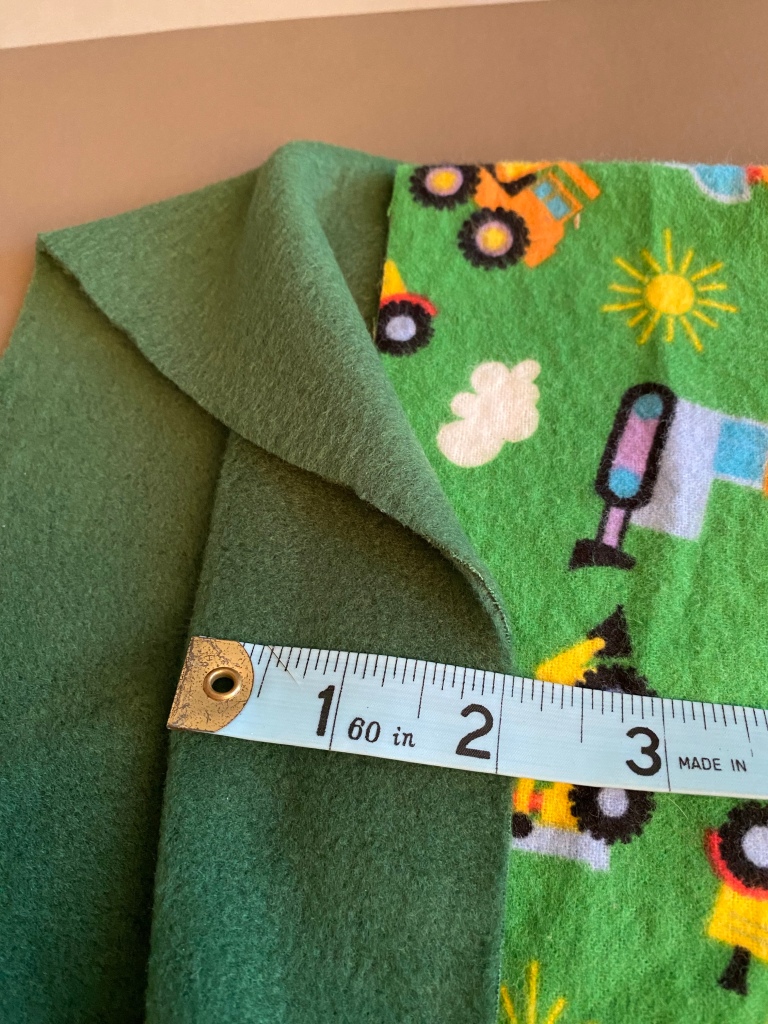
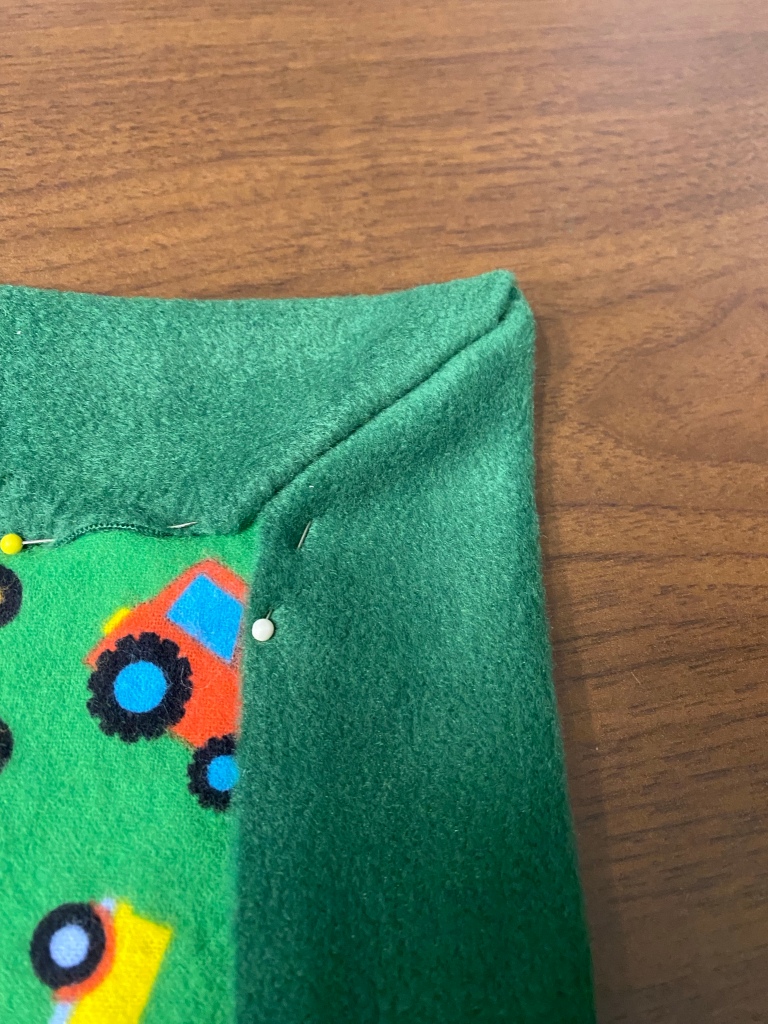
I decided on a 2-inch border. I stitched it down with a wobble stitch all around, mitering the corners. My plan was to stitch the field of the quilt with a right-angle spiral, just to tack the layers together. It should have been an easy finish at that point but I managed to break a needle without having a backup. I sent it along and the boy’s mom will finish for him what I could not.

This quilt, having no piecing and small blocks and seams, worked out very well for eyeballing measurements and getting things close without having to be precise.

Sewing again

I haven’t sewn or quilted for a while, once I got the last baby quilt finished. My husband advanced progression in the Alzheimer’s disease. He was placed in a nursing home where he died peacefully. It has been a rough several months for me, but I’m learning again all that makes me happy.

First, I wanted something to fill my time like a part-time job, but without the exposure to public. I will have to live as if my immunity is very low, just to protect my health. I found a flea market in a place I hadn’t seen one before, with very good traffic. The store is neat, bright, and inviting. After the tour, I paid money down on a booth. I went through all the leftovers of previous flea market booths and priced them. I started attending auctions again (which I love!) to keep a supply coming in. The first two items that sold were homemade hot pads made from leftover quilt squares. I wrote about it seven years ago (!) in this post. I had made more than the two hotpads I first put in the booth, so the next time I brought in inventory I added more. I wonder if they were stocking stuffers, or if they just appealed to the purchaser.
So, I do have plenty to do without the booth, but it gives me a daily purpose. I have a grandson who is 2 years old and doesn’t yet have the quick and simple quilt . I found the perfect fabrics for him, and I’ll whip that up before he comes with his family to visit at Christmas. (I get to meet the baby!)

And lastly, my husband had his preferences for clothing. He had about 4 feet of closet rod with nice dressy shirts, and another section of thermals and flannels. His shelves are loaded with t-shirts, even though I’d already weeded out quite a few to make this lap quilt. I checked with his kids and mine, and I have some projects to do. One more t-shirt quilt and 2 flannel/thermal quilts, all in lap size. That will be a long-term project and I may start designing, then cutting after the new year.

Another quilt ready to ship

I love this one, and I think I say that each time I finish another quilt for another grandchild.

quilt-as-you-go scrap quilt

What a bonus it was, when I used some print fabrics as backing squares! My scrap baskets overflow and being able to use larger squares of some of the prints made me feel as though I was making progress in using up the scraps. Well, as any quilter can tell you, it hardly made a dent. It feels as though some of the fabrics will live forever and probably reproduce. I see fabric from dresses made in the 90s, novelty fabrics from the lap quilts I made for my parents, and many others. Logically, I know I used the equivalent of 2 yards of 45″ width quilting fabric. I just don’t see baskets of scraps having any extra space after all this.

Next quilt will use some fat quarters I bought that coordinate. I haven’t settled on the design yet.

Getting rows together

This is more exciting than just sewing 80 blocks and trimming them to size. I had 3 rows sewn together and couldn’t wait to start connecting the rows.

Some progress on connecting rows

I’ll try to explain the process. I didn’t make this up; I found instructions on several blogs. This is not the only way to connect the QAYG blocks, but it’s the way I chose.

First, I sewed the binding strip to the one side of one block, right sides together.

pinned binding

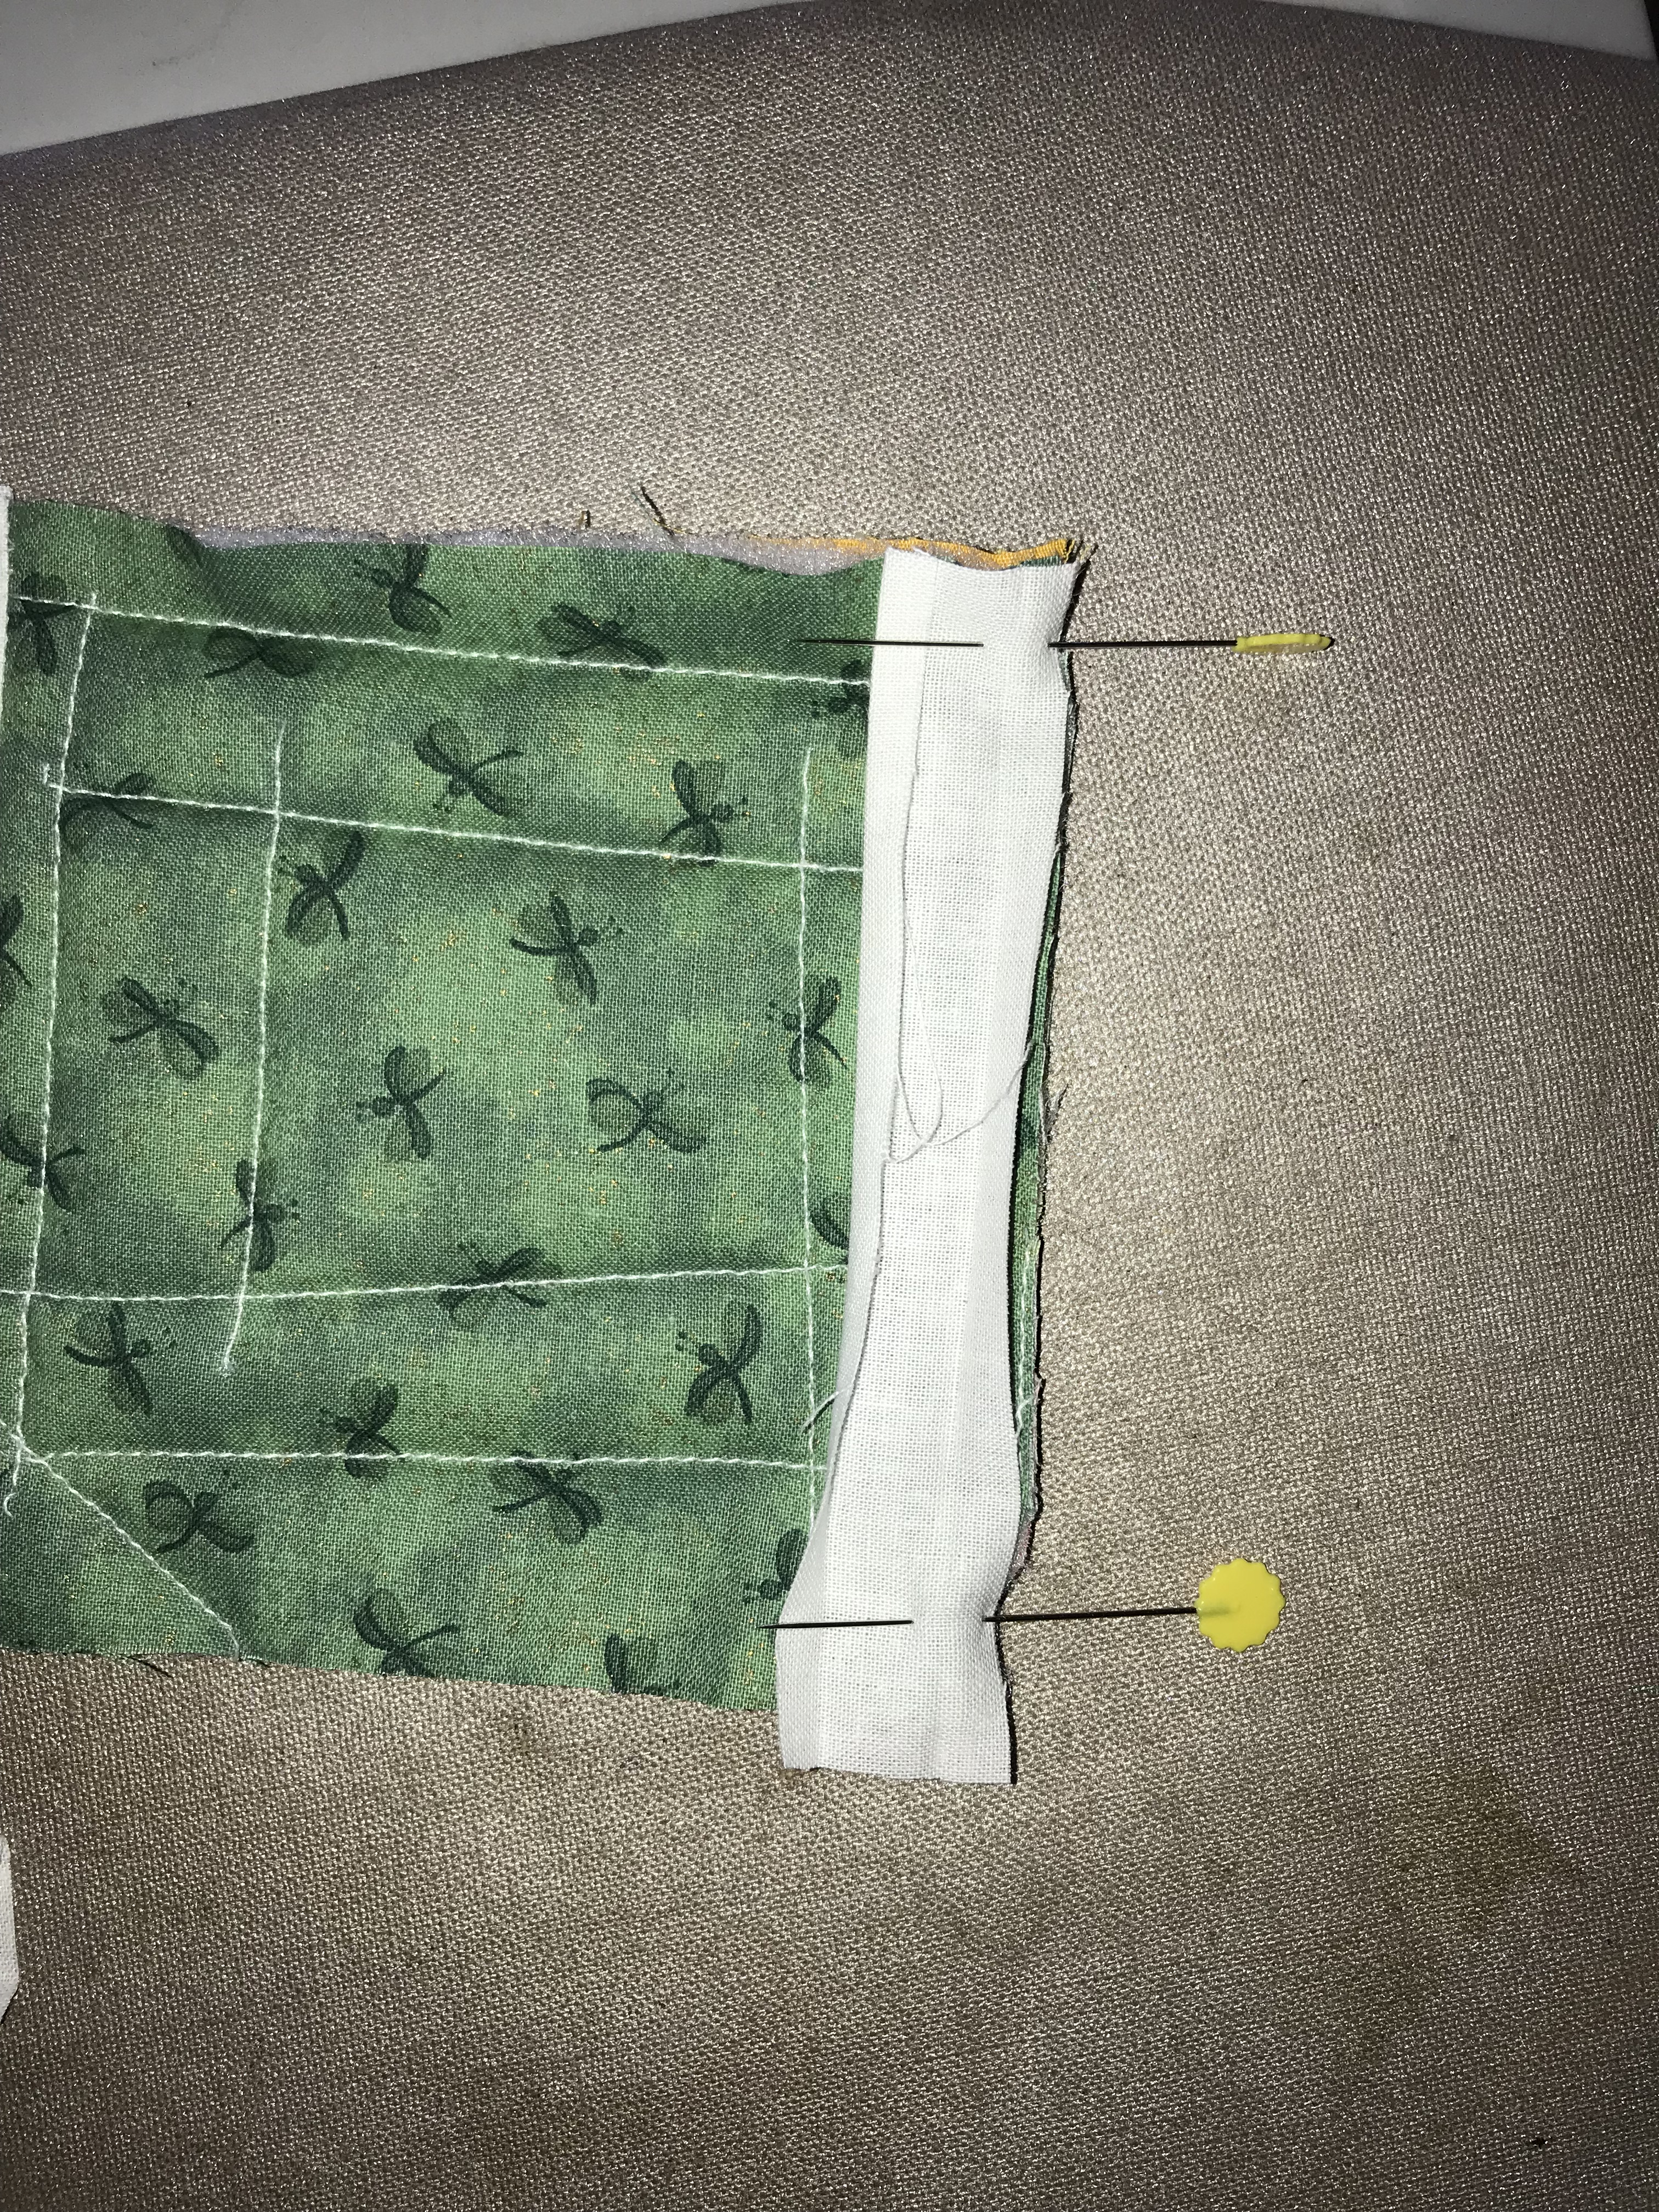
I stitched along the fold line. Next, I flipped the next block so it was right sides together with the first block. I flipped the stack together and slid the block and the binding so that I could stitch along the fold line.

pinned binding

In the photo above, you can see that I folded the binding along the line of stitching just completed, and unfolded the second part to pin it to the block. At this point, make sure that the blocks are flush at the top and bottom, or your row may be wobbly.

The result is a flat binding strip on the top, and raw edges on the back that should be butted against each other.

The next part is the simplest. Lay the binding to cover the raw edges of the back. You will find that the binding goes from the stitching line on the left block, to the stitching line on the right. Pin, topstitch on each side of the binding. From both front and back you will see a couple of clean rows of topstitching.

I am loving how it is coming together. The added feature of the colored block backs alternating with the white backs adds interest, and makes a calmer design. I’ve been informed there are only 2 1/2 weeks until the baby’s due date. I replied that I think the quilt will come a little late.

Portable project

I said this was a great method for putting in just a few minutes here and there. It is also fantastic for being portable.

I live in Missouri but I’m originally from Michigan. I needed to go back for a visit and didn’t want to lose 7 or 8 sewing days, so I brought it along. I managed to fit everything into two smallish boxes, plus the small portable sewing machine.

I could have brought it into the motel room where I stayed overnight on the way there and on the way back. I decided I was too fatigued from the drive to do anything but read and relax.

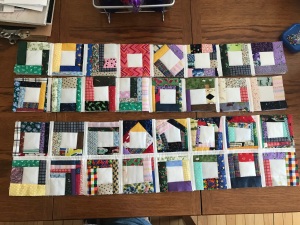
With rows of 8 blocks and making 10 rows, I will need 80 blocks. Today I counted what I had sewn and trimmed, and it came to 55. I swear, the scraps keep multiplying when my back is turned. There seems to be just as many scraps now as there were before I sewed 55 blocks.

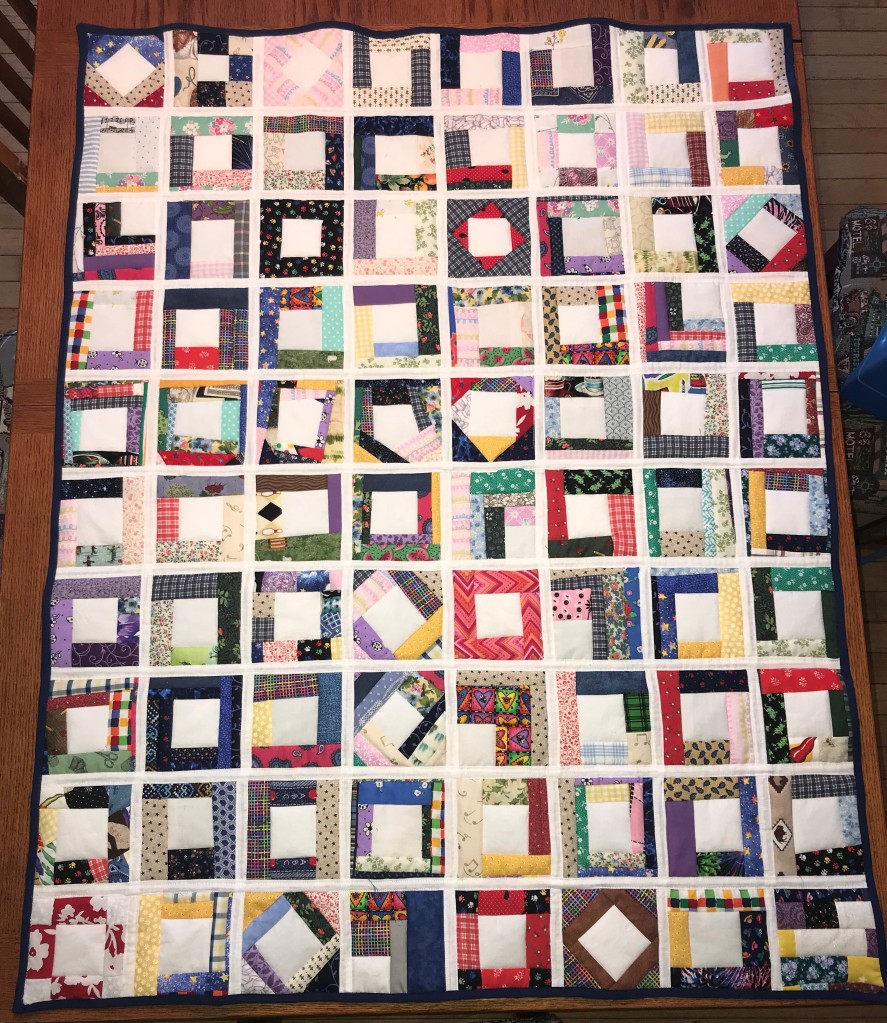
These are some of the favorite blocks I’ve sewn so far. I played with putting the white block in the corner or on point. I used narrow strips on some, wider strips on others.

I’m anxious to put this one all together. I think it will be a colorful feast for the eyes, and I’ll love to welcome the newest grandchild home with this quilt.

First row and then some

On the quilt-as-you-go baby quilt I have completed the first row. Actually, it was completed more than a month ago, I just have found no time to write for the blog. I was trying to take a trip to Michigan to visit family in early June, but life happens and the trip had to be put off. One great thing about preparing for the trip is that I could use my mother’s sewing machine for this project. It is just about the most portable baby quilt project I have done. I started cutting the pieces I would need for it.

The dimensions would be 8 blocks wide by 10 blocks long. It doesn’t seem like a lot, but then I started cutting. I would need 80 back pieces, 5×5 inches. Forty in color, and forty in white. Then I cut 80 pieces of white for the center of each block. Now I would need 80 blocks of batting cut from the pieces in my stash. I’m still not even halfway done with cutting the batting pieces. I also need to cut binding tape in white for connecting the blocks and rows, unless I only plan to make more blocks while away from home.

I gathered many scraps to use for the blocks into a tub. I love tubs with lids, where I can accumulate pieces for a project, or scraps for future projects. I don’t need a mat and rotary cutter for piecing this one, just sew on scraps and trim with scissors. I can square up the blocks when I’m back home.

I had a tentative week that I would be gone for the visit. My animals would be taken care of, gardens doing well, lawn was mowed. Then I had to put off the visit due to family stuff happening here in Missouri. Then another tentative week was planned for later in June, but had to be put off again. I think I will be able to visit for a week later this month.

first row front
back side

So, the first row looks like this. Not much, so far. The curve isn’t permanent, it will be straight once I sew rows together.

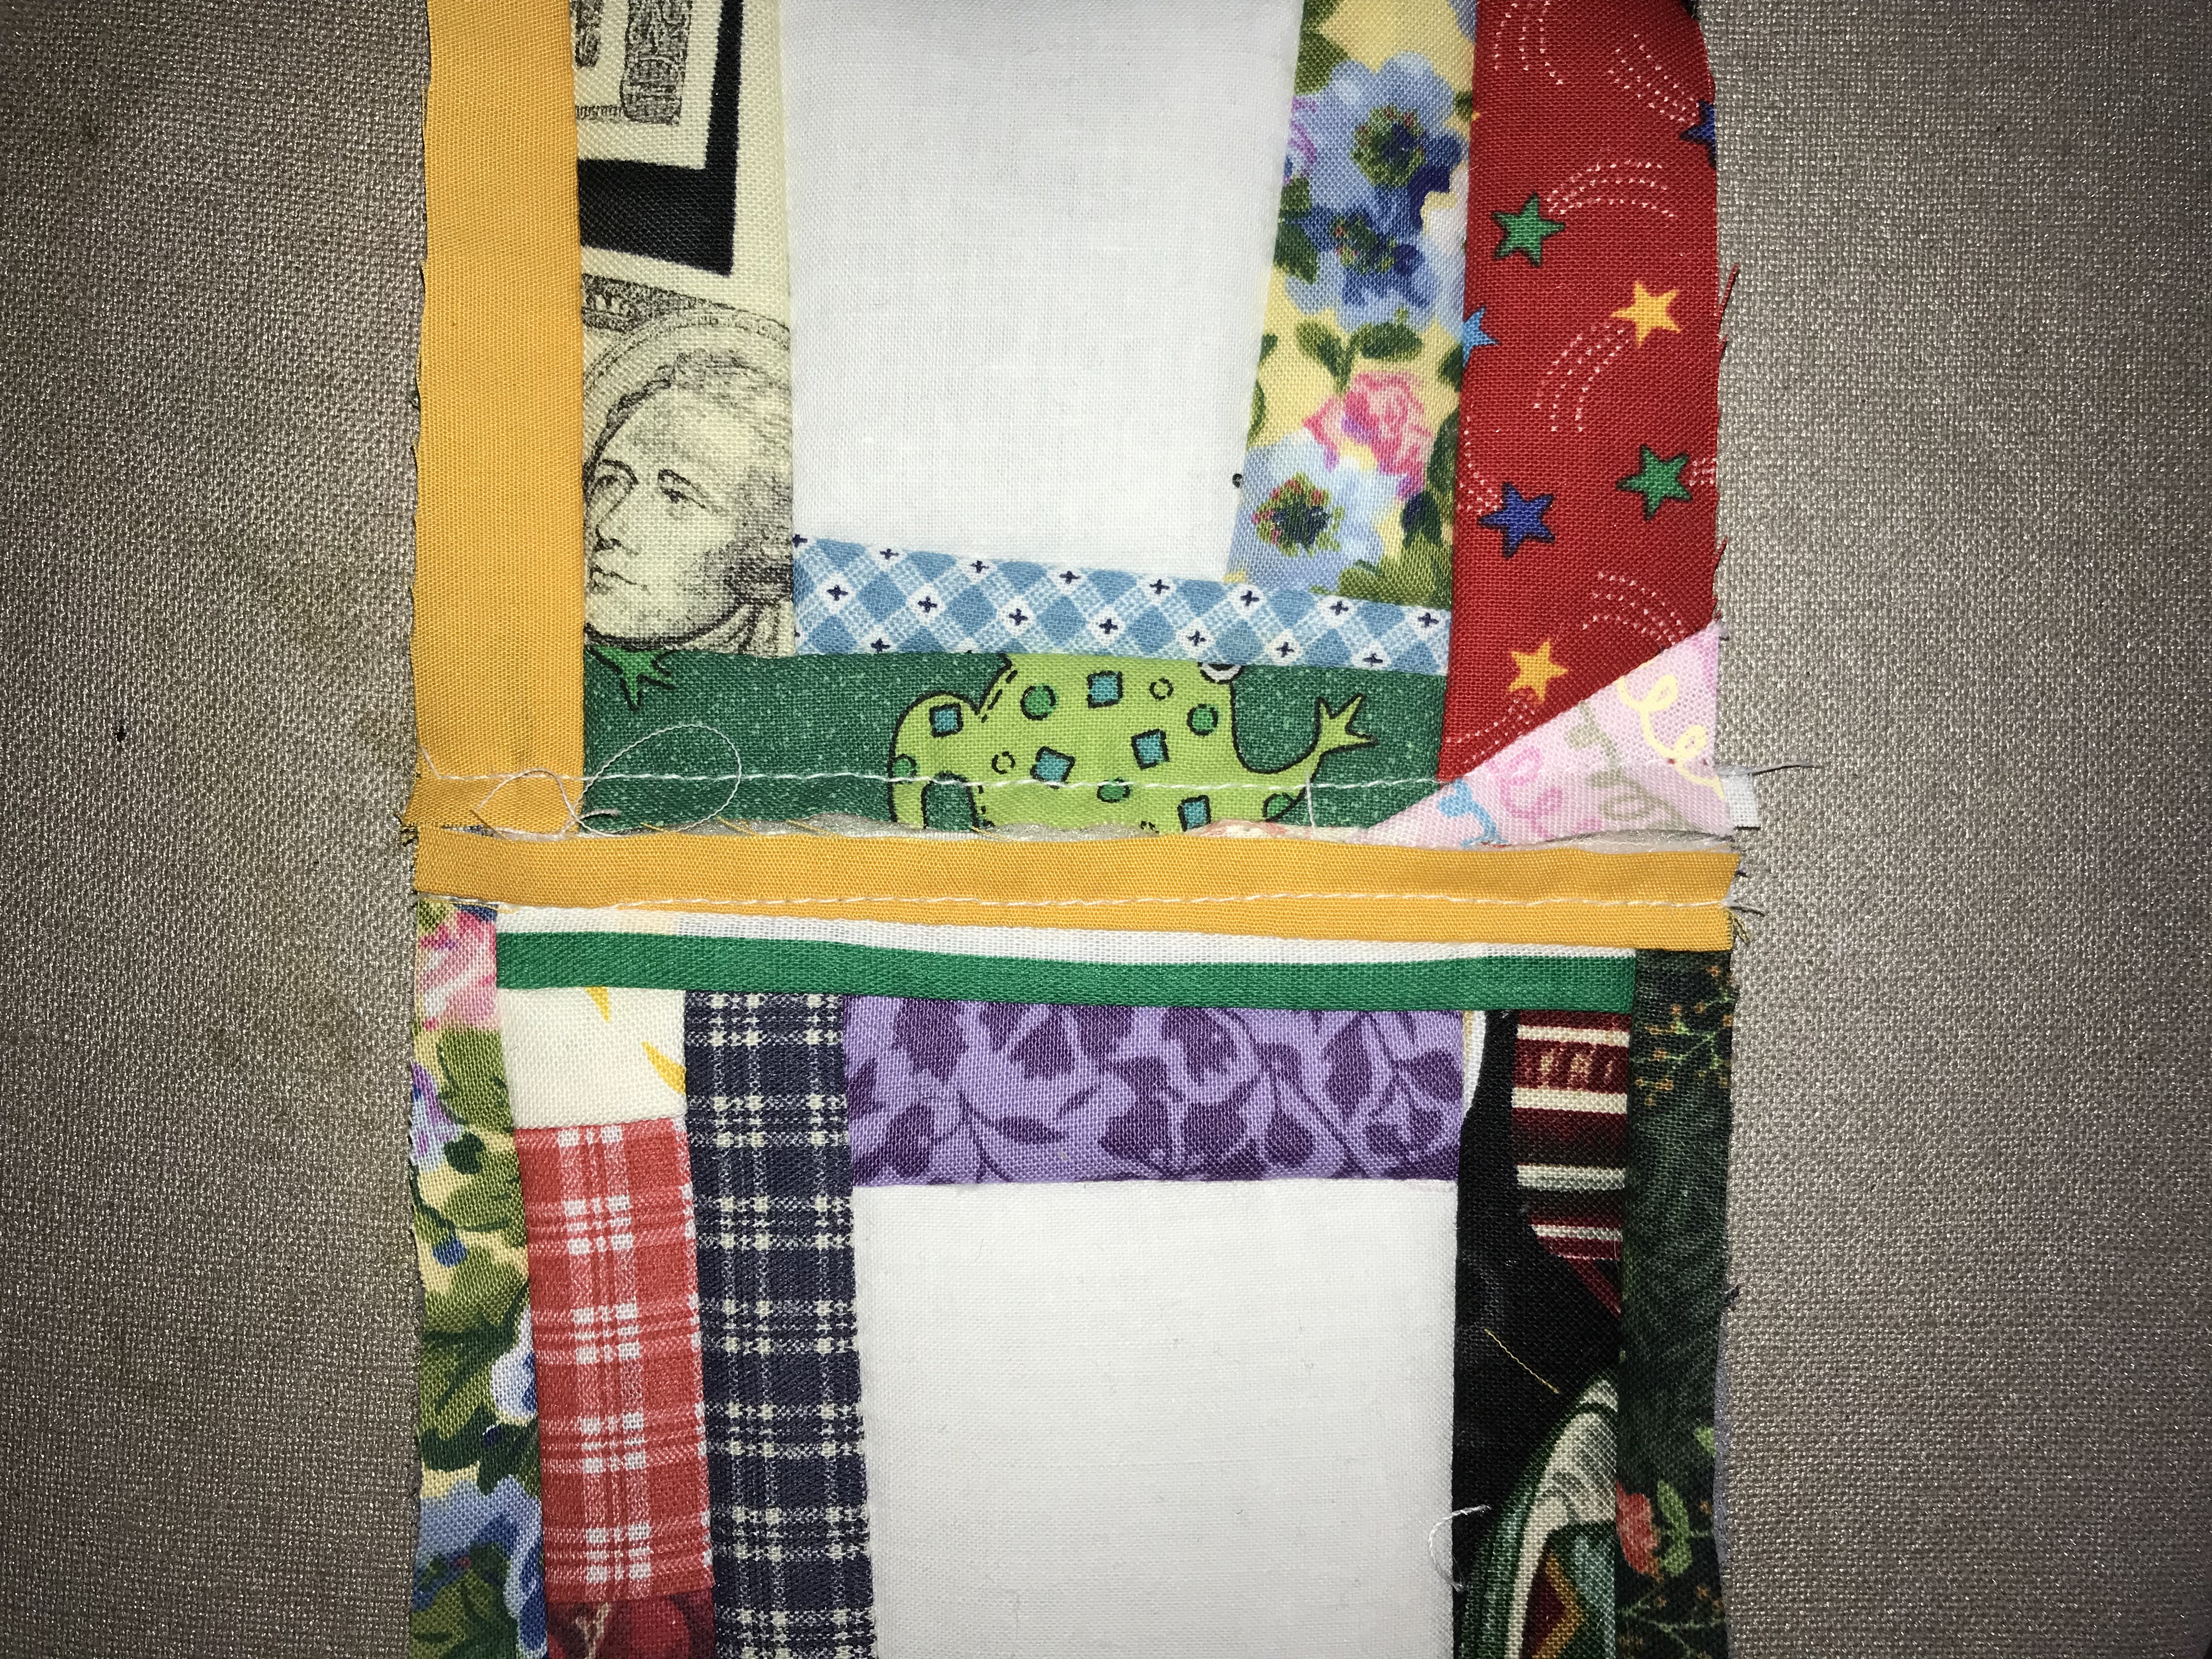
joining blocks front view
joining blocks back view

These pictures show the joining of the blocks, both front and back. In a future post I will show pictures along the way as I join more blocks together. The steps will be the same for joining one row to the next.

Now the surprise – it’s no longer for a potential grandchild, but a real one. There is a bundle of joy coming in October. I’ve known this for a while, but not until after I had started this quilt. I’ll need to get busy on this to allow plenty of time for shipping. My unwritten goal is by the end of September, but the earlier the better. I’m glad this is a quick quilt to make. Once it is shipped off, I’ll start the next.

Quilting in small bits

I am loving one aspect of this project – that I can make a little progress in short bursts of time.

Earlier this month I worked a bit on the quilt blocks. I cut blocks for backing, and also the white centers of the blocks. I’ve decided to lay out the backings alternating a color print with the white backed blocks, in a sort of checkerboard design.

I put a few of the completed blocks together using the binding. Single fold binding gives finished edges where I sew it down. Here are some progress photos.

I’ll do a row at a time until I get the width I like, then begin the second row.

A small beginning

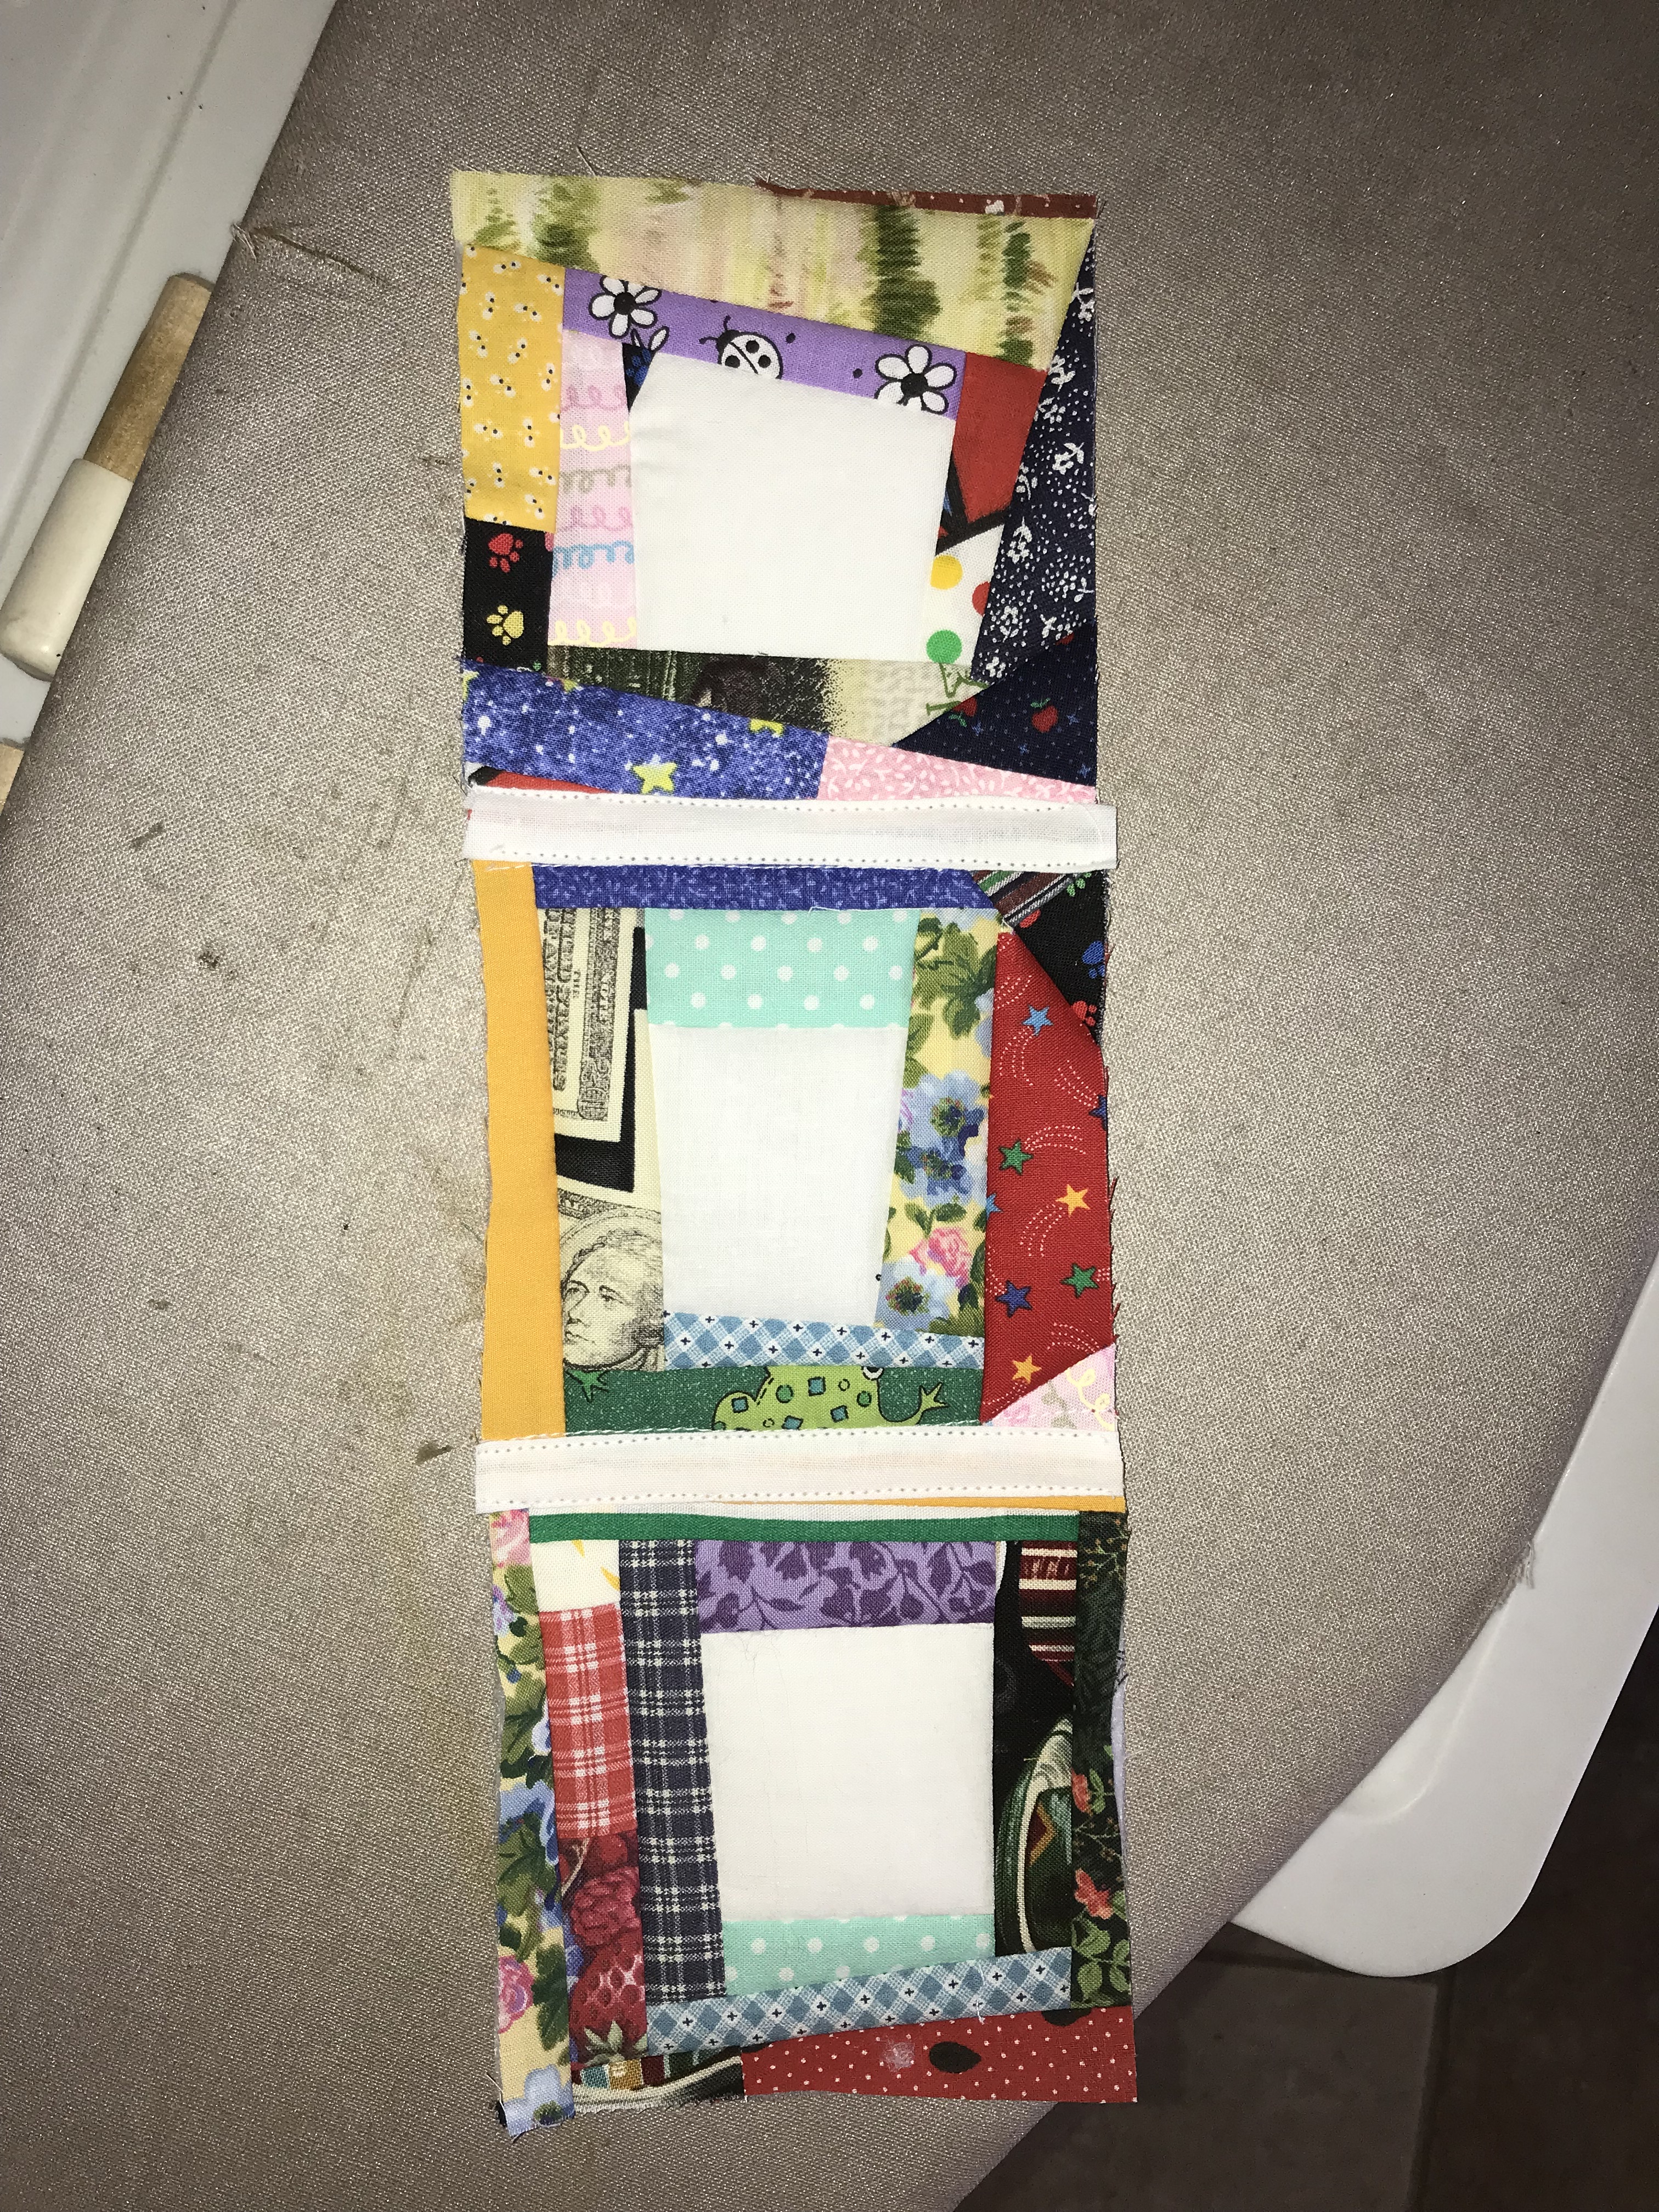
I’m calling this a stringy baby quilt. I chose the “Trash to Treasure” quilt block from my last post. I’m making it on a smaller scale of course. I decided not to cut the block into quarters and sew them back together, because I’m sewing it with backing and batting together to make a prequilted block.

I began with a square of white fabric, 2 1/2 by 2 1/2 inches. I cut a piece of batting and a piece of fabric for backing at 5 by 5 inches. I centered the small square over the batting and backing, and pinned. By the way, this is the reason I have a tub labeled Batting Scraps.

Then I gathered the little bits of fabric I had kept. I set aside anything that was an orphan block from another quilt, I’ll make those into mug rugs, lap quilts, or purses. I found quite a few small blocks sewn into a strip for the maze quilt, I set those aside as well. I started sewing to all four sides of the small square. I didn’t follow the edge exactly, trying to make it a little wonky so nobody would expect perfection. I certainly don’t!

First two blocks done.

Then I realized I backed both of them with white fabric. Not normally an issue, but for this quilt I plan to select backing fabrics of many colors. I made a third block with a pretty green dragonfly fabric for the backing. I trimmed them to 4 1/2 inch squares.

My plan is to make single fold bias tape from white fabric and use it to sew the blocks and rows together. Thus, quilt-as-you-go. I borrowed the method from another blog and I’ll write about the steps in a future post.

In trimming the blocks, I realized that the final strip of fabric can be quite wide, because I’m trimming about 1/4 inch from each side, and another 1/4 inch will be covered by the bias tape sashing. For future blocks I’ll keep that in mind.

Until next time, be safe and be well.

Trying to get ahead

I decided to make some baby quilts ahead of having a need for them. I’m a worrier, and I’m concerned that I won’t be able to make them at the time they’ll be needed.

I have to take a certain biologic drug for my cancer for the rest of my life. One major side effect happened when my feet began to go numb. My feet are now numb and I have partial numbness up to my knees, fading like ombre.

Recently my fingers began to tingle. Now they are beginning to go numb just at the tips. It is to the point that I don’t rely on the sense of touch only, I supplement with sight. My fingers almost can’t tell me the difference between flannel and cotton.

With this in mind, I decided to make some baby quilts ahead. My son and his wife plan one or two more babies, to be born well into the future. My youngest stepdaughter is getting married in the fall and there may be babies in that house in the future. I don’t want to be frustrated to the point that sewing isn’t fun, with several baby quilts on my mind, so I’ll begin making them now and set them aside.

I have done a string quilt (see it here) and I’ve done a brick quilt (here). The plus sign quilt and the maze quilt used up some fabric scraps. Lea’s chevron with small blocks was fun and also scrappy. I’d love to do at least a couple more scrappy quilts to see if I can use up some of my scraps. Being sentimental, I’ll reminisce as I sew, about what dress/toy/quilt I made that the fabric was leftover from. You may or may not have noticed that I almost never do a second quilt of the same design. I’d say never, but then I would immediately find the exception.

I liked the “quilt as you go” design of the string quilt and I looked for online photos or drawings that would work for that. I’m considering several ideas and if you’d like to make a suggestion, please comment! These have caught my eye:

If you could be my decision-maker, what would you choose?

Credits:

#1 Instagram post “Everyday hearts” by Mary Engelbreit @homecompanion

#2 I’ve heard it called “wonky stars”, this from https://thelittleredhen.typepad.com/my_weblog/2008/04/doll-quilt-fini.html

#3 Trash to treasure at https://www.kellifanninquilts.com/2015/11/tutorial-trash-to-treasure-block.html?spref=pi&m=1

#4 Fading Charms at https://weddingdressblue.wordpress.com/2012/03/23/tutorial-fading-charms-quilt/

#5 Attic stairs from https://selvageblog.blogspot.com/2012/02/attic-stairs-scrap-buster.html

Goal: finish the Maze

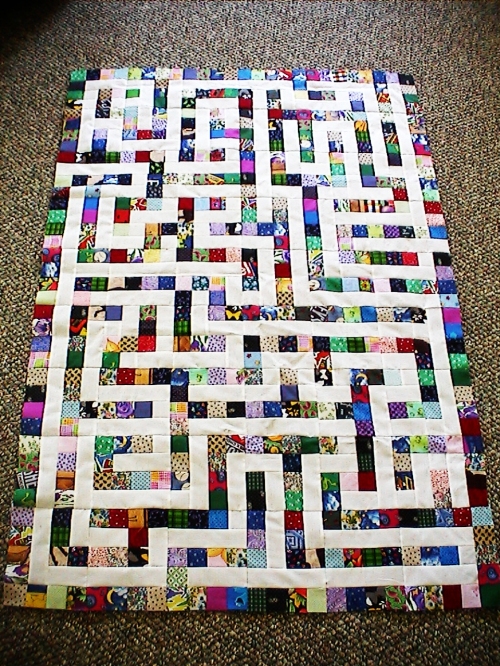
I recently learned that I have another reason to make a baby quilt; my son and his wife are expecting a first child. I can finally take the maze quilt from the cedar chest and finish. Yes, I have the completed top from 2012.

Maze quilt on the quilting frame

I first wrote about creating this quilt top on this post. I posted often, explaining every thought and step along the way. When I searched the internet, I saw very few shared photos of quilt tops as a maze, but I loved each one I found. I could imagine a child playing on the quilt, tracing a finger or running a car along the white paths surrounded by colorful blocks.

maze quilt top

After the big announcement, I showed the expectant parents the finished quilt top and asked what start/finish pair they want embroidered. I gave some examples, and they decided on a mouse searching for cheese. After digitizing the designs (creating in software from a clipart image) and stitching onto the quilt top, I emailed these photos. They loved it.

I’m sure you all do the same when using scraps from other projects. I reminisce about the diaper pouch I made for a co-worker, a dress I sewed for Mom, or a past baby quilt I had made. Nearly every patch can send me to a memory of a quilt, blouse, or doll outfit I had made.

For this grandchild’s quilt, although I have been quilting on my machine for many years, I decided to hand quilt. I had to find all the pieces to my EZ3 quilt frame and (guiltily) assembled it in the living room for the first time. Once I had it together I learned how to load the backing, batting, and top so that they aligned correctly.

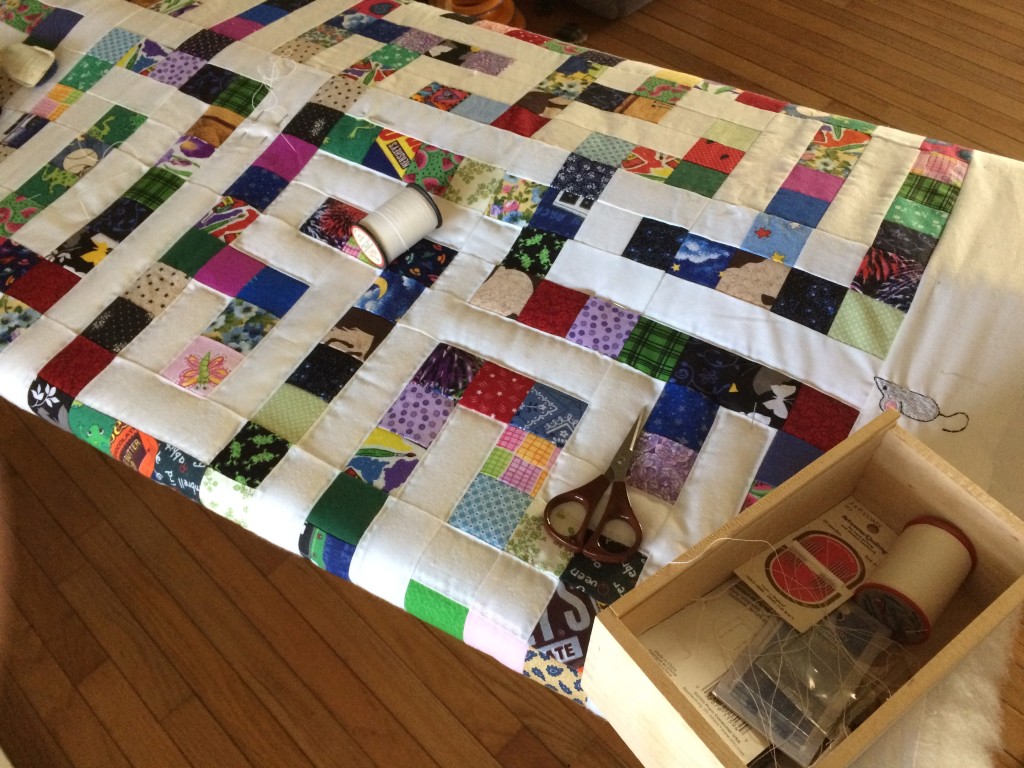
I’m stitching in the ditch. My stitches are on the white paths, next to the color-patch walls. I keep several quilting needles loaded with thread as I roll the project along.

I’m not far into it yet. If I had to guess, I’m between 1/5 and 1/4 done with the hand quilting. As I work I wonder what binding I may use. I can purchase fabric to make it, use prepackaged binding, or even make the binding as patchy as the rest of it. This photo shows a patchy binding, and I’m considering the same.