My Coaster Tutorial

I think everyone who makes a coaster has her/his own way of doing it. I have decided on this method because for me it’s a bit faster and a little more fun in the fabric choice.

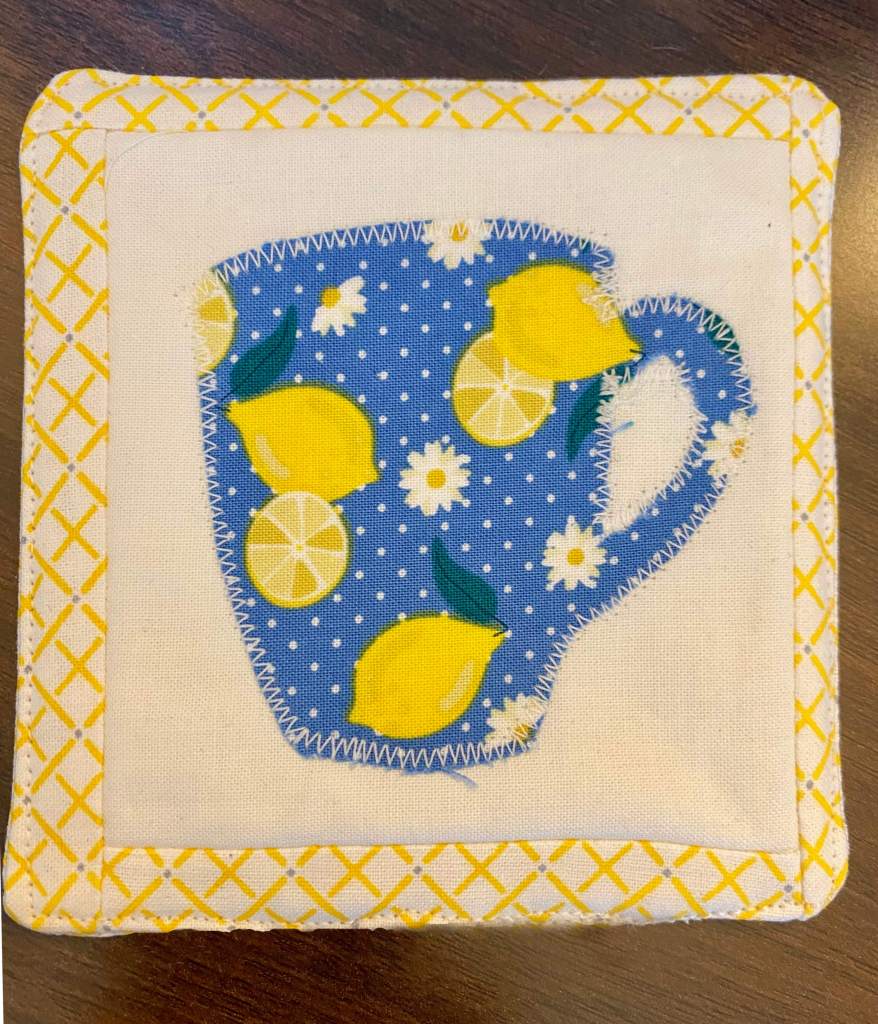
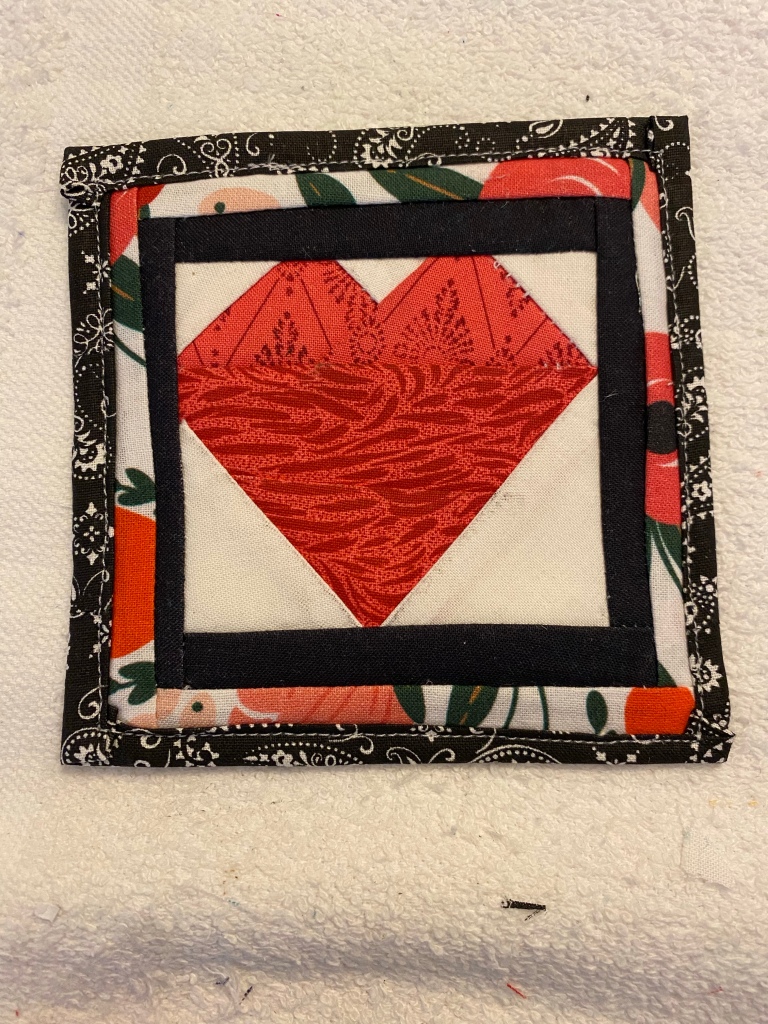
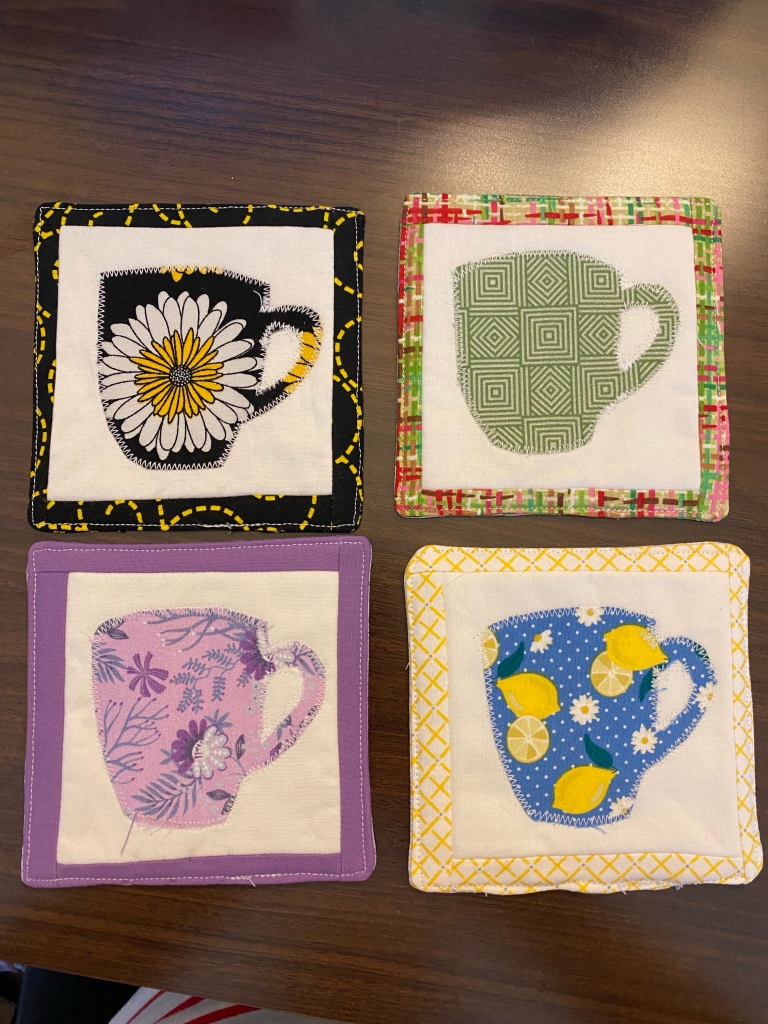
I made a set of 4 coasters for my sister, different fabrics, but all with the same applique. Here it is broken down into steps.

  • Cut a central fabric 4×4 inches. I used white.
  • Cut cotton batting and a backing fabric 4 3/4 x 4 3/4 inches. My backings match either the border or the applique.
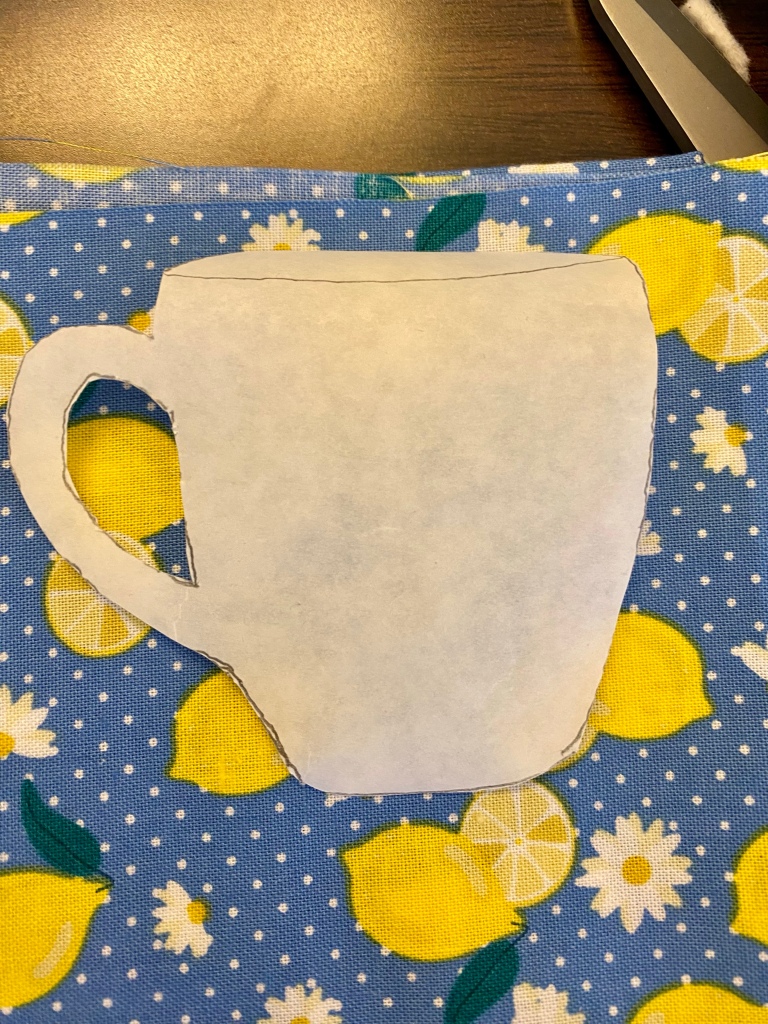
  • Trace your applique design onto Heat N Bond or other double-sided adhesive. If it matters, trace the design as if backwards to how the fabric should look. Cut out, including waste pieces within the design.
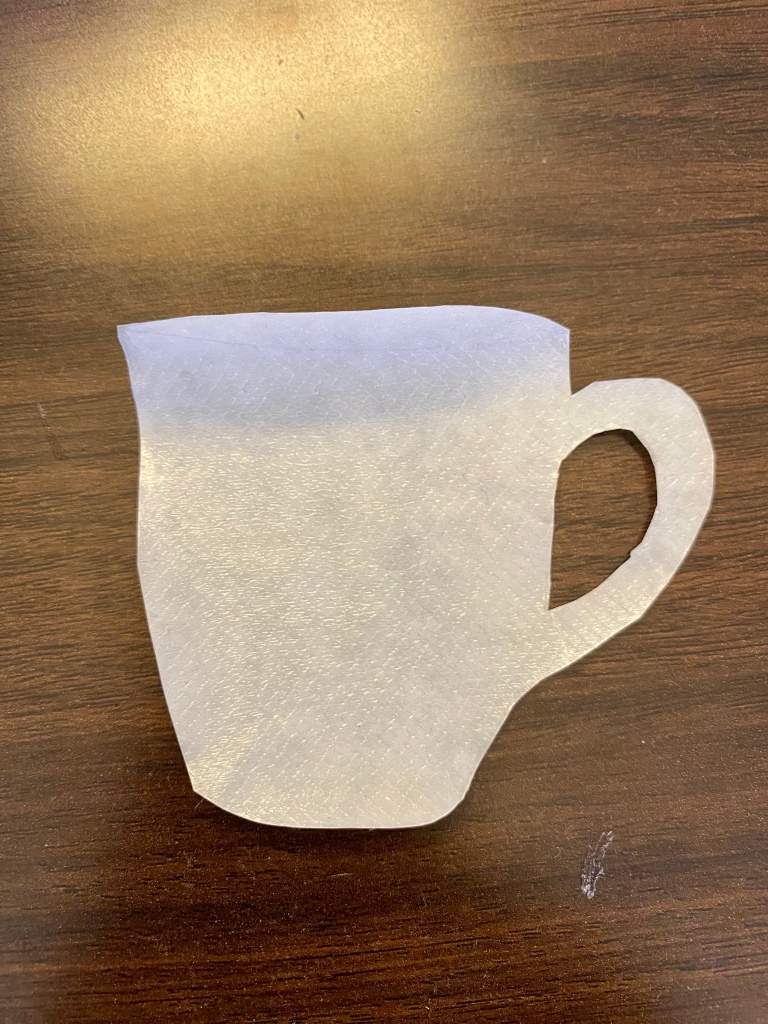
  • Press it to the back side of the fabric and cut out as above. Use a pin to score the paper on the back of the applique, revealing the other adhesive. Place it on the central fabric and press into place.
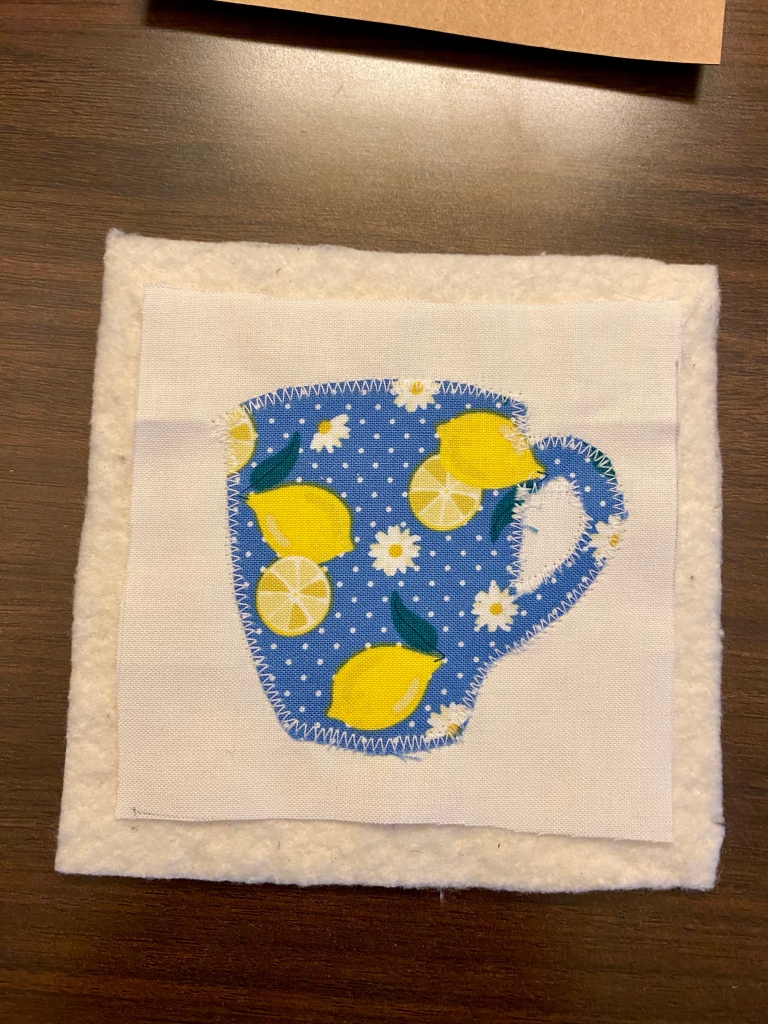
  • Using a narrow zigzag, or other decorative stitch, stitch all around your applique. Edges may shred without this step. I’ve used a blanket stitch and a hem stitch on other coasters.
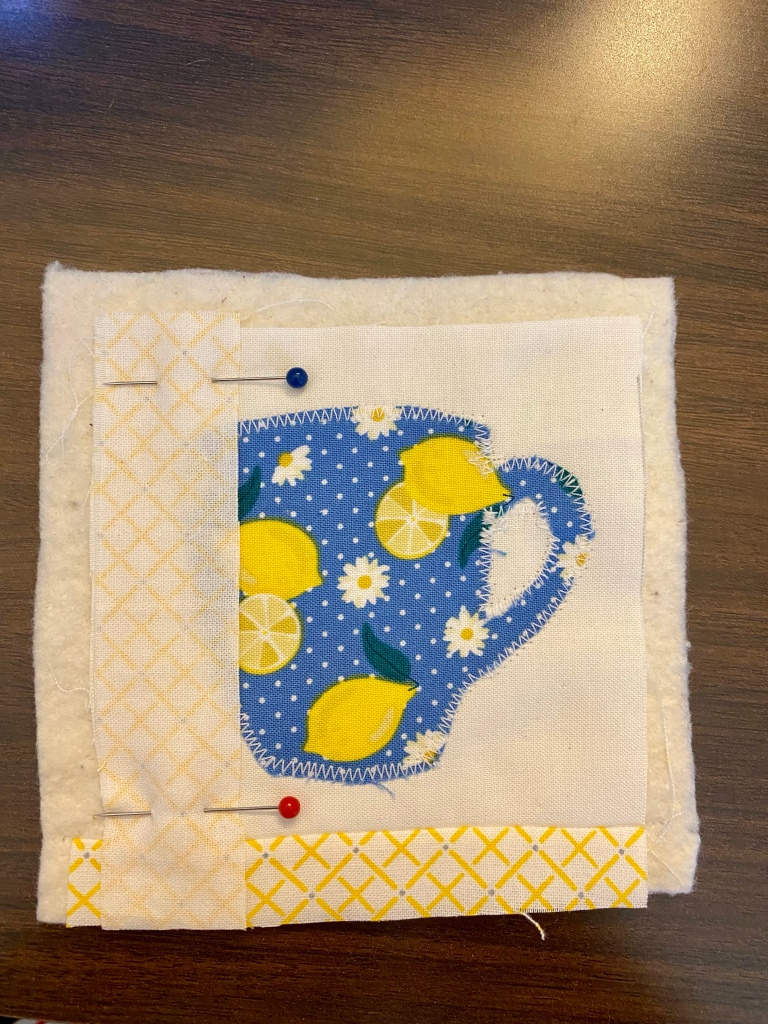
  • Center the design on the batting, leaving the backing off and pin in place. I had cut 1 inch strips of a coordinating fabric for a border. (I used the method I learned for making a precise hem in a skirt, 50 years ago.) Pin at the edge of the white fabric, stitch, turn, press, and flip it over. You’ll see some overlap to trim even with the batting.
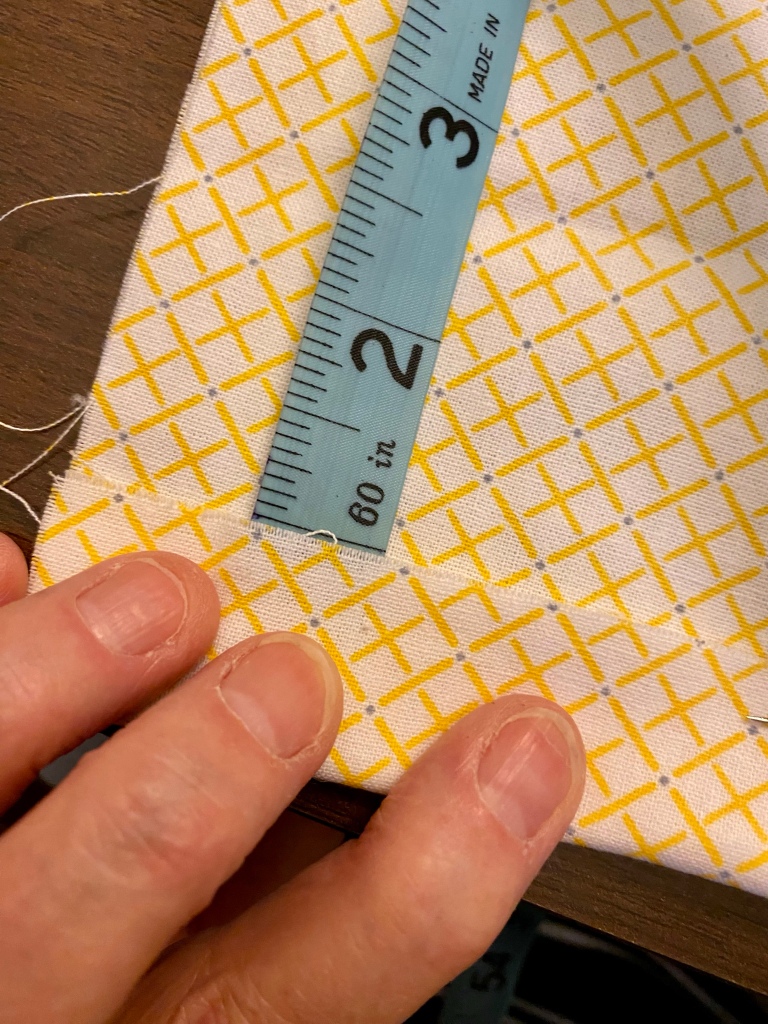
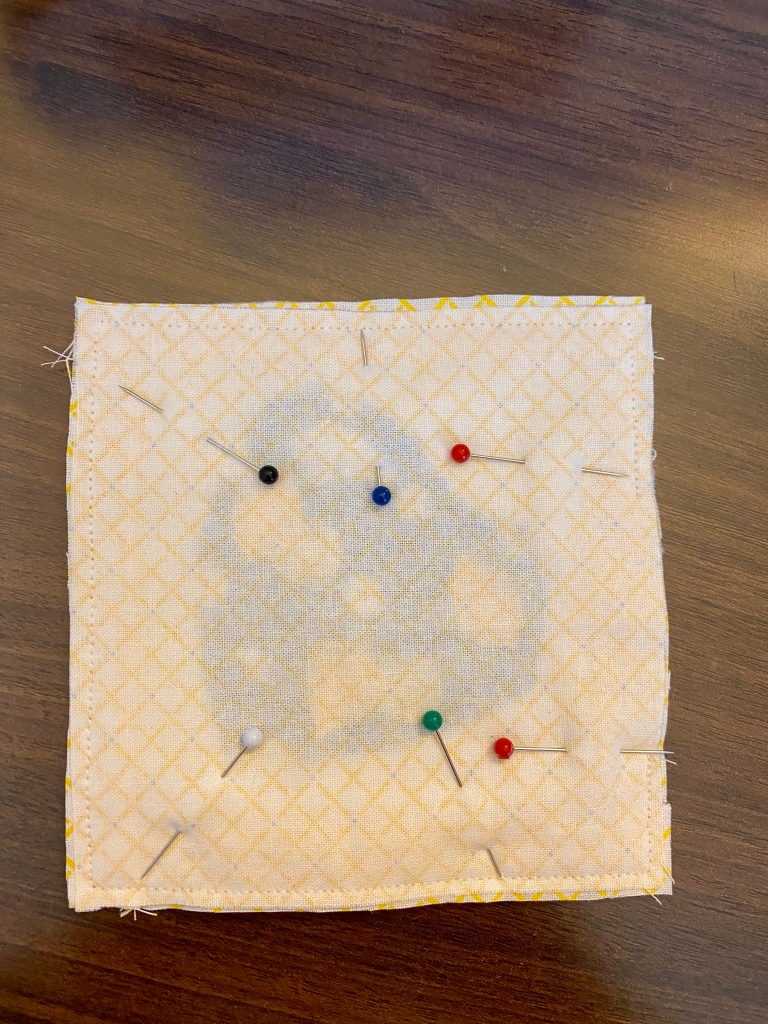
  • When you have done 4 edges the same way, lay the coaster with the design facing up, and layer the backing with right side facing down. Stitch along the edges and leave open about 2 inches for turning. I give myself a visual cue of a red pin where the edges of the turning gap is.
  • Turn right side out, pushing out the corners and straightening the edges. You may want to trim across the corners first, which I had neglected to do to have them sharp instead of rounded. Turn the raw edges to the inside and press, pin (or both) in place. Topstitch close to all edges. Give it a final press.

Applique

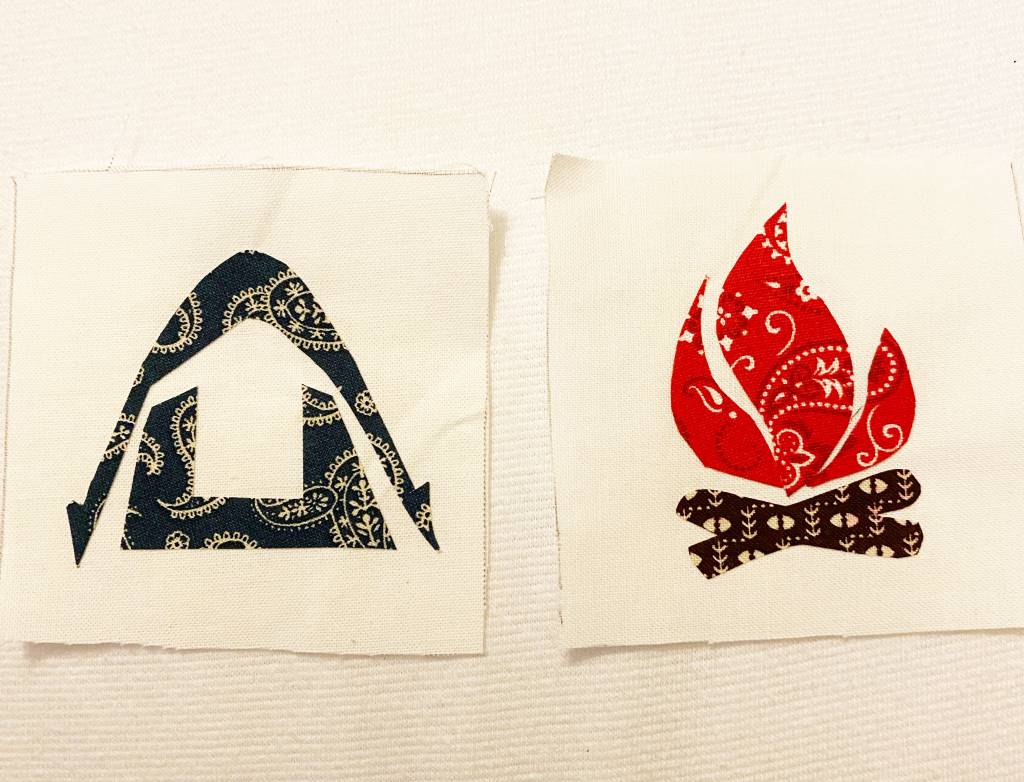
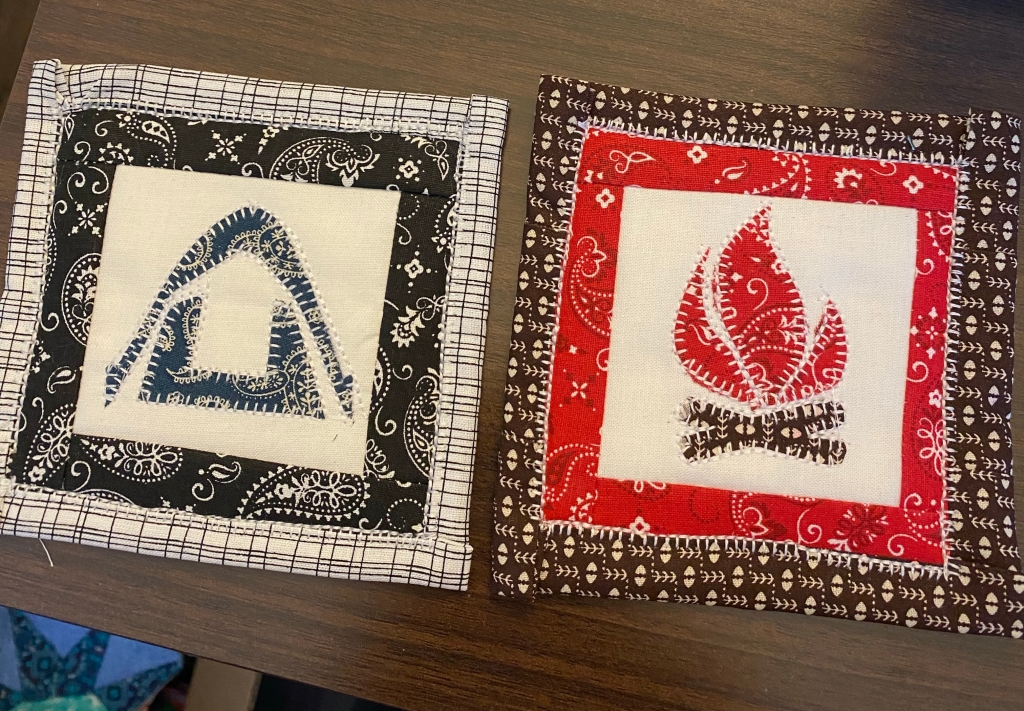
This week I worked on some applique. I used HeatnBond, which is fusible on both sides. I found some simple outlines I wanted to use, first were the campfire and tent. I traced the shapes onto the paper side of the HeatnBond and cut around them, then fused them to the back side of the fabric I wanted to use. I used a pin to scratch the paper backing and remove it, then I fused the fabric to the items. In this case it was to make two coasters.

The applique needs stitching, so I chose a blanket stitch, made it small to match the scale of the coasters, and I love the result. I added borders and even repeated the blanket stitch there. I cut the backing oversized to fold to the front and bind it.

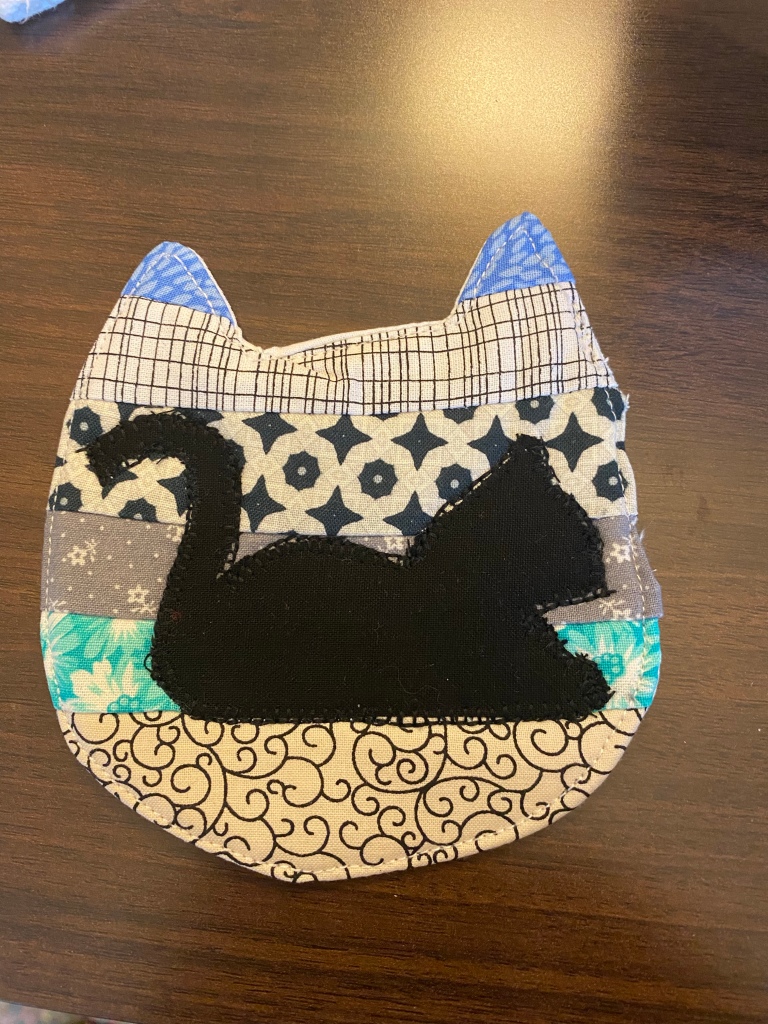
I found a cat silhouette I liked and added a cat applique to one of the cat-shaped coasters. I will continue to use the method on other things, like an initial on a coin pouch, or other shapes.

While looking for shapes I found some I liked, but they would work better as embroidered accents. To do that I’ll have to work on my embroidery machine (fix the tension) and test out a few.

Making Decisions

As I’m designing items for sale in my flea market booth, I am considering several things at once.

~ People want to buy something handmade that someone else made

~ Time invested in each item vs. how much to charge

~ What do customers want to purchase? Practical items or splurges?

I discovered by putting some hotpads out that they sold very quickly. It was right before Christmas so gift giving could be a big motivator. Handmade makes it a one-of-a-kind item.

I can quickly make simpler designs, but a more complex design may be appreciated and purchased sooner. Or not, I’m just guessing what goes on in a customer’s mind. I can charge less for the simpler ones, but would have to charge more for a more time-consuming design.

I’d love to offer a huge variety of items, but I think it’s better to focus more on a varied inventory of a few types of goods. Definitely the zipper pouches, but also more hotpads, drink coasters, and ice cream pint sleeves. I’m still thinking, and collecting potential patterns and designs. I will put a split ring (like a keyring) on the zipper of each pouch, but I’ll also offer a few beaded zipper pulls if someone wants to make it even more unique. Along that line of thinking, I can make wrist bands in many colors that will coordinate, to turn a pouch into a wristlet purse that will hold phone, cards, and cash.

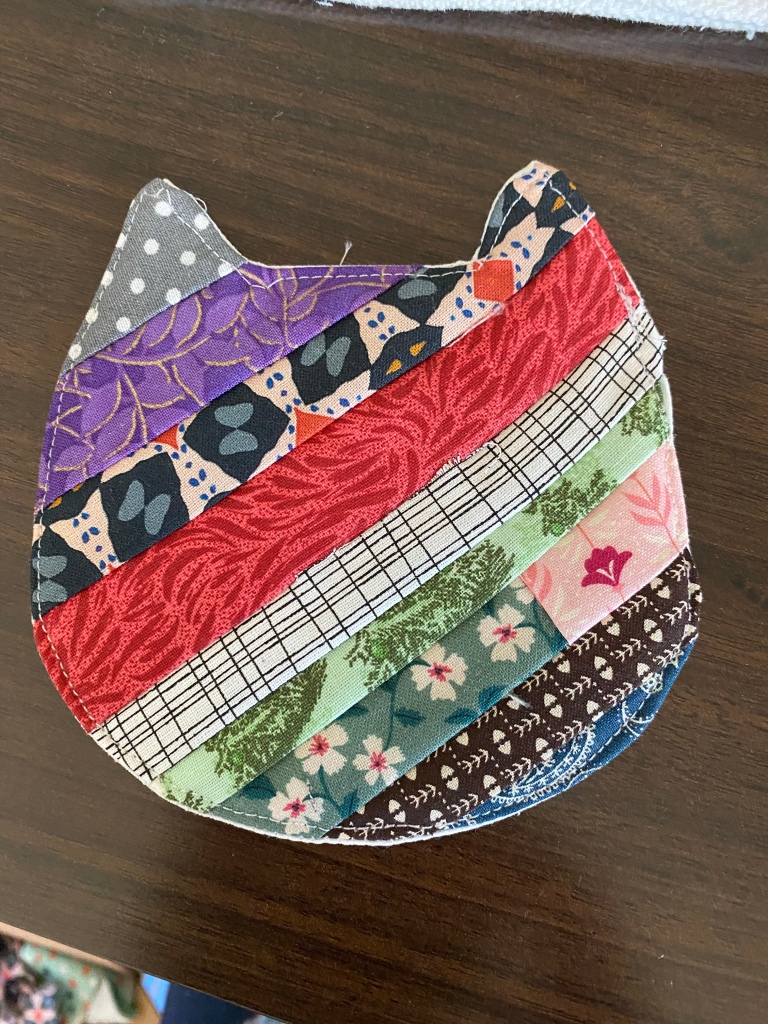
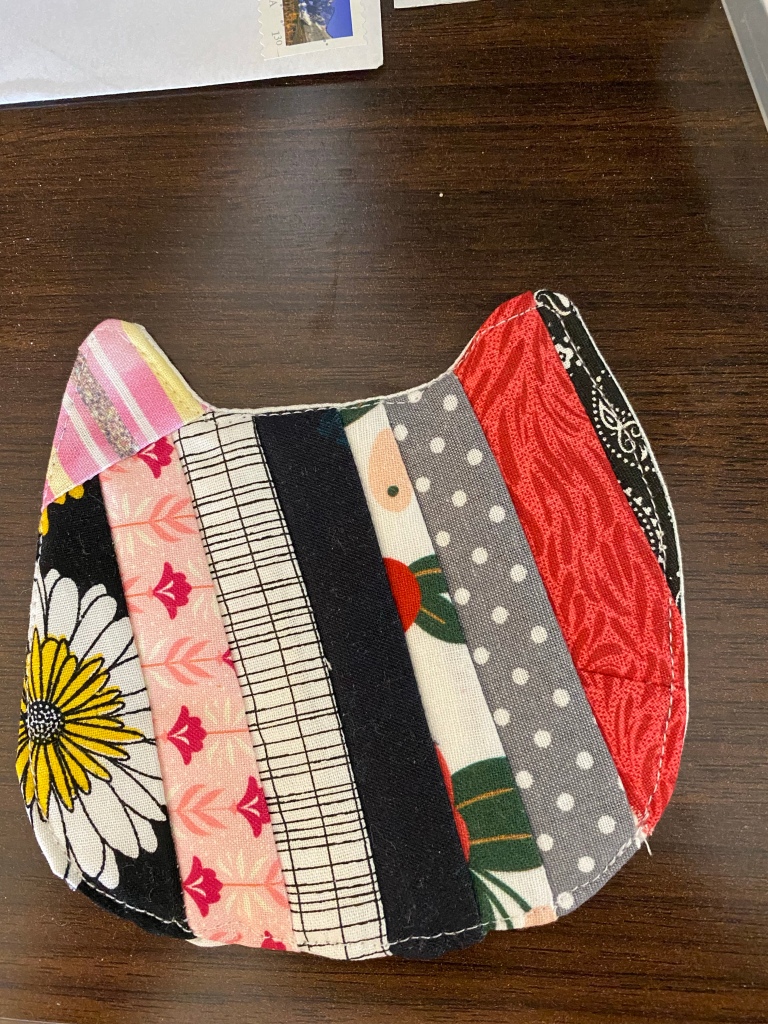
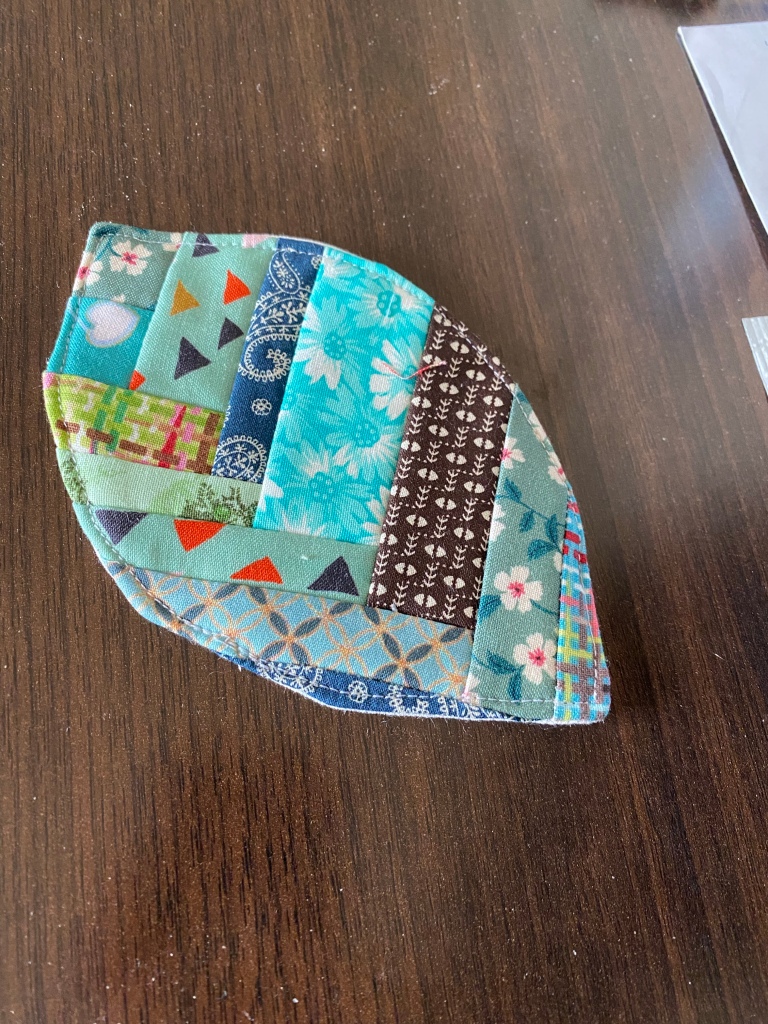
These are a couple of coasters (aka mug rugs) that I’ve made the last few days. I have other prototypes that didn’t work out, these are the good ones.