I began the final basket liner quite a while ago, but haven’t finished until yesterday. I had the fabric, just not the time when home improvements cluttered my schedule. Of course, I didn’t think ahead once I started the liner, just wanted to plow through and get it done.
I forgot that the lengths of the sides where they attach to the base of the basket liner would be a bit shorter than the length needed to fold over the edges at the rim. The basket sides had a slight flare at the top, and a large rim. All I needed to do to fix the situation was to rip out the stitches to below the rim, and finish the edges. Isn’t it strange that I knew how to fix it, knew it would only take a few minutes, yet couldn’t find the time?
I decided the liner would have a gap at every corner where it folded over, and it was simple to fold the side under and create a sleeve. Then, I had forgotten I hadn’t yet painted the basket black. It only took a quick trip to the garage and it was painted.
We had painted the bathroom since my last post, a nice soft grey color. I love the baskets and liners, keeping the necessary clutter out of sight.
After the two signature wall quilts that I made, I decided to finish up one more basket liner for the bathroom. First, I’ll show you the wall quilts:
Teal and blue signature wall quilt
This one was for a woman’s daughter, and these are her preferred decorating colors. The daughter was graduating from college and the plan was for her to gather her friends’ signatures.
Antique blue, green, red, and unbleached muslin
The second quilt is for a woman’s co-worker who would be retiring, and she preferred these “antique” or muted colors. I love how they both came out.
center row left, latest basket finish
I finished the liner for the basket with a lid. I took the cane loop off the lid of the basket and the liner now covers the cane ball for the loop to go around. I don’t need to secure things inside the basket. I am not posting how I made this one because there are many mistakes in it. Oh, and we haven’t gotten around to painting yet. Can you relate?
I know it has been quite a while since my last post. This blog has become more than just quilting, but will include any of my projects that I want to document.
I will be posting about making my Quick and Simple Quilt, in twin and full sizes. We have a guest bedroom now with two sets of bunk beds so we can host many sleepovers with children and grandchildren. We have a twin/full bunk bed and a twin/twin. I haven’t begun that project yet, but we will end up with 4 coordinating quilts for extra winter warmth.
This project is all about bathroom storage. We have been unable to find a wall cabinet of the dimension we wanted, so I’m making do. We were given a shelf unit that fits around the toilet. I had found mismatched baskets and filled them with bathroom essentials, but it looks too scattered.
Bathroom shelf
Please pardon the beginning of redecorating. I decided to keep the shelf, use baskets, and make them coordinate. The black basket with the white/black fabric liner is my starting point. Of course, this meant going to the thrift stores to find similar baskets. I found these:
I wanted them to fit in particular places on the shelves, and be of a very sturdy weave.
Preliminary fit
Next, I found some black and white fabrics that I thought would look great. We’ll end up with grey walls and some small black cabinets near the mirror. I had some matte black spray paint and got busy on painting the baskets. I did not document every step and I may include a liner tutorial on a future basket. The thing is, the first one always has mistakes and problems.
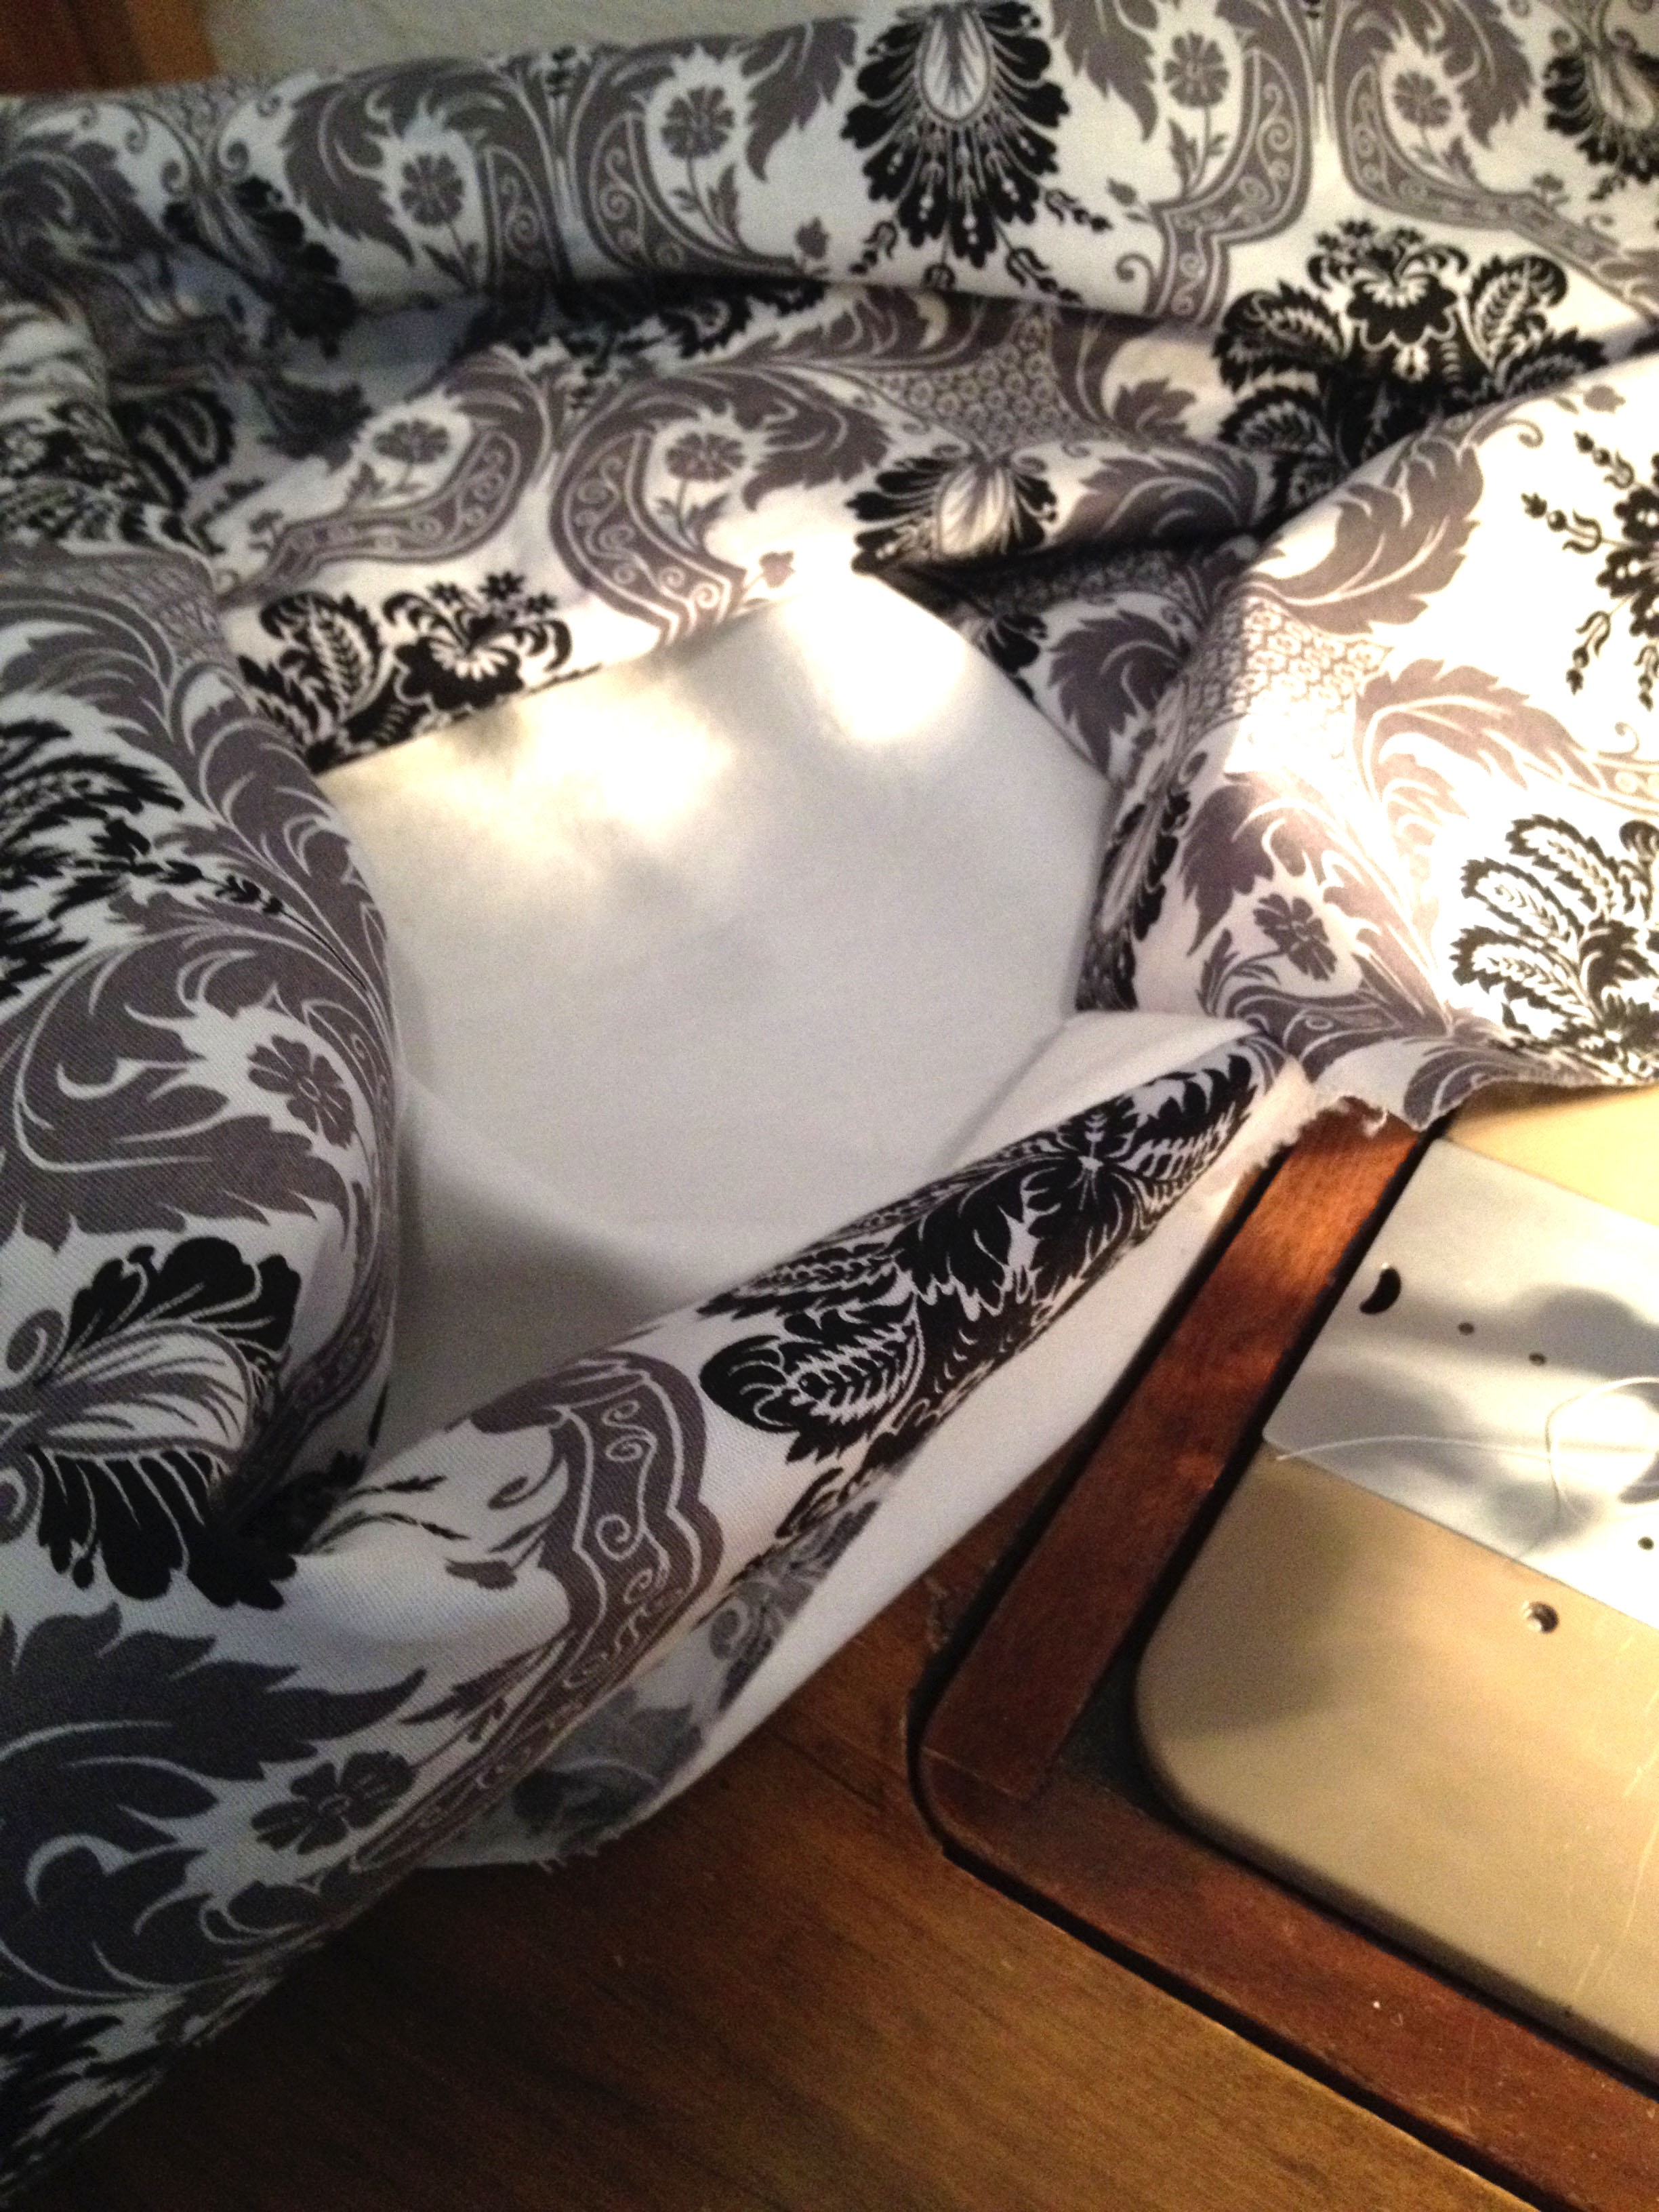
So, today I sewed the first basket liner. I had bought 1/2 yard of a few fabrics, and found that it wasn’t enough for the largest basket. So – white bottom fabric, where I will be the only one to see it. First I sewed the sides onto the square bottom.
It takes concentration to remember which way the seams go. I wanted to roll some fabric over the edge and tie a ribbon through a casing. I wish I had made the roll-over fabric a bit longer.
I left the corners open and hemmed everything, made the casings on the four side sections, made a ribbon of some leftover fabric, and put it all together with the basket.
I do like how it turned out. It will hold the cleaners and extra shampoo bottles, things like that.
I have the basket with the hinged lid partially painted, and I’m waiting for nicer weather before I attempt to finish the painting. The two baskets on the right side are options to keep, but I’d prefer to find taller baskets.


 We had painted the bathroom since my last post, a nice soft grey color. I love the baskets and liners, keeping the necessary clutter out of sight.