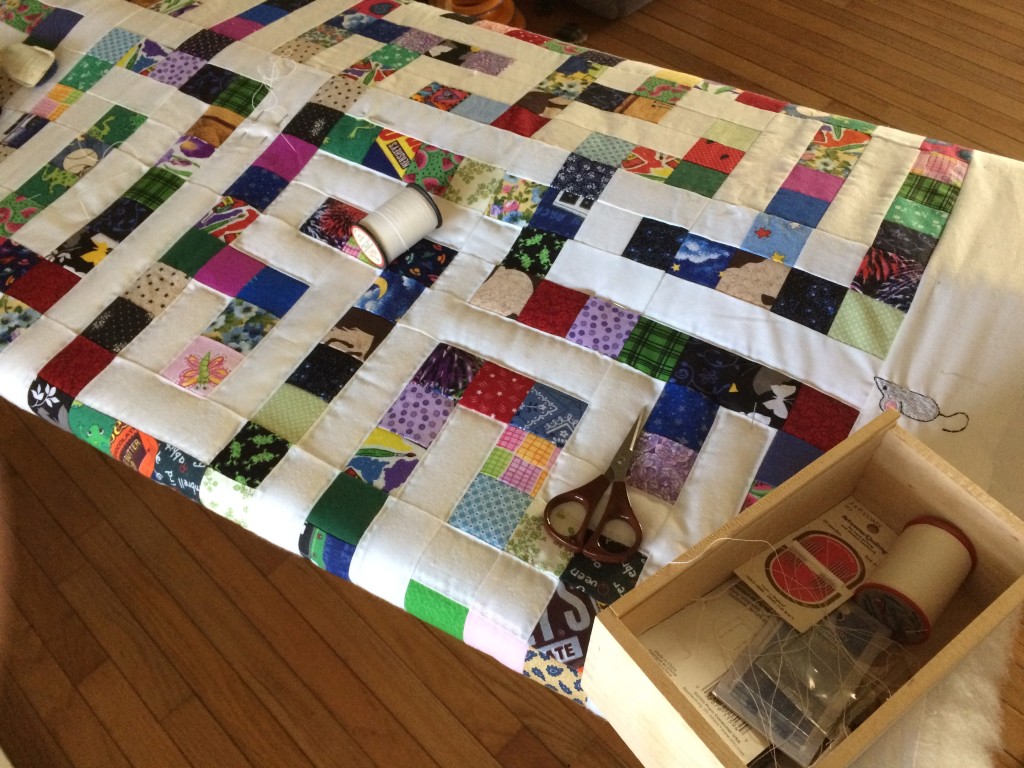
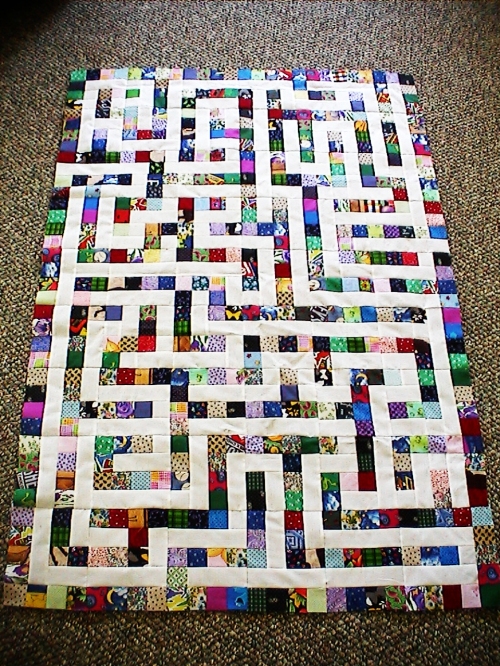
Maze quilt finished

Any quilter can tell you this – I know where the mistakes are and I’m not telling!

I love how it came out. In my mind it wasn’t quite as large as this, but the blocks kinds of took care of themselves.
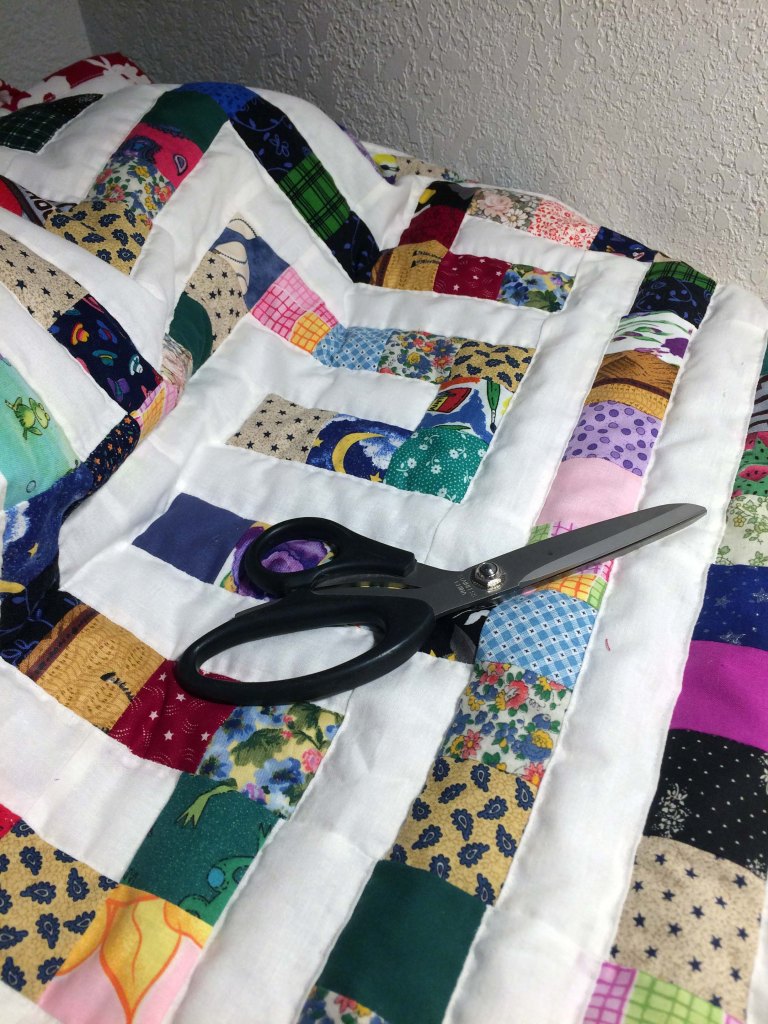
I had pieced this quilt top in 2012. I remember where we lived (temporarily) at the time and I had it packed away for this baby. My son had only just met his wife at that time. I blogged this information in previous posts, but a summary is this: I found a site online that allowed me to create a maze. I found one with entrance at the left, exit on the right, and about the size I thought I wanted it to be. I printed it and subdivided it so that I could make it one block at a time. I followed it as a pattern, using color patches for the black “walls” and white for the path. Everything was labeled obsessively! I joined the patches and put it away for the future.

Another daughter-in-law looked at the color patches and recognized several from the quilts I had made and given when her sons were born. I love scrappy quilts for this reason – they use the small scraps and so many of them, and they appear in many quilts. If you’d like to see some of the other scrappy quilts, click here to view my photo gallery. Of course, for each patch I also see the other projects I had purchased the fabrics for originally, like a costume, a dress for myself, a play outfit for my stepdaughter.

I had to add a white border, and I recently embroidered the mouse at the entrance, and a wedge of cheese (yum!) at the exit.
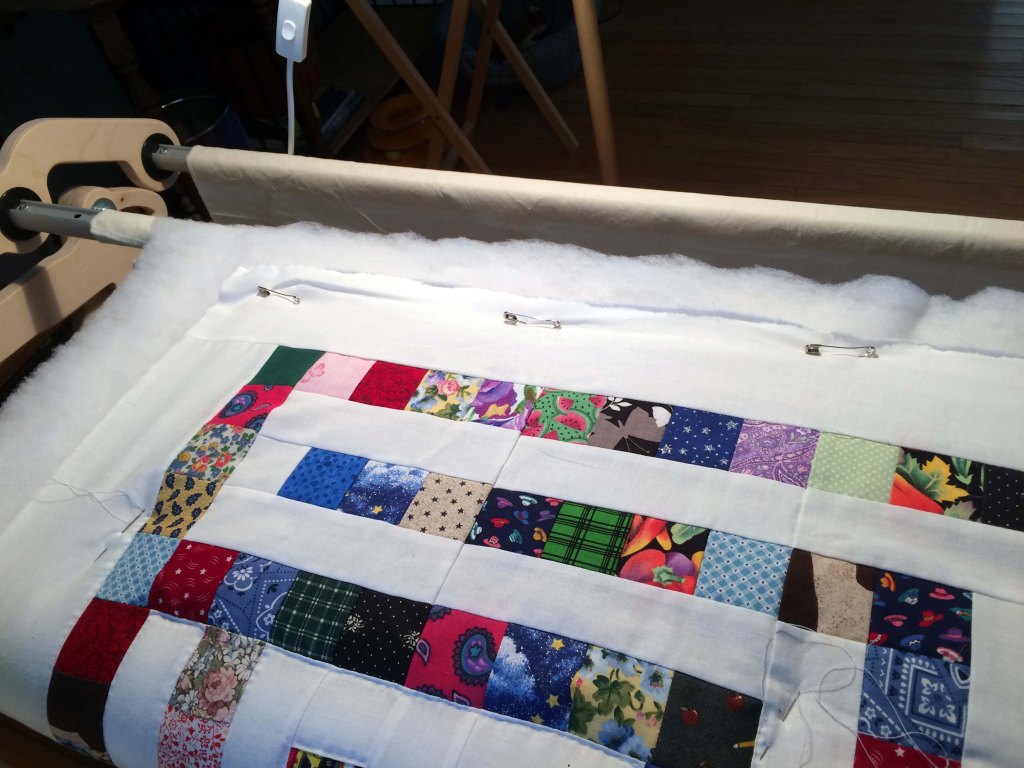
For quilting I got out my Grace EZ3 quilting frame. I was skeptical at first, having to attach the three layers to two separate poles, but when I pulled the finished quilt off the frame, it was perfect. It preserved some of the loft of the batting. There was no large pucker that I would sometimes find after quilting in my lap without a frame. I’m sold, and very happy.

I used information from other quilt bloggers to cut bias binding for this quilt, settling on this post from Sew Can She to refer to. It seemed very confusing to me, but if I completed it one step at a time then referred to the video again and again, I could do as she did.

This was my first chance to try my new binding foot. It allows me to stitch once and accurately to attach binding to anything. I found that, since my foot has a bit of an uplift in front of the stitching, it worked best if I held the fabric up a little bit as it feeds into the foot.

Now this beauty is going to fly to Canada to comfort my first biological grandchild, a sweet little boy. I can already see him as a toddler running his trucks over the paths and making rumbling engine sounds and screechy brake sounds. Much like his daddy did as a toddler, but with this wonderful quilt.

Goal: finish the Maze

I recently learned that I have another reason to make a baby quilt; my son and his wife are expecting a first child. I can finally take the maze quilt from the cedar chest and finish. Yes, I have the completed top from 2012.

Maze quilt on the quilting frame

I first wrote about creating this quilt top on this post. I posted often, explaining every thought and step along the way. When I searched the internet, I saw very few shared photos of quilt tops as a maze, but I loved each one I found. I could imagine a child playing on the quilt, tracing a finger or running a car along the white paths surrounded by colorful blocks.

maze quilt top

After the big announcement, I showed the expectant parents the finished quilt top and asked what start/finish pair they want embroidered. I gave some examples, and they decided on a mouse searching for cheese. After digitizing the designs (creating in software from a clipart image) and stitching onto the quilt top, I emailed these photos. They loved it.

I’m sure you all do the same when using scraps from other projects. I reminisce about the diaper pouch I made for a co-worker, a dress I sewed for Mom, or a past baby quilt I had made. Nearly every patch can send me to a memory of a quilt, blouse, or doll outfit I had made.

For this grandchild’s quilt, although I have been quilting on my machine for many years, I decided to hand quilt. I had to find all the pieces to my EZ3 quilt frame and (guiltily) assembled it in the living room for the first time. Once I had it together I learned how to load the backing, batting, and top so that they aligned correctly.

I’m stitching in the ditch. My stitches are on the white paths, next to the color-patch walls. I keep several quilting needles loaded with thread as I roll the project along.

I’m not far into it yet. If I had to guess, I’m between 1/5 and 1/4 done with the hand quilting. As I work I wonder what binding I may use. I can purchase fabric to make it, use prepackaged binding, or even make the binding as patchy as the rest of it. This photo shows a patchy binding, and I’m considering the same.

New and Improved and Now In Michigan!

Yes, I’m excited. We have moved into our home in Michigan. My husband has already found a new job and is working daily, with overtime even. I’m still trying to fit everything into a house 1/3 the size of the old one.  Something has to go!

Before we left Missouri we had a garage sale and sold quite a bit. Once we arrived we found a lot more had to go and had another garage sale! Now I’ve got an ad on Craigslist, looking for a local quilting group that will use donated fabric for charity quilts. I know there is no way I can make enough quilt tops with my stash to make a dent any time soon.

I’m looking for work, and meanwhile I found a little time to work on the maze quilt. This is a baby quilt, for a player to be named later. It’s simply a design I wanted to challenge myself to make.maze quilt topThe “entrance” is on the left, 10th row from the top, and the “exit” is on the right, 16th row from the top. Yes, a reading teacher cannot do it otherwise, left to right is the rule. I just need to make a “go” symbol for the entrance, and a goal or home symbol for the exit, and incorporate them into the border.

I am so happy to be in Michigan, and if a job doesn’t show up on my horizon soon, I’ll be happily quilting here.


Busy three months

I know it has been more than three months since I posted. My life has gone into overdrive.

  • School ended, which meant I had to pack up all my personal belongings from the classroom to bring home, and all the rest for the summer. My teaching job has ended in favor of a big move to Michigan!
  • I took online classes for enough credits to renew my long-expired Michigan teaching certificate, just in case.
  • We have made two more trips to Michigan with loaded trailer: at the end of May and at the end of June. Now that most of our things are in Michigan, we know there is just too much for a small house.

I did have time to work a little bit on the maze quilt in June, posted here. I was able to get two more rows done, and work on another, before I had to pack up my whole sewing room and put it all on the trailer. Talk about withdrawal!

In March 2011 we had an auction. Here are some of my lovelies that had to sell at that time.

Several of my sewing machines

Three of the four you can spot in this picture actually ran well enough to be used daily. The one in the blonde cabinet was from 1927 or thereabouts and once it was oiled it worked very well. I’m a sucker for old, mechanical machines without electronics.

treadle

To the left of the hide you can see a treadle machine in cabinet.

treadle
treadle

Here is another treadle machine, electrified. I believe the same gentleman bought all the sewing machines.

Now I am trying to sell one more. It’s clean and a beauty, but I really have a very small sewing room where I’ll be living.

Singer 99K
Singer 99K from 1955

My next blog post will be as a Michigan resident. I promise some updated pictures on the maze quilt soon. I’m anxious to get it completed!

Pictures so far: Maze quilt

I was able to carve out a couple of hours to work on the maze quilt this weekend. I didn’t actually keep track, but I think it was between 4 and 5 hours.

Here are some of the strips sewn into sets of two.  I had some extra lengths that I left as is, and some small pieces that will do a single block where needed.

Next I sewed some of the two-sets together, to make four-sets. These will be a shortcut for the places I need four colored blocks in a row.

Then I cut the four-sets in half, so that each row of four is now the correct width.

The white fabrics I will leave as strips in the places I can sew a longer piece in, or cut as needed. As I sewed, sometimes I needed the equivalent of one block, two pieces, three, or four. Fewer seams that way.

Here is the top row completed. All the blocks are sewn together. You can see I have neon green sticky notes telling me this is row 1, blocks A-F. I have 9 rows total to do.

Here is the total progress as of Sunday evening! I’m so pleased with it. I was afraid the walls, with darks, brights, and lights in prints and solids, wouldn’t look so much like walls. I think it looks great, and I’m looking forward to making more rows, as I can.

Coming up, though, more of all my other projects going on right now.

  • Circle quilts for my friend’s daughters – she’s getting more of the embroidery patches done for me.
  • Plus sign quilt for my next grandchild – a girl who is coming anytime from early to mid-March. The top is complete, but I have to quilt and bind it.
  • Doll clothes – I’m starting to get an inventory, but a few more outfits and samples are needed before I can open the Etsy store.

My full-time job sometimes gets in the way of my hobby! I’d much rather be sewing.

More thoughts on making a maze

I am delving deeper into designing a baby quilt with a maze. I found the website Here and Above with a handy rectangular maze generator. I input different numbers until I came up with a maze that I thought I could duplicate in fabric.

I wanted the walls and paths to be equal widths, so I can use a postage stamp-like piecing method. In fact, the more I thought about it, I’ll even use strips of white for the paths, so there isn’t quite as much cutting and sewing to do. I’ll make the walls from brightly colored scraps from my stash, which I’m still trying to whittle down.

Here are some mazes generated:

left entrance, right exit

I think I like this one best. Each time I hit the “back” button I could generate a different random maze, so I did several more.

top entrance, left exit

left entrance and exit

I think that one will not feel balanced. I like the chevron effect in the lower left portion, though.

top entrance, exit

All I could think was, why go through the maze when the goal is next to you? Again, I see a bit of design in it, this time a Grecian key effect.

I’ll have a wide border of a single fabric around the maze, and at the entrance point will be the “thing” and the exit point will have the “goal”. What should they be? Frog and a lily pad? Princess and a castle? Race car and checkered flag? Puppy and a ball? I’m thinking baby quilt, so I’ll take any suggestions you may have. I may like yours better than any of mine!