
Any quilter can tell you this – I know where the mistakes are and I’m not telling!
I love how it came out. In my mind it wasn’t quite as large as this, but the blocks kinds of took care of themselves.
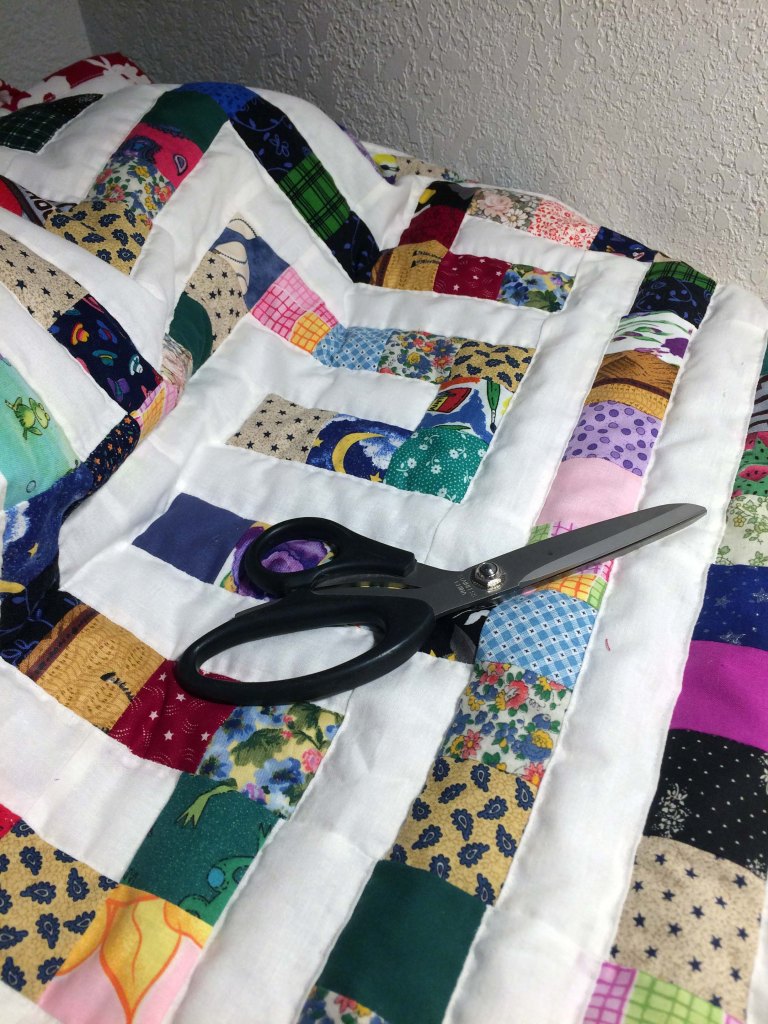
I had pieced this quilt top in 2012. I remember where we lived (temporarily) at the time and I had it packed away for this baby. My son had only just met his wife at that time. I blogged this information in previous posts, but a summary is this: I found a site online that allowed me to create a maze. I found one with entrance at the left, exit on the right, and about the size I thought I wanted it to be. I printed it and subdivided it so that I could make it one block at a time. I followed it as a pattern, using color patches for the black “walls” and white for the path. Everything was labeled obsessively! I joined the patches and put it away for the future.
Another daughter-in-law looked at the color patches and recognized several from the quilts I had made and given when her sons were born. I love scrappy quilts for this reason – they use the small scraps and so many of them, and they appear in many quilts. If you’d like to see some of the other scrappy quilts, click here to view my photo gallery. Of course, for each patch I also see the other projects I had purchased the fabrics for originally, like a costume, a dress for myself, a play outfit for my stepdaughter.
I had to add a white border, and I recently embroidered the mouse at the entrance, and a wedge of cheese (yum!) at the exit.
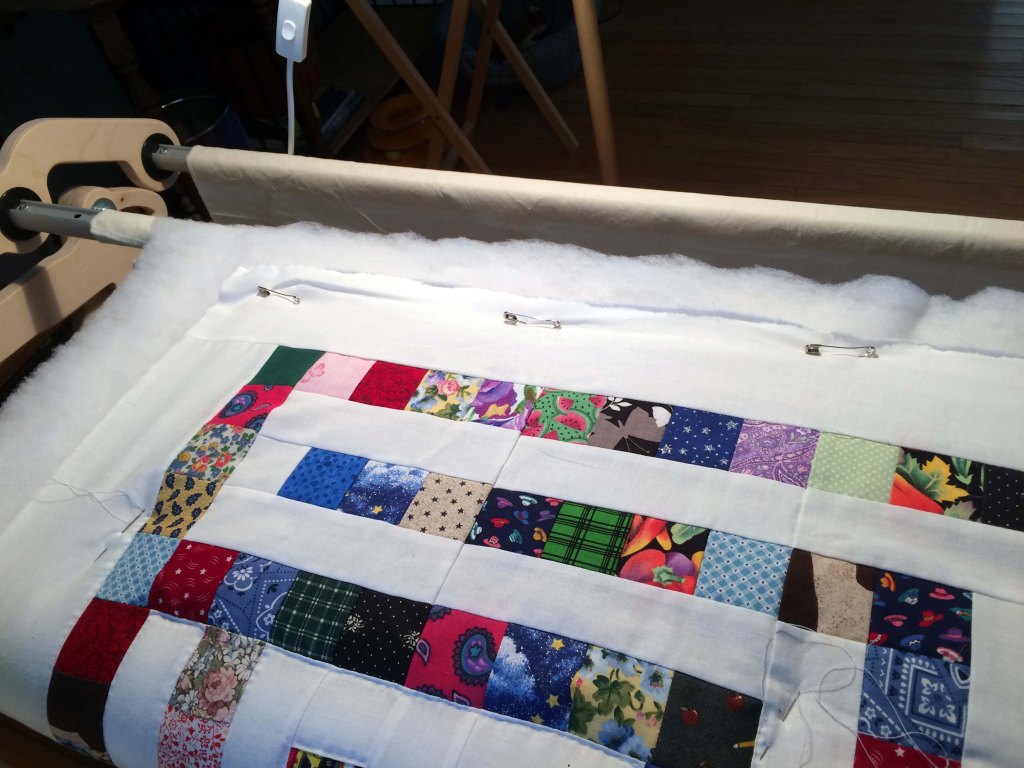
For quilting I got out my Grace EZ3 quilting frame. I was skeptical at first, having to attach the three layers to two separate poles, but when I pulled the finished quilt off the frame, it was perfect. It preserved some of the loft of the batting. There was no large pucker that I would sometimes find after quilting in my lap without a frame. I’m sold, and very happy.
I used information from other quilt bloggers to cut bias binding for this quilt, settling on this post from Sew Can She to refer to. It seemed very confusing to me, but if I completed it one step at a time then referred to the video again and again, I could do as she did.

This was my first chance to try my new binding foot. It allows me to stitch once and accurately to attach binding to anything. I found that, since my foot has a bit of an uplift in front of the stitching, it worked best if I held the fabric up a little bit as it feeds into the foot.

Now this beauty is going to fly to Canada to comfort my first biological grandchild, a sweet little boy. I can already see him as a toddler running his trucks over the paths and making rumbling engine sounds and screechy brake sounds. Much like his daddy did as a toddler, but with this wonderful quilt.


Do you have chart for this quilt
Hi Debbie, on the post titled “More Design on the Maze” there is a link to click. It shows the grid with the colored fabrics showing as black, white fabric as white, and space between each block that is yellow, as if laid out on a yellow surface.