A Goldilocks Moment

I found the “just right” size of bean bag frog from my Jr. High years. McCalls had come out with a pattern in the early 70s for a bean bag frog. The mother of a friend made several of them for the friend to give away. Somehow I came up with the name Uncle Dudley for mine and it stuck. I played with Uncle Dudley for a long time but I don’t know what happened to it.

Pinterest showed me the frog and I searched for just the right pattern. It couldn’t be a different version, it had to be the original Uncle Dudley. While I couldn’t find the original paper pattern for sale, I did find someone who specializes in recreating vintage patterns, and I jumped on it. It came with several sizes of patterns to print.

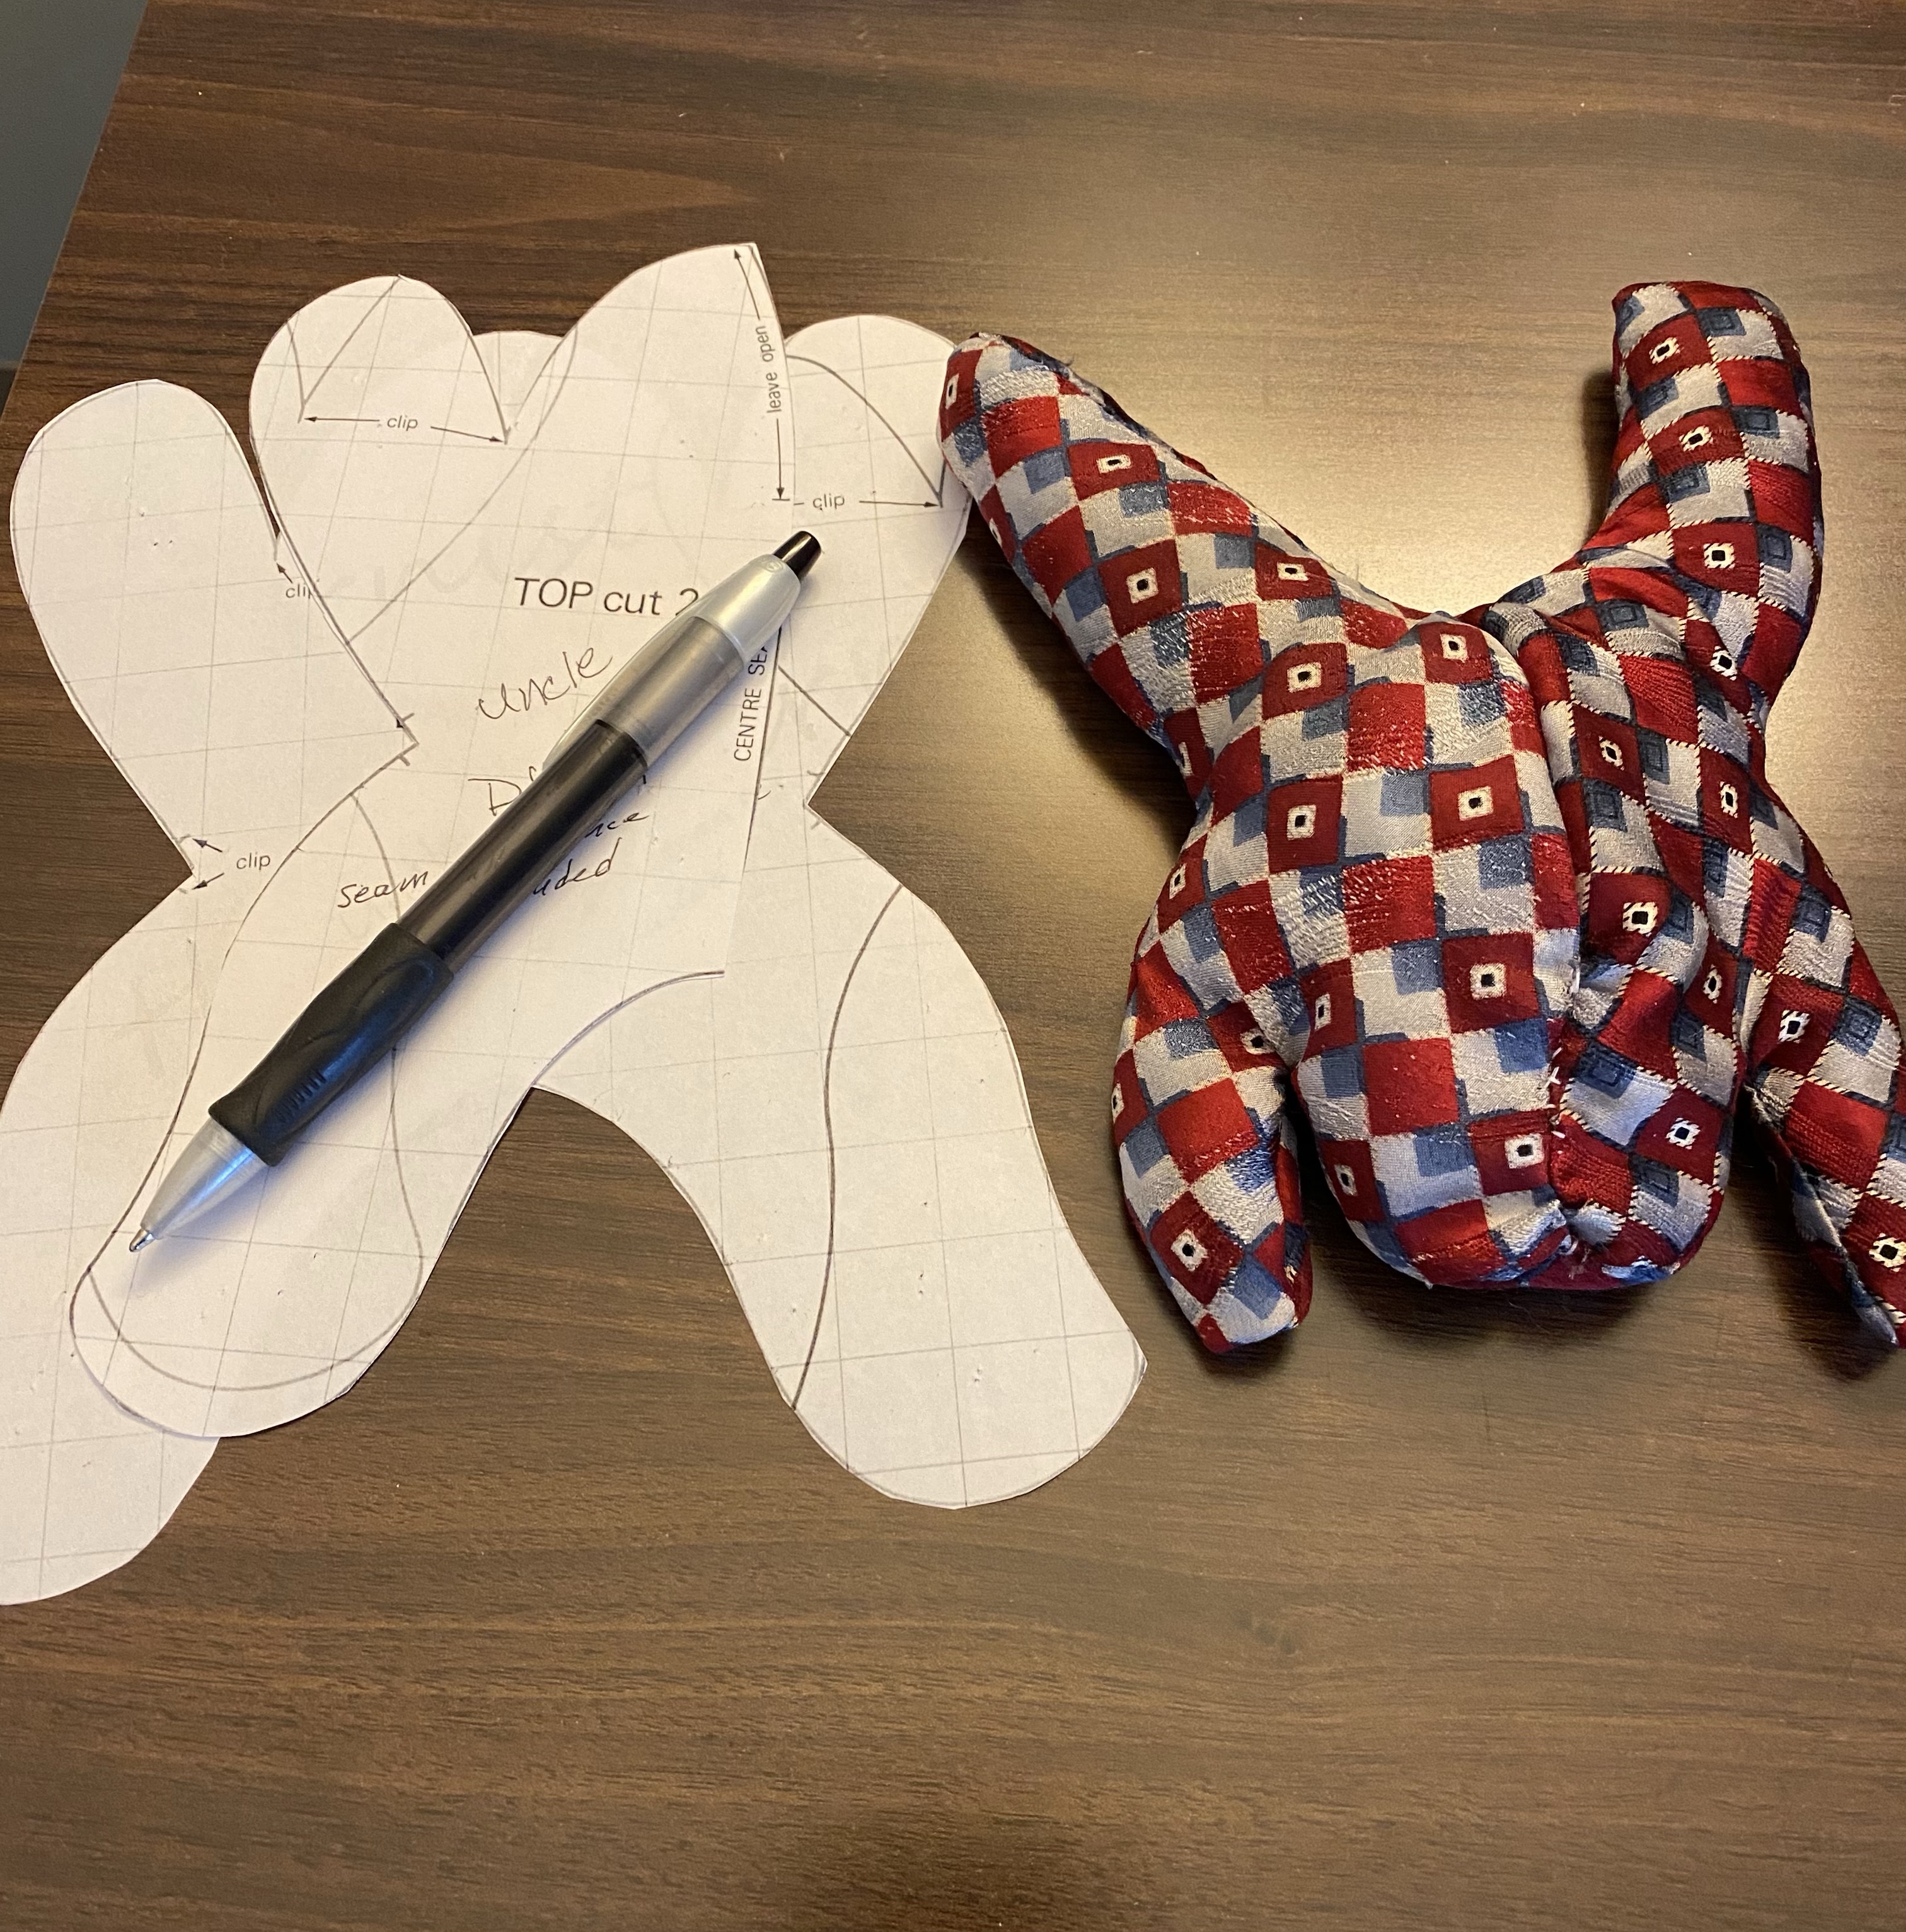
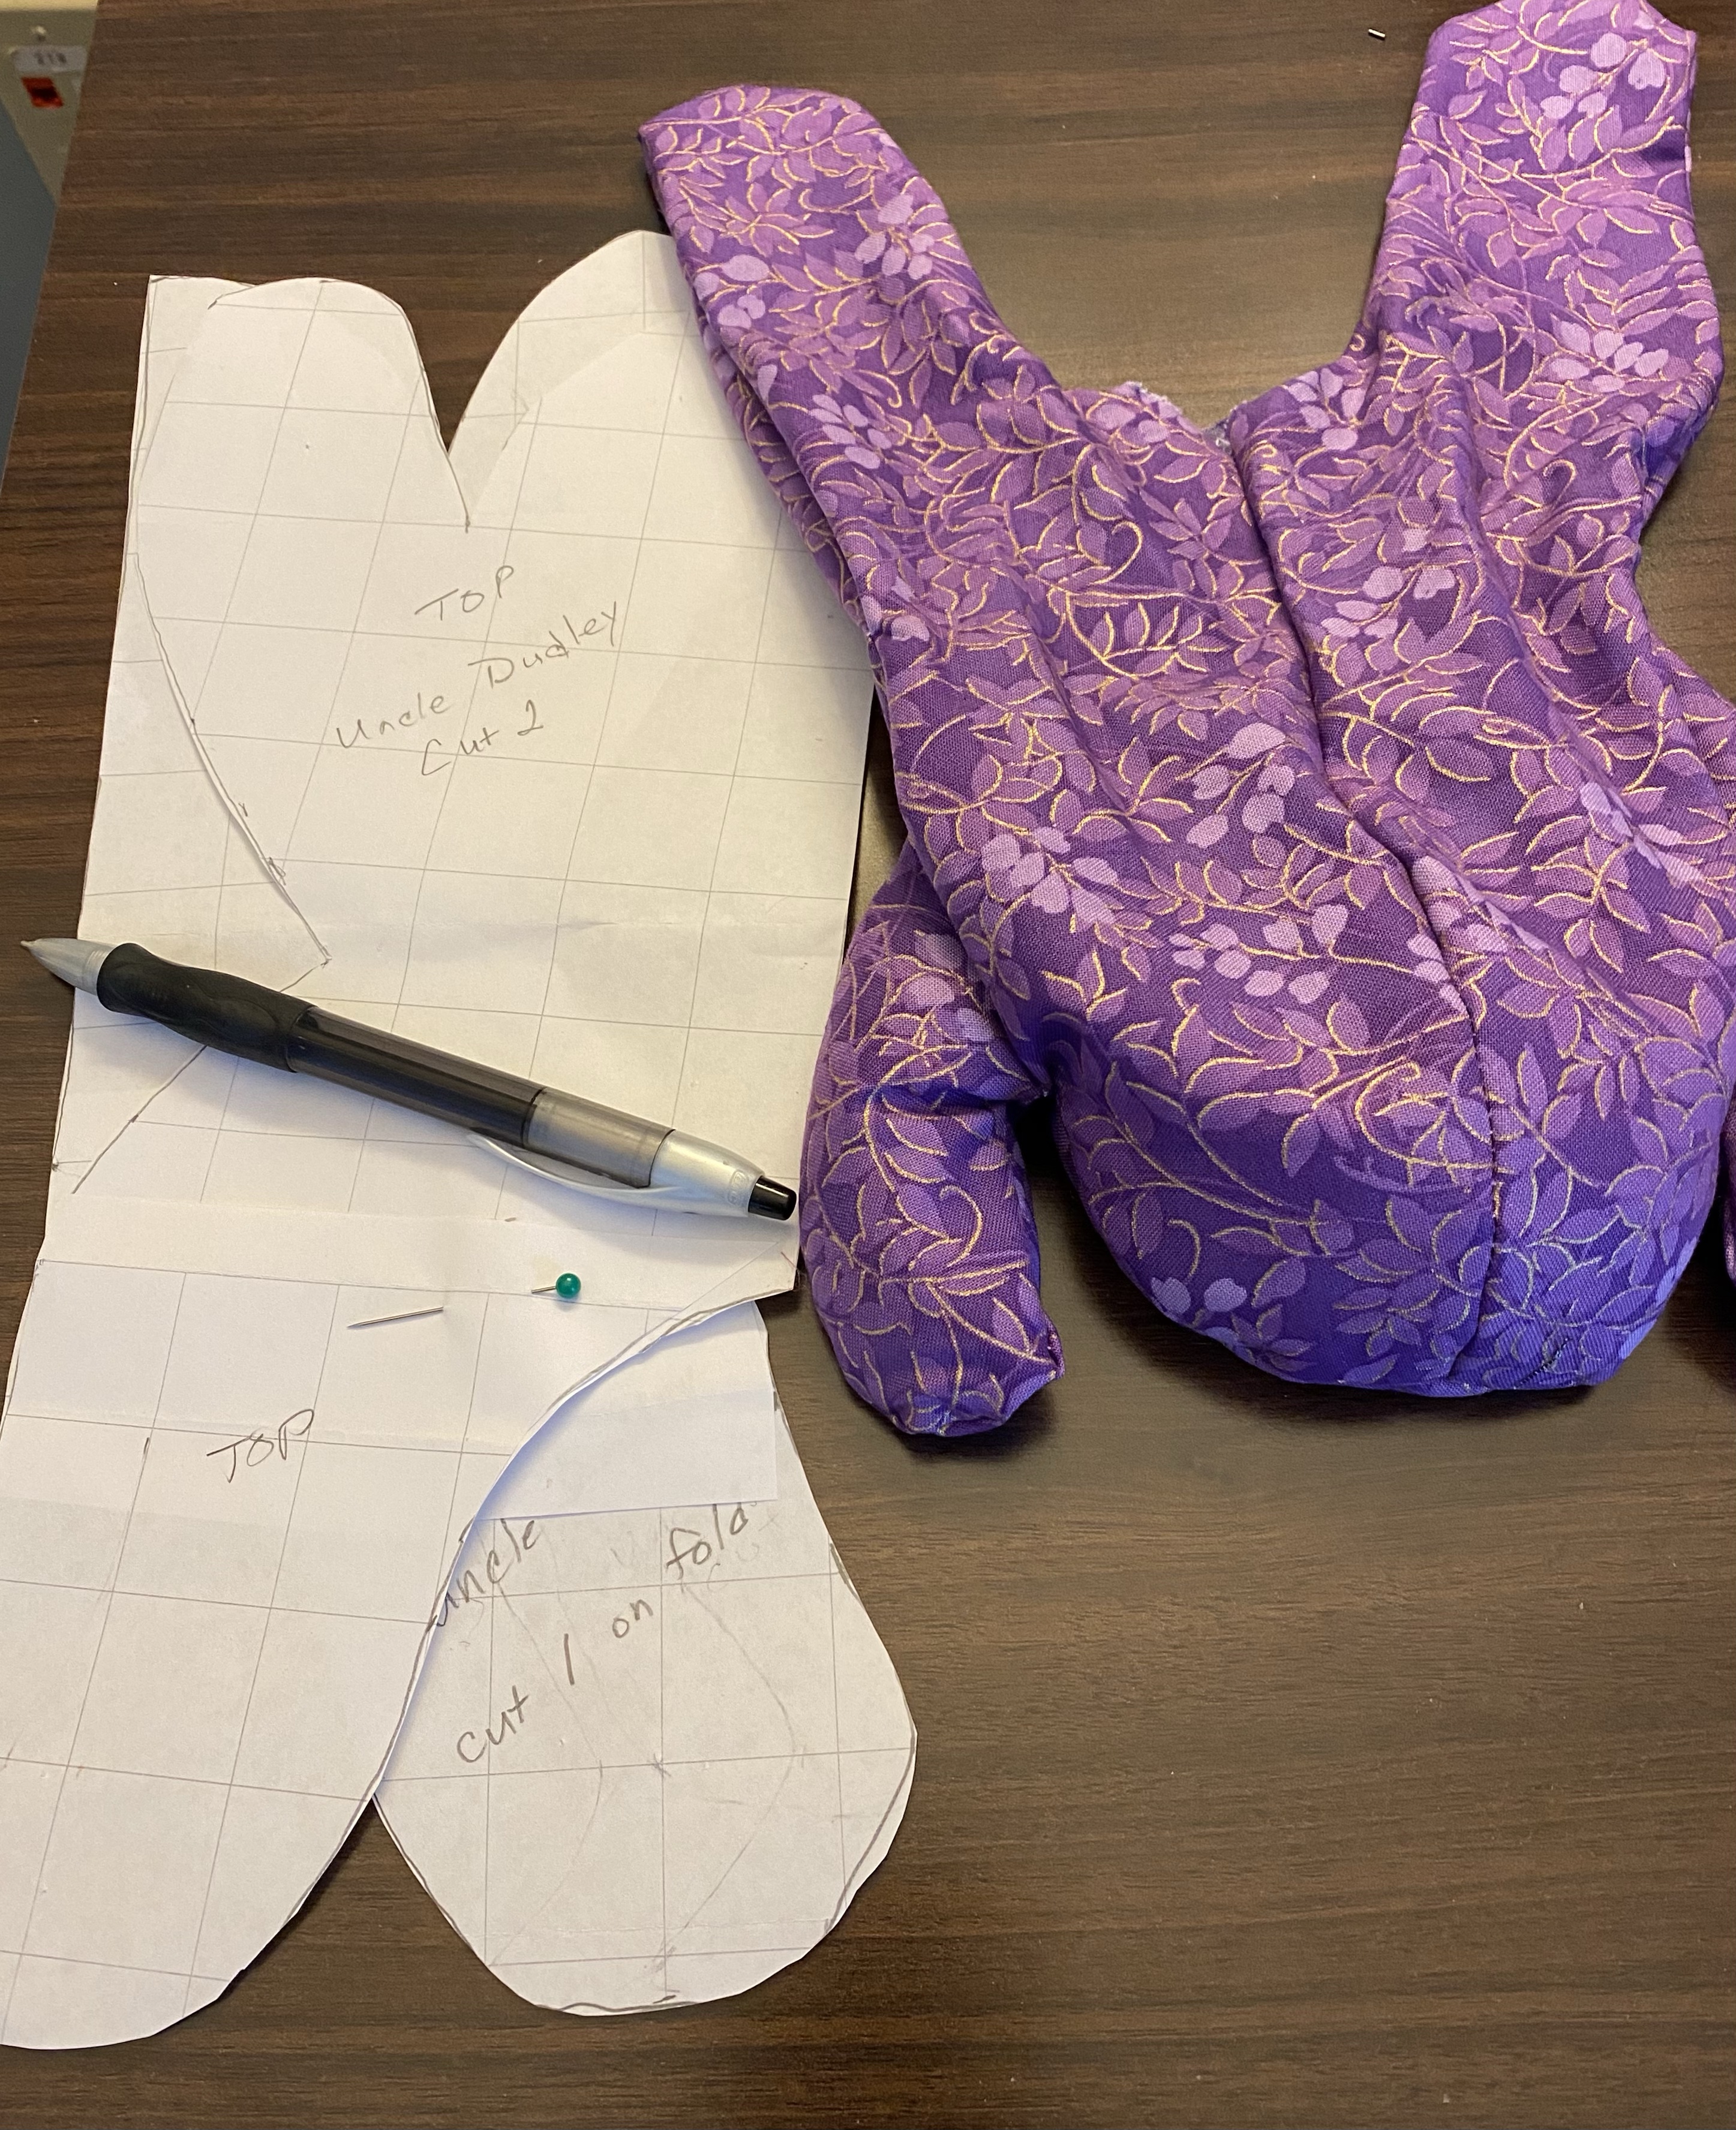
The first one was too small. It was small enough to make from a man’s red tie, but I wanted the right size. Using grid paper, I enlarged the squares to double the size and made it in purple, but that was far too large. I didn’t even finish stuffing that one. I went to the printer again and found a medium size and it’s exactly right.

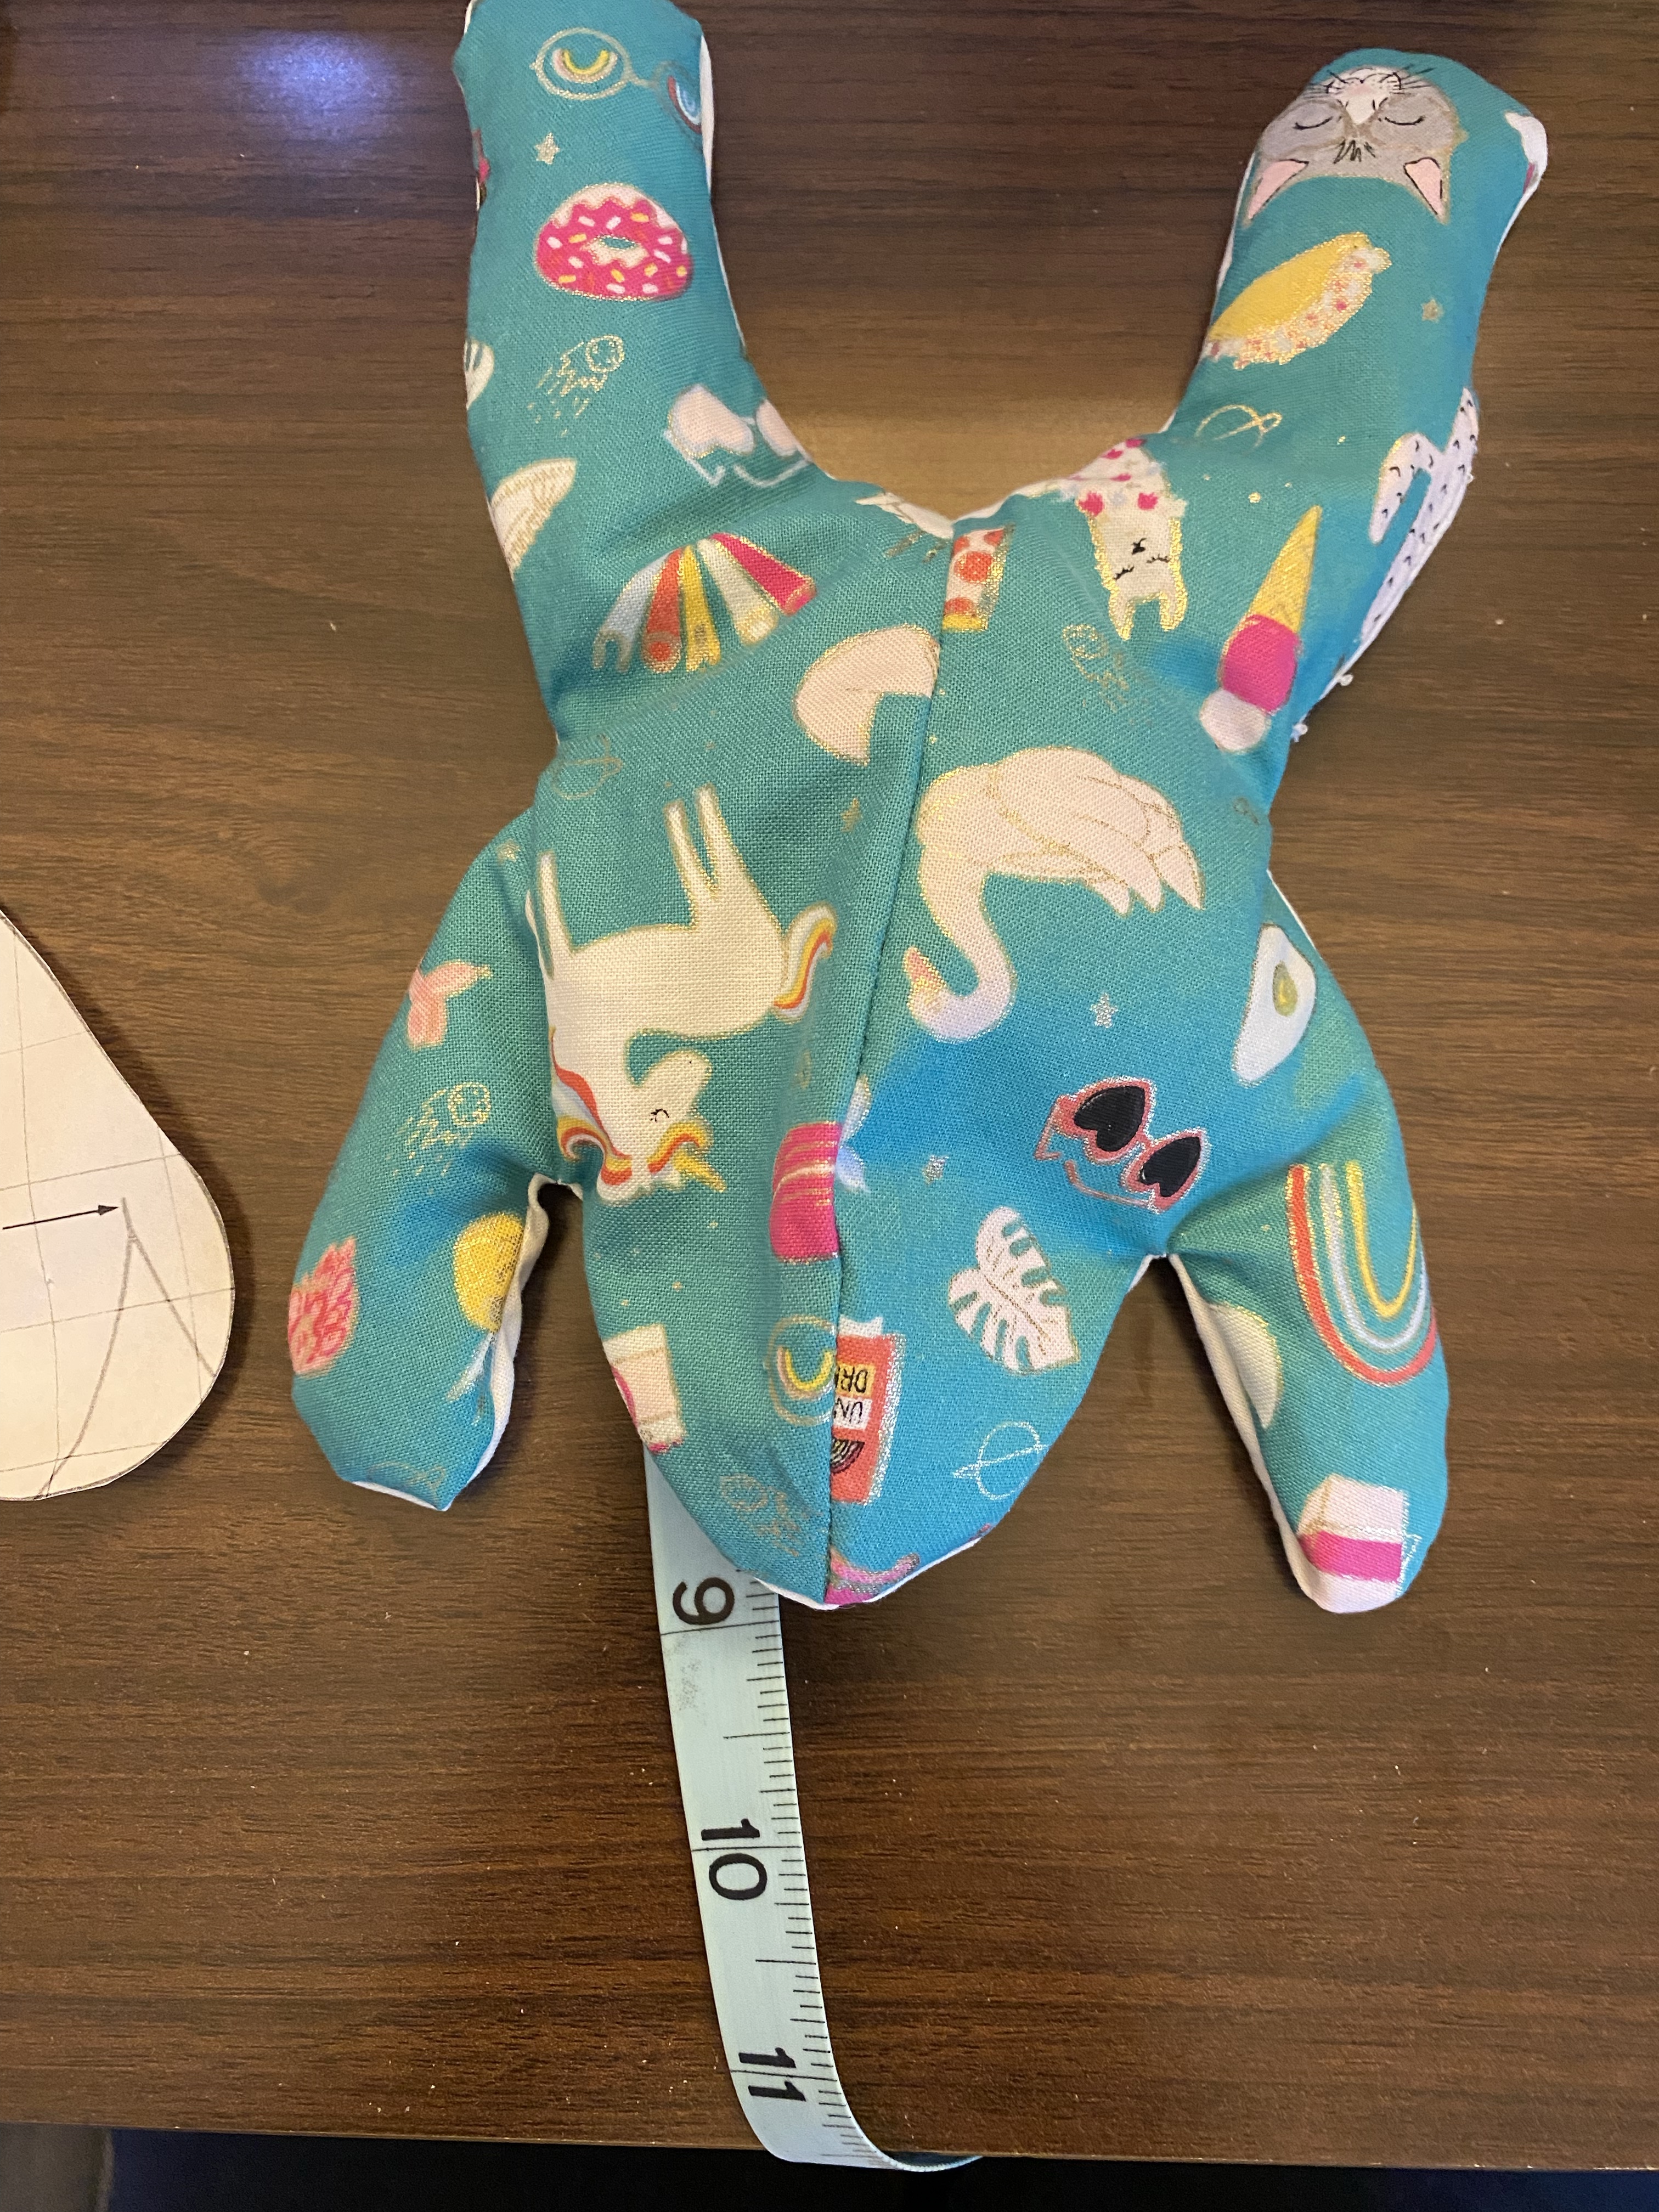
The final version is 9 inches from toe to nose. I changed where the opening is for turning and stuffing, because I wanted my hand-stitching more hidden than where the pattern said, although it would have been easier to stuff. If you try bean bag animals, be sure not to stuff it completely full so you can pose it a bit. What I had on hand was rice, but I think bird seed would have a better feel and flow to it.

Textural fabrics would really be great for this pattern. I found some embroidered denim at JoAnn Fabrics that spoke 70s to me, but the scale was far too large. Remember all the chambray shirts and denim jeans that were hand embroidered in bright colors back then? Corduroy, satin, microsuede, flannel, there are so many fabrics that would be fun to try.

I hope you enjoyed my hop down memory lane.

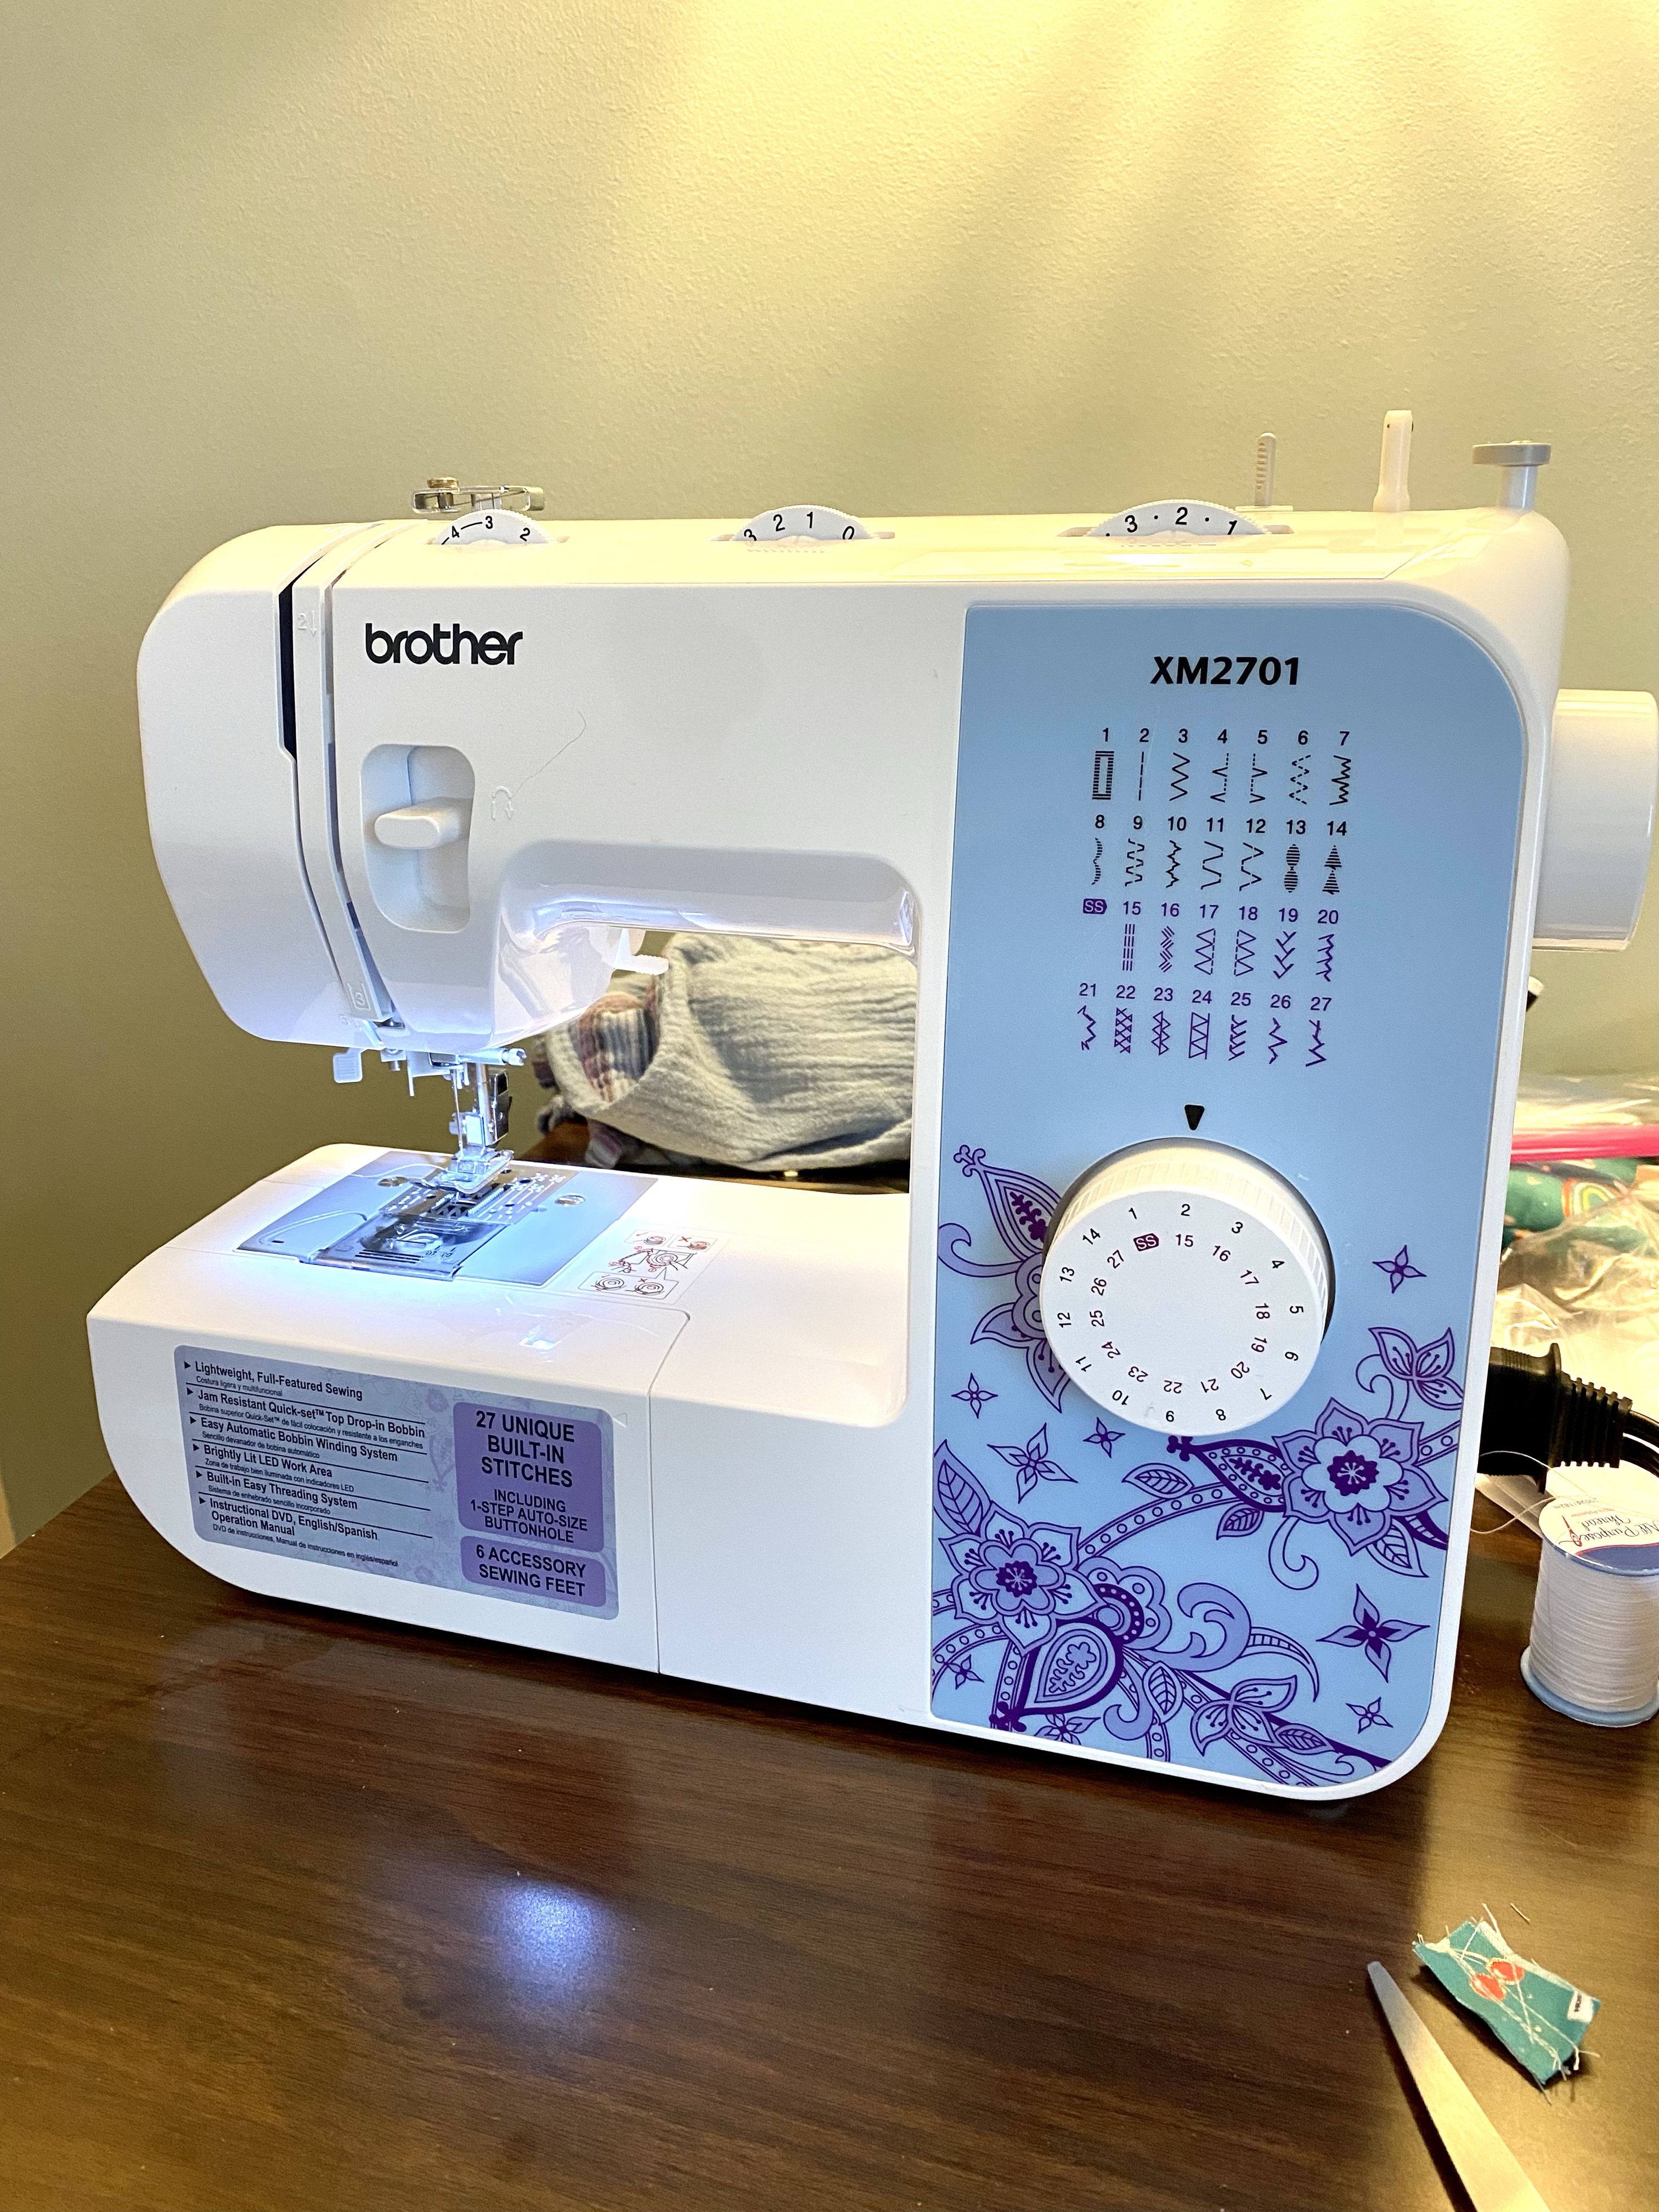
Here’s a look at the sewing machine my granddaughter let me borrow. It’s pretty basic, but a great entry model for her and a great interim model for me.

Sewing lessons

I have a 9-year-old granddaughter who loves to sew. She has received my hand-sewn gifts since she was born. A couple of years ago she wanted a sewing kit that included pieces to cut and sew by hand. The result was a small mermaid stuffie. Since then she would pick up needle, thread, and fabric, and sew creations by hand. On her 8th birthday her parents gave her a simple Brother sewing machine. That’s how it started.

I got a photo in a text soon after, showing a pillow she sewed and she was so proud of it! I said then that I need to give her some sewing lessons. Then – pandemic and isolation.

We’ve had some fairly regular visits, though not often. About every 2 months her mom brings all the kids to visit us, and lately they pack along the sewing machine. I’ve never given lessons, but I created an outline of how I think it will go.

I knew her first lesson had to be simple. She had to start to get used to her machine, and how to feed the fabric into it. I found a tutorial for a bean bag chicken on redtedart.com and it looked simple enough. The first lesson included:

  • DON’T run over the pins!
  • how to pin
  • how to cut
  • 1 scissors for fabric/1 scissors for thread
  • backtack beginning and end
my sample chicken

The result is a cute little chicken. I have enough stash that she could find a fabric she loved, plus a few other pieces to take home and make more chickens, or anything she wanted to do.

I gave her some homework as well. I drew a spiraling square on white fabric, and told her she was to sew on the line, stop with needle down at the corner, turn the fabric, and sew some more. Another piece of homework was similar, with a spiraling circle so she could practice gentle curves. She began each one so I could see how well she did, and she did the rest at home.

Second lesson: She has a Wellie Wishers doll and I pulled a few doll clothes patterns. I should have made samples first, like I did with the chicken, but forgot. She chose a doll dress. I wanted to introduce her to clothing construction and she learned:

  • seams are hidden
  • hems can be topstitched
  • pin pattern to fabric and cut around it
  • parts of a dress: bodice and skirt
  • pin “right sides together”

Our time is always limited, so she wasn’t able to finish the doll dress. She will finish it next time, and also do something simple so she has two completed projects. I have plenty of ribbon, lace, and buttons, so she can design the details how she wants to.

(Pattern credit Vanessa Knutsen)

I decided to work up a couple more doll clothes patterns to see what would be at her skill level. I made a peasant top and a pair of pants in flannel.

The peasant top was too hard, I fought it all the way with the tiny neckline and waist, and inserting elastic. The pants were much better. She noticed my serger and wanted to learn on that too. I think I’ll have her make a couple of pants, one on the sewing machine, one on the serger. The point is to help her learn enough to take off on her own, but also to use the resources she has at hand.

After doll clothes, I think the next lesson will be sewing some accessory she might like, such as a tote bag or fabric basket. Doll quilts are always an option. She loved the string quilting on the recent coin purse I made, and we’ll likely do a doll quilt or something with that. She seemed skeptical when I told her it was easy and she could do it too.