Fooled me

A few years ago I was at an auction and through the crowd I glimpsed an unfinished quilt. I wasn’t close enough to examine it first, but I felt great knowing I got a steal at $15.

After finishing the maze quilt I got it out of the box where I had it stored, thinking I would finish it. I love the bowtie pattern, and I’ve made two bowtie quilts before so I know the skill it takes. With blues and browns, I wouldn’t use it long-term in my green bedroom, but I needed something fairly quickly and it would do. I laid it out on the table and then it hit me – it’s a cheater.

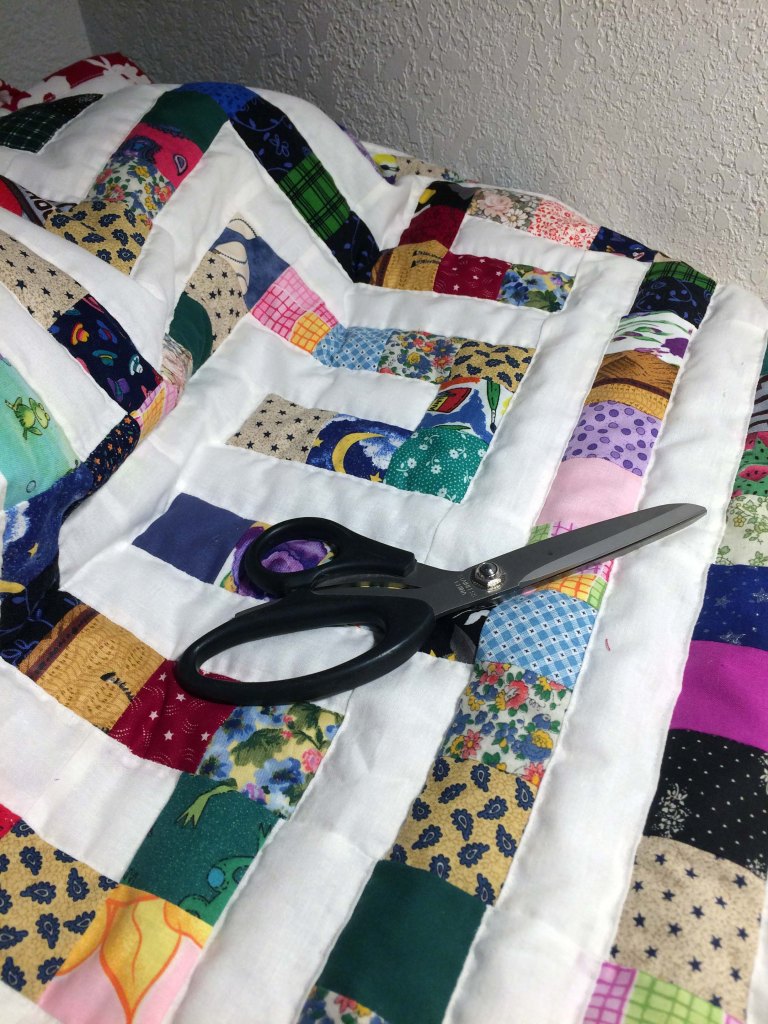
A cheater is a fabric panel that mimics a pieced quilt. My first clue is that the edges ended somewhere within a block. A quilter wouldn’t do that! I looked more closely at it. Oh well.

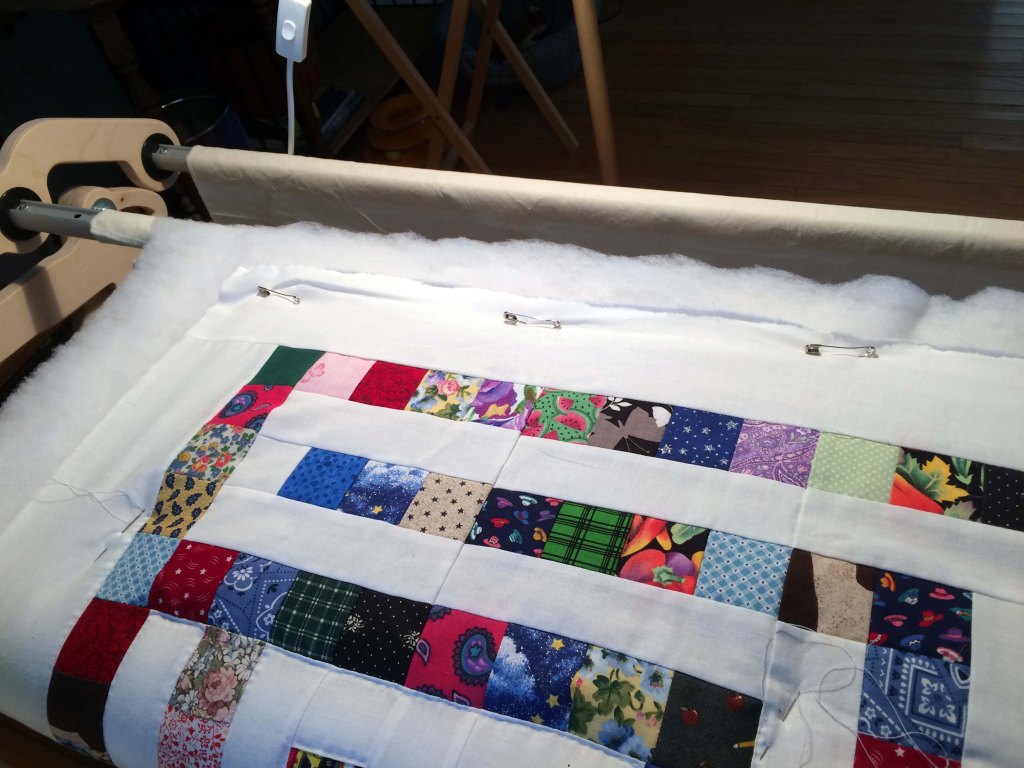
It was quilted all over by machine, so someone else needed something in a hurry, then abandoned it.

I needed binding, so I got out my scraps. I found something I think had a similar tone and intensity. I visited my favorite fabric store and there was the same fabric on the bolt! I bought a yard and made my binding. To have enough for a queen sized quilt, it would become very bulky if wound on a card so I made a ball. It settled very nicely in a gap near the right side of the machine.

This time, I fought the binding foot all the way. On the fourth side of the quilt, I gave up the struggle and attached the binding my usual way. I stitched down the back side, folded the binding over to the front, and topstitched. Finally!

There’s no lesson here, just my story of what I spent my weekend on. It’ll do for the short-term, and when I have the barn quilt finished, this one will work fine on a guest bed.

Maze quilt finished

Any quilter can tell you this – I know where the mistakes are and I’m not telling!

I love how it came out. In my mind it wasn’t quite as large as this, but the blocks kinds of took care of themselves.

I had pieced this quilt top in 2012. I remember where we lived (temporarily) at the time and I had it packed away for this baby. My son had only just met his wife at that time. I blogged this information in previous posts, but a summary is this: I found a site online that allowed me to create a maze. I found one with entrance at the left, exit on the right, and about the size I thought I wanted it to be. I printed it and subdivided it so that I could make it one block at a time. I followed it as a pattern, using color patches for the black “walls” and white for the path. Everything was labeled obsessively! I joined the patches and put it away for the future.

Another daughter-in-law looked at the color patches and recognized several from the quilts I had made and given when her sons were born. I love scrappy quilts for this reason – they use the small scraps and so many of them, and they appear in many quilts. If you’d like to see some of the other scrappy quilts, click here to view my photo gallery. Of course, for each patch I also see the other projects I had purchased the fabrics for originally, like a costume, a dress for myself, a play outfit for my stepdaughter.

I had to add a white border, and I recently embroidered the mouse at the entrance, and a wedge of cheese (yum!) at the exit.

For quilting I got out my Grace EZ3 quilting frame. I was skeptical at first, having to attach the three layers to two separate poles, but when I pulled the finished quilt off the frame, it was perfect. It preserved some of the loft of the batting. There was no large pucker that I would sometimes find after quilting in my lap without a frame. I’m sold, and very happy.

I used information from other quilt bloggers to cut bias binding for this quilt, settling on this post from Sew Can She to refer to. It seemed very confusing to me, but if I completed it one step at a time then referred to the video again and again, I could do as she did.

This was my first chance to try my new binding foot. It allows me to stitch once and accurately to attach binding to anything. I found that, since my foot has a bit of an uplift in front of the stitching, it worked best if I held the fabric up a little bit as it feeds into the foot.

Now this beauty is going to fly to Canada to comfort my first biological grandchild, a sweet little boy. I can already see him as a toddler running his trucks over the paths and making rumbling engine sounds and screechy brake sounds. Much like his daddy did as a toddler, but with this wonderful quilt.

Day Three, feeling productive

I’m enjoying this challenge I set for myself.  At one point I wondered if I would run out of projects and have to make up some baby quilts to have on hand for “just in case”….then I remembered. I’m supposed to be sewing some window treatments for my mother-in-law, and I offered to make a signature wall quilt to commemorate my Aunt and Uncle’s 50th wedding anniversary this summer. I need to have those blocks together and ready to sign by August, then I can put together and quilt it.

Meanwhile, back in the sewing room, I made a binding for the rainbow baby quilt and put it on. I bought a blue fabric, very close in shade to the blue in the quilt, and made my own binding. I have one of those handy little folder things so I can press the folds as it comes out of the end.

I do not claim to make perfectly executed sewn goods, but I love how I make them and I figure the imperfections would just remind the recipient of me. I found a stitch that I love, on my Singer Professional, for adding binding to a quilt. Since I know I will be off and on the mark as I sew, I found a zig-zag stitch with one longer reach every few stitches, and it looks pretty peachy to me. I love how it came out, and I’m very likely to use it over and over again.