It seems there is no booth available for me at the flea market, at least not for a while. I decided to list what I have made on Etsy. I reopened my shop, Quiltinprogress, just like the blog. So far I have only listed some of the zip pouches, but more pouches and more items will be coming soon.
I have plans to make zipper pulls with beads and charms, coasters and coaster sets, and even tote bags. I will have them priced with free first-class shipping, with the option to pay for Priority to receive your goods faster.
I decided to explain how I’m coping without a rotary cutter and mat. Yes, it’s like the days when I first started quilting. I don’t always want to measure, and luckily with the pouches I’m making I really don’t have to.
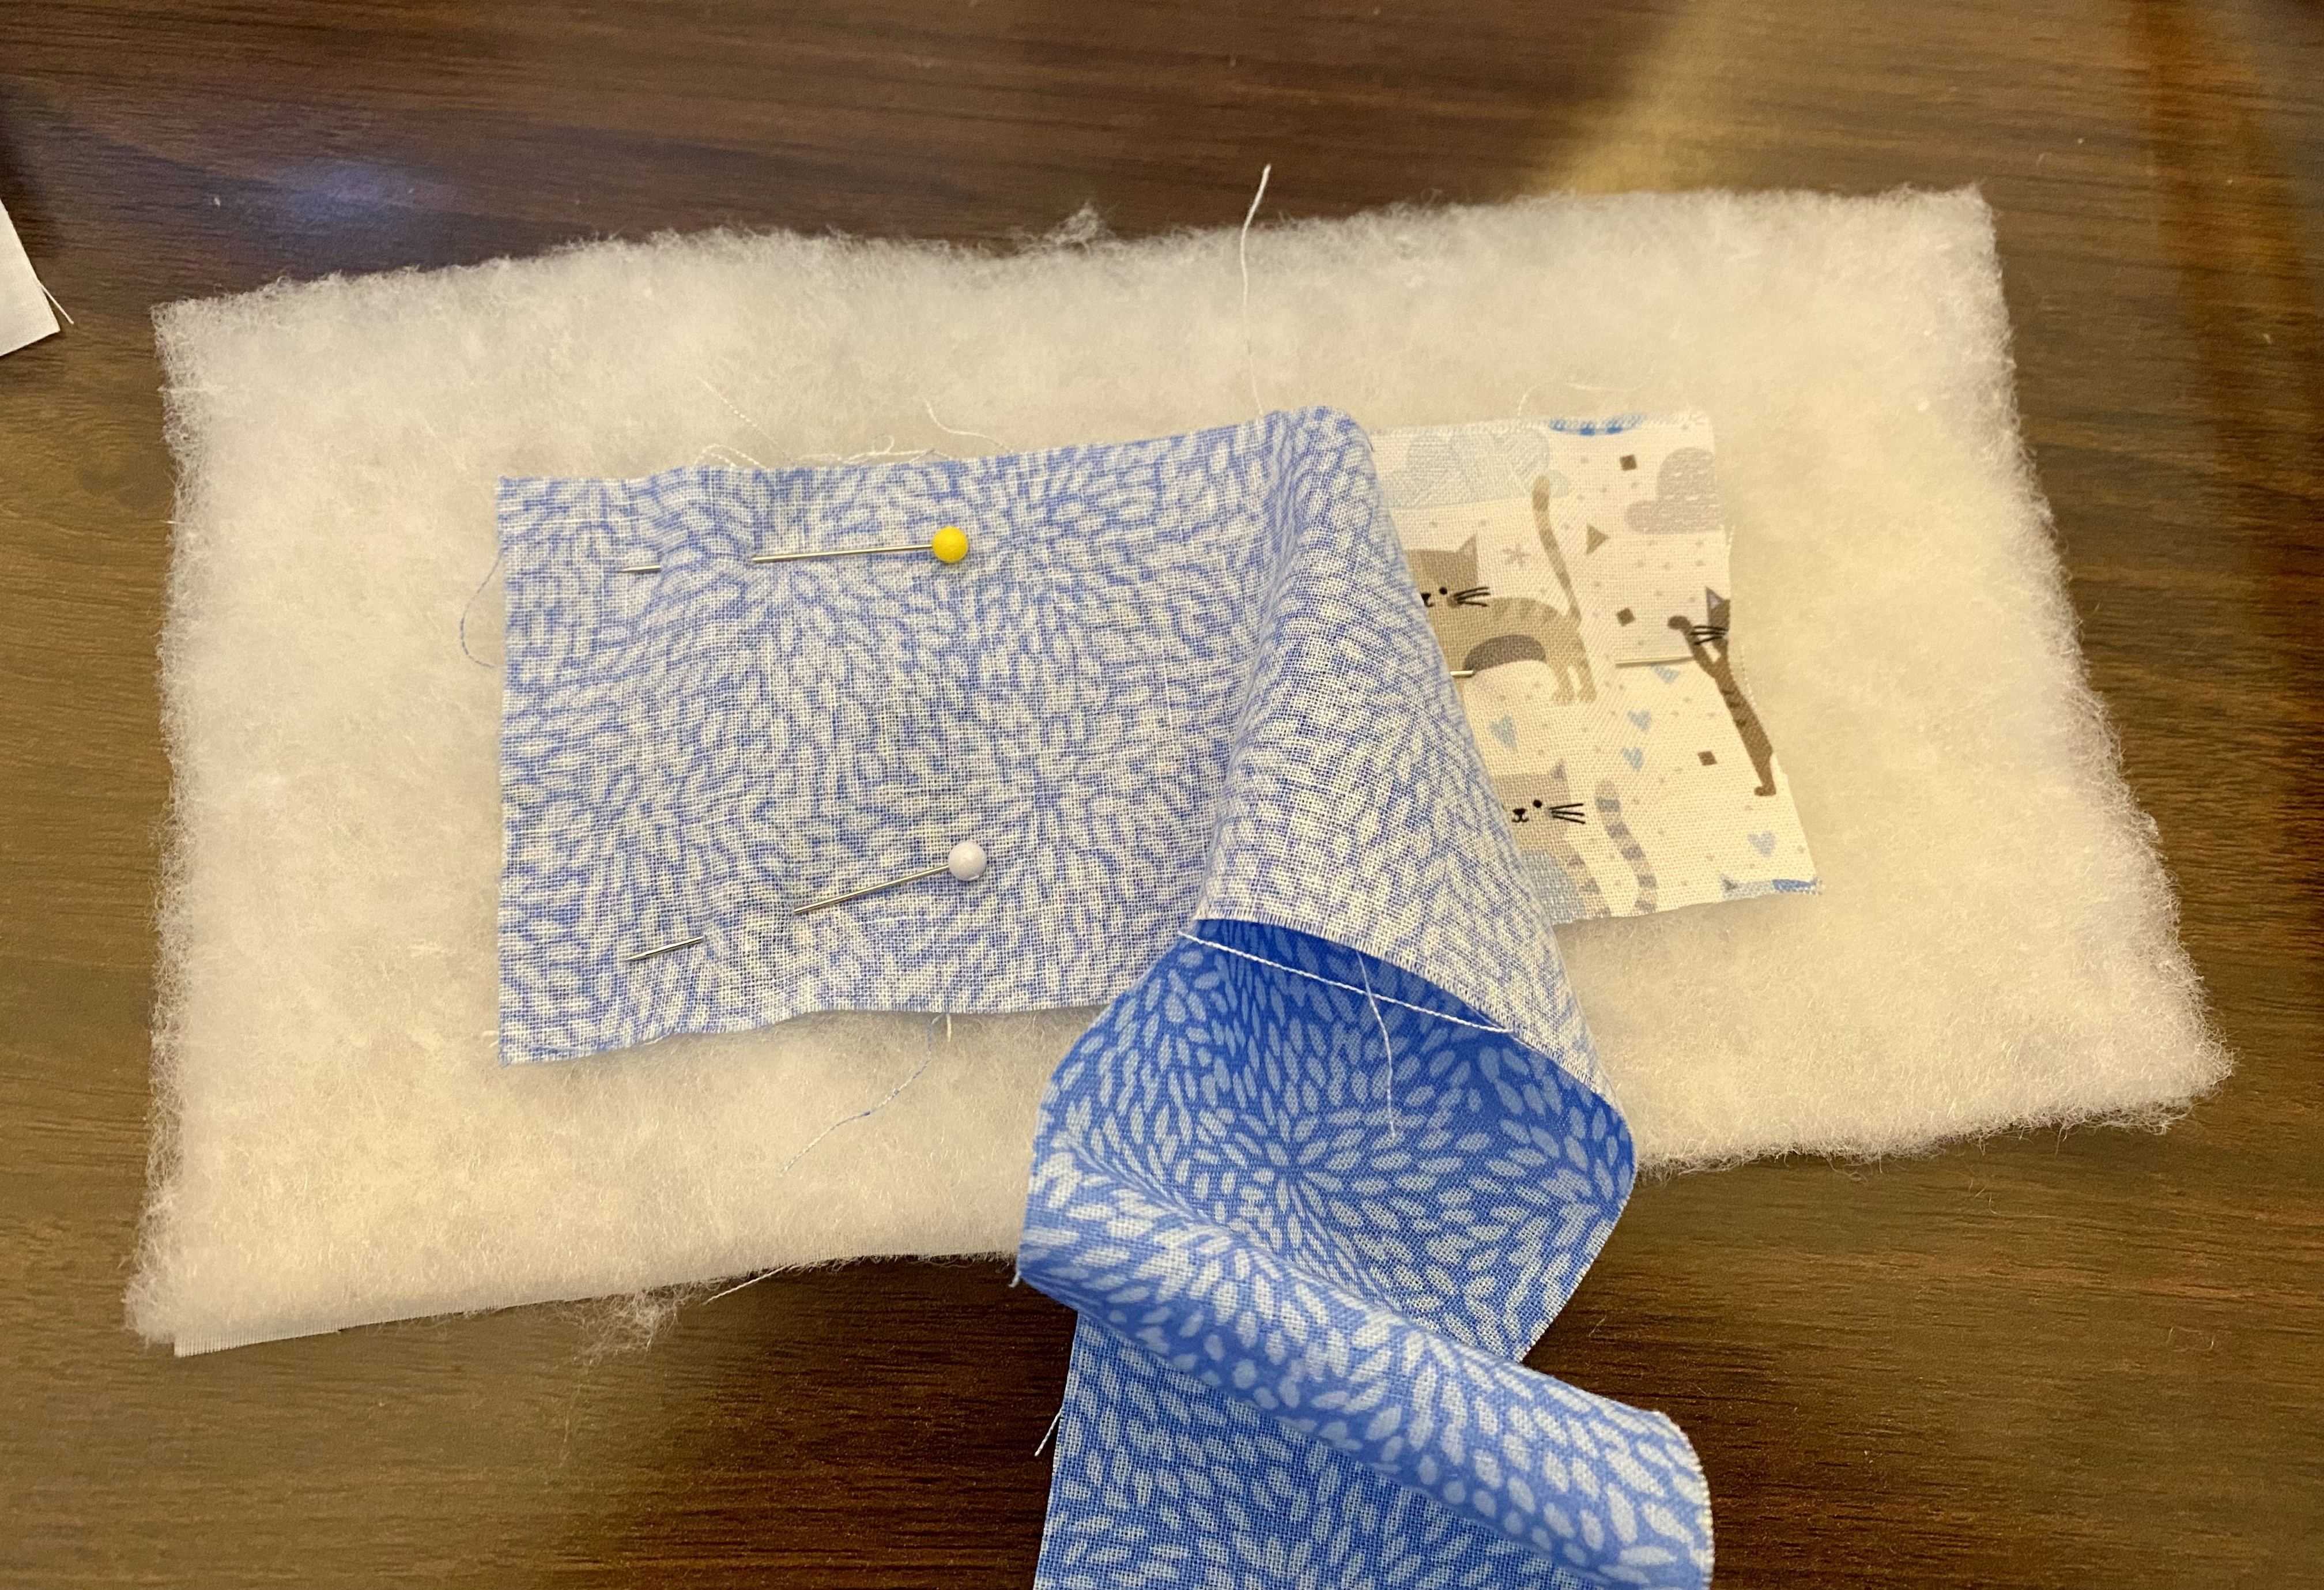
For this cat pouch I eyeballed the size of the cat fabric I wanted, then cut to the size I felt looked good. I centered the fabric by finding and marking the center of the batting/backing and the cat fabric, then pinning in place.
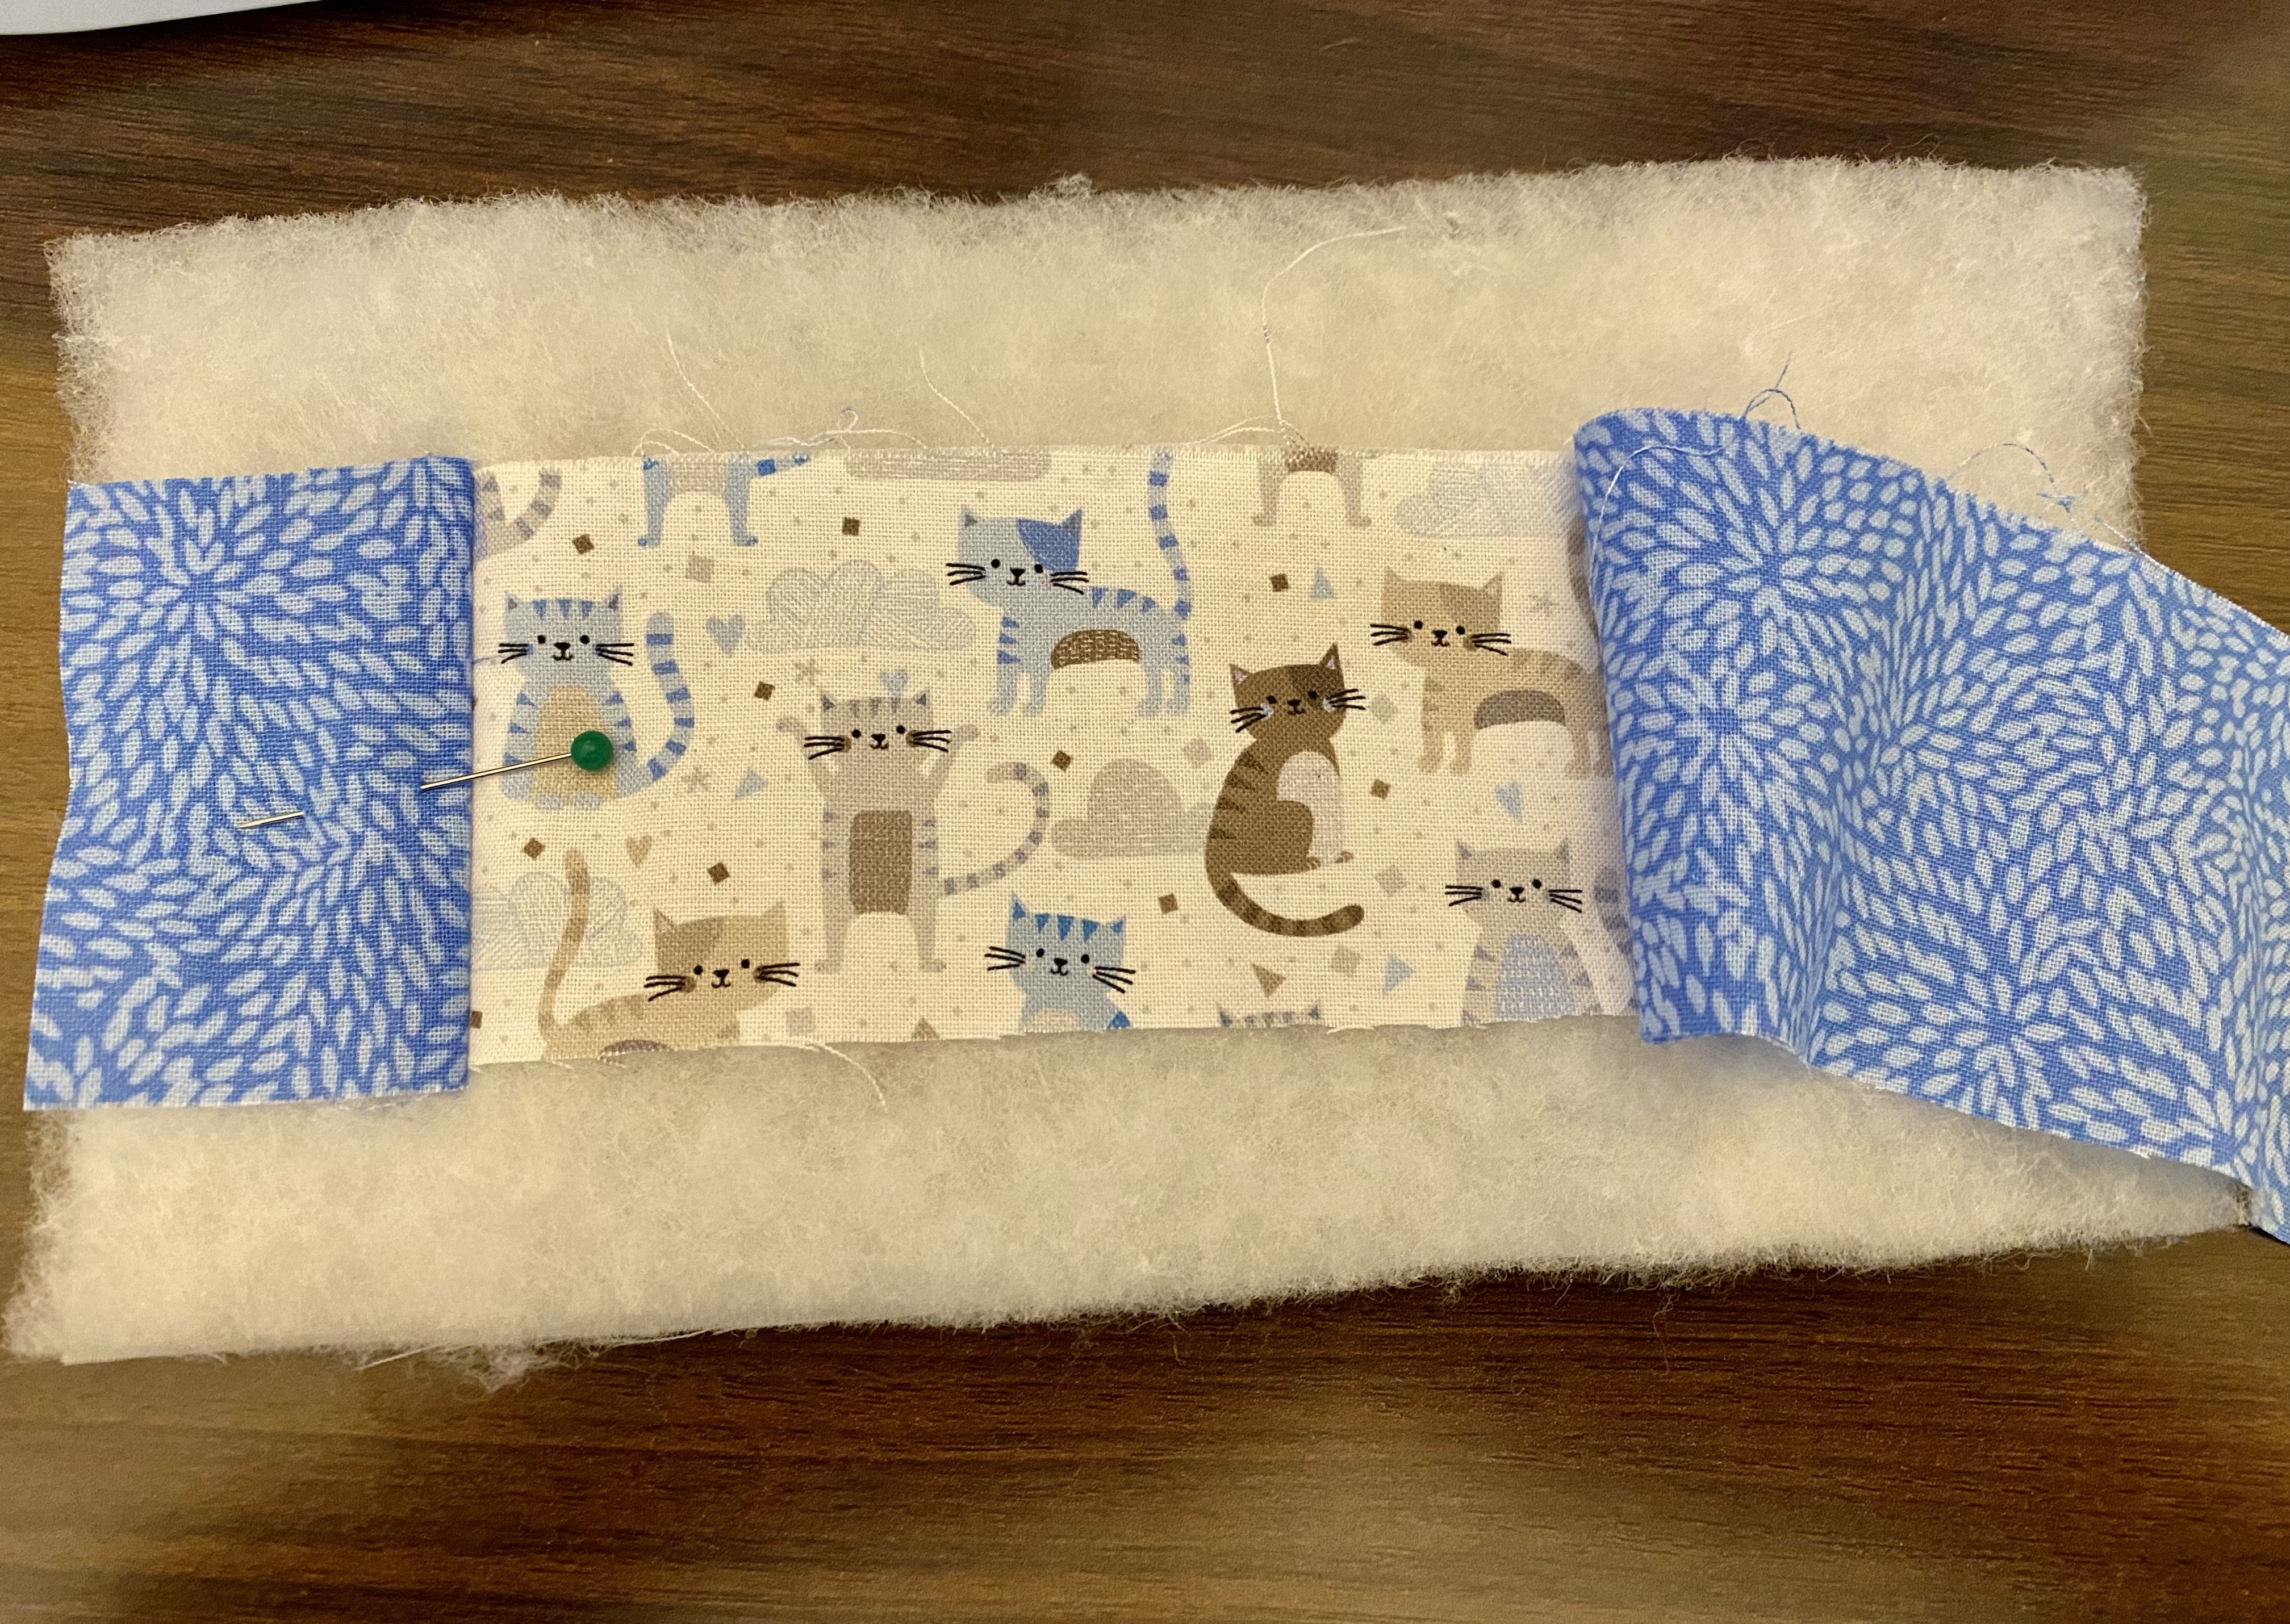
The blue accents to the side were just cut as a long strip of the matching height. I sewed it to one side of the cat fabric and trimmed, then did the second side the same. Flip, trim, press.
Again, just like before, the grey strips were cut to the appropriate height and stitched down. When the fabrics were all stitched, I trimmed the edges, making sure the two sides were identical. Last steps were to add the zipper and sew the edges.
The weather is warming up here in SW Missouri, and it will soon be auction time. We love to attend auctions to buy things we need, and even more things we don’t need but can’t resist. It’s a great way to get into collecting. I found out about vintage glassware makers and designs by paying attention to which ones bring higher bids, then researching them online.
Mostly I like to buy sewing machines. My favorite turn-around was when I purchased a Singer 99K. I bought it at auction as part of a 2-fer, 2 sewing machines, $4 total. The other was a National and was sold at our own auction. I held on to the 99K until I realized I just couldn’t have extra machines, and sold it for $125. All I had to do to get it running was to oil it, and put a new light bulb in a socket.
What do I not like about auctions? My purse. A shoulder bag will slip off my shoulder when I lean over to look at something. A hand bag just gets in the way so I set it down. Then I sometimes walk away, and have to go back for the purse. I think the best design will be a crossbody purse so it won’t slip, won’t fall, and everything is handy. All it has to carry is my ID, checkbook, pen, phone, and a little cash.
The first thing I decided to make was the small zip pouch to hold the small items like ID. I wanted to use small pieces of favorite fabrics. I got out the box of partially completed mug rugs and saw some possible designs. Chevron, wonky Round Robin, braid, or strings. I decided to do strings on point, like I did for this quilt.
Quilt-as-you-go designs
Now to make the patterns. I used a gift card and drew around it on cardstock, then added 3/4 inch. That is the pattern piece for the batting. I drew around it again on cardstock and added 1/4 inch for the seams. I cut two foundation pieces from this pattern piece.
I worked with both pieces at the same time, what is known as chain piecing or assembly line sewing. Pin the batting in the center of the foundation fabric. The first strip ran diagonally from lower left to upper right. I pinned it in place, then chose the next strip and laid it face down along the edge of the first. By stitching one line after another, there is no long tail of thread to have to hold, and it goes a bit faster.
string quilting
Continue adding one strip at a time. I worked from the center toward the corners. When you have all the foundation covered, press.
Turn it foundation side up, and trim off the colorful fabric so it is even with the foundation fabric. You have two layers of fabric that is the seam allowance, 1/4 inch from the batting.
Decide which edge is the top. That will be sewn to the zipper. The zipper length will be determined by the size of your pouch.
Place the zipper face down at the top edge of one side. Since I had a zipper longer than the fabric, I let it go beyond the edges both at the left and the right. Stitch next to the teeth of the zipper. Fold the zipper up so it is right side up and topstitch.
topstitching
Place the second side of the pouch face down at the upper edge of the zipper, pin and stitch. Turn and topstitch. I didn’t get a photo at that point, but you will have a zipper in the center, with one side above it and one side below.
Match the sides at the edges, right sides together. Pin along the sides and bottom. At this point, be sure to unzip partway. You want the pulltab between the edges.
Stitch around the sides and bottom. You will stitch across the zipper at both ends. Clip the bottom corners diagonally.
Snip off the ends of the zipper outside of the pouch stitching. At the right you see I had left the metal stop. I had to snip off that stop after finding out it made a large bulge when turned right side out.
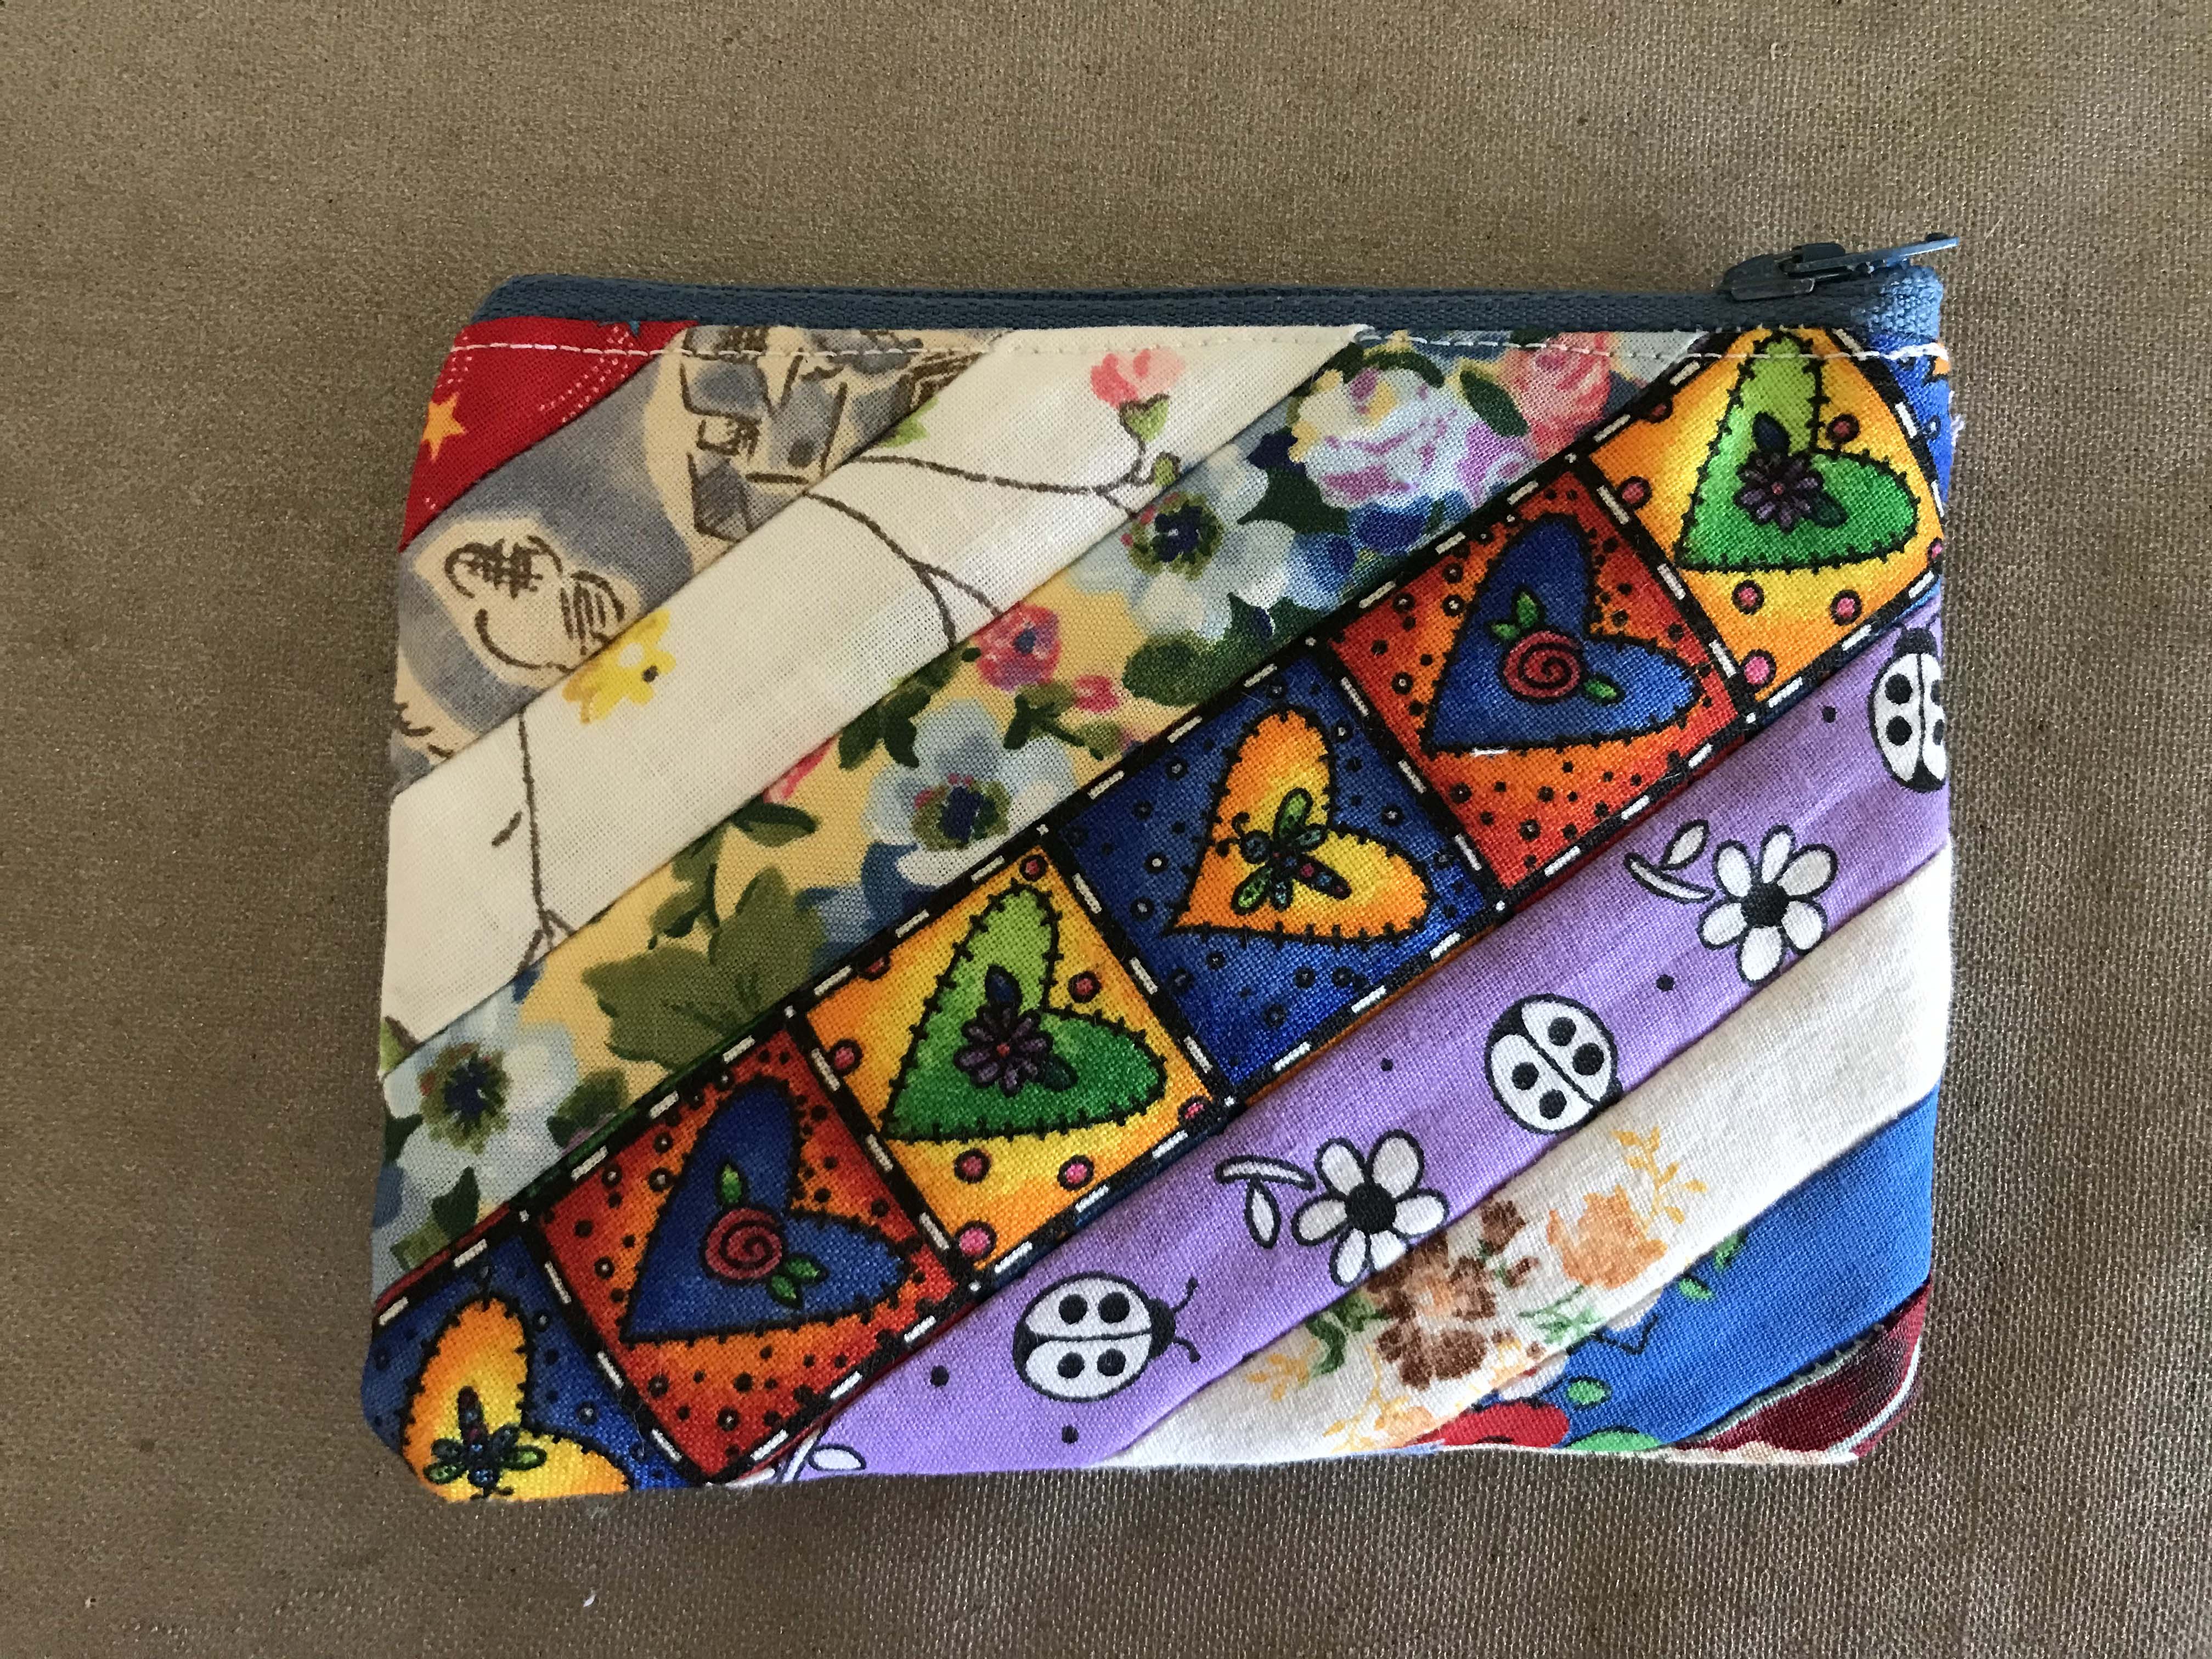
My favorite side
My other favorite side
Plenty of room for ID, credit card, and a little cash for a cinnamon roll and coffee at the chuckwagon.
Using scrap fabrics from other projects lets my mind wander as I sew, remembering which doll outfit, baby quilt, blouse or dress the fabric had been used for. I’ve made several baby quilts using scraps, so I can guarantee some of these fabrics were in at least 3 or maybe 4 quilts.
I’ve said many times that fabric lives forever. I have some fabrics that I swear must be used up by now, then I find another scrap or two that I can use. Maybe it multiplies.