The eyeball version of quick and simple

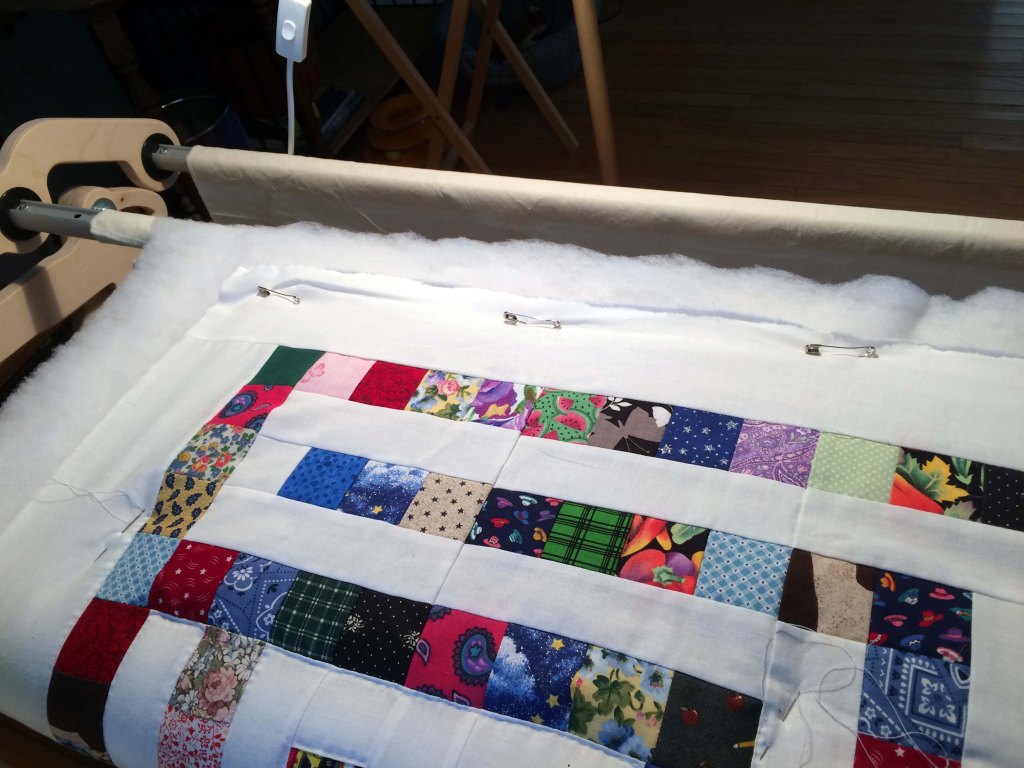
I’ve had an unexpected health change. I’m well enough to sew a bit but not at home. My elves brought me the project and a portable machine and all the notions I need. This was actually to be part of a toddler’s Christmas which has been delayed, so it’s right on time.

I squared up the flannel first. I did a combination of smoothing it out, folding this way and that, and I’m satisfied it’s as square as if I used my whole work table. I knew the fleece was cut squarely at the store.

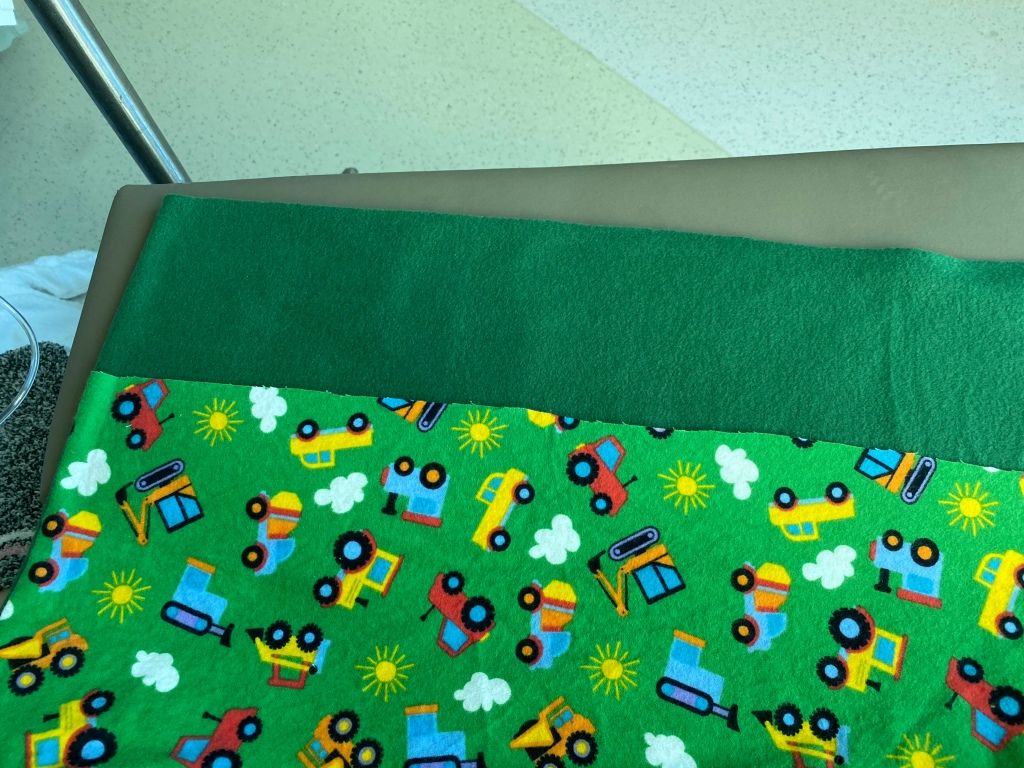
To find the width was no issue with the flannel, that’s obvious. With the fleece I used a corner and brought the two sides together until I could tell which was shorter. I folded the flannel in half-width and the fleece the same, and pinned them together temporarily. I cut the edges of the fleece as straight as I could, actually following the poke holes of the selvage. That will be the edge of the self binding so it won’t need to be folded under again.

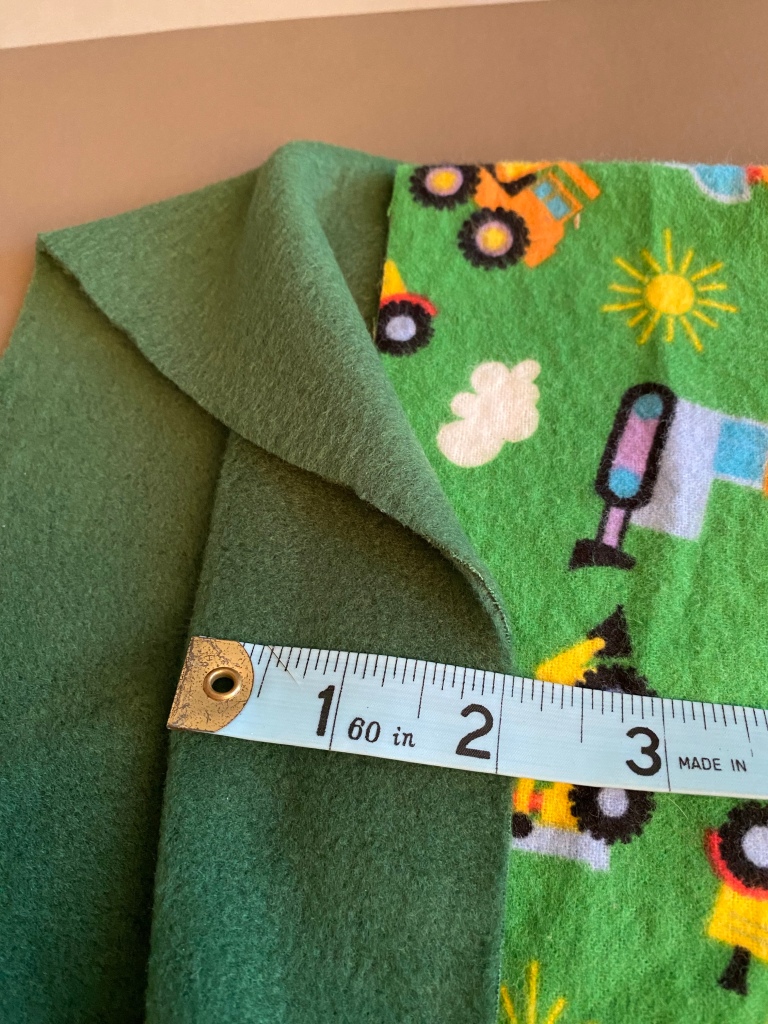
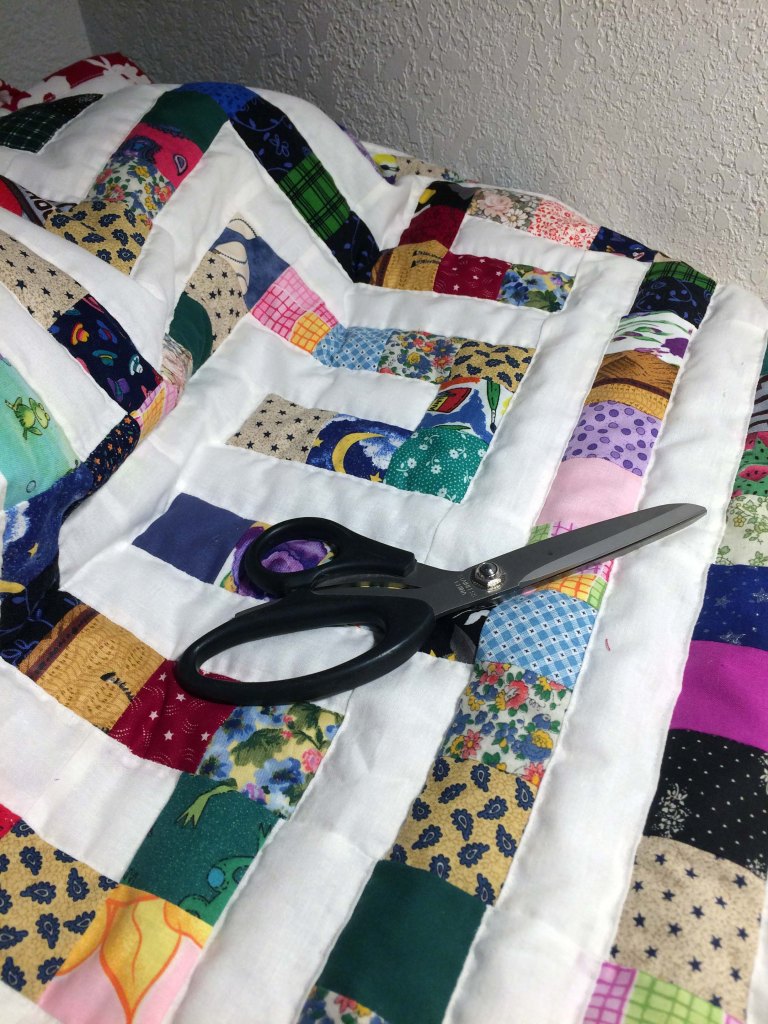
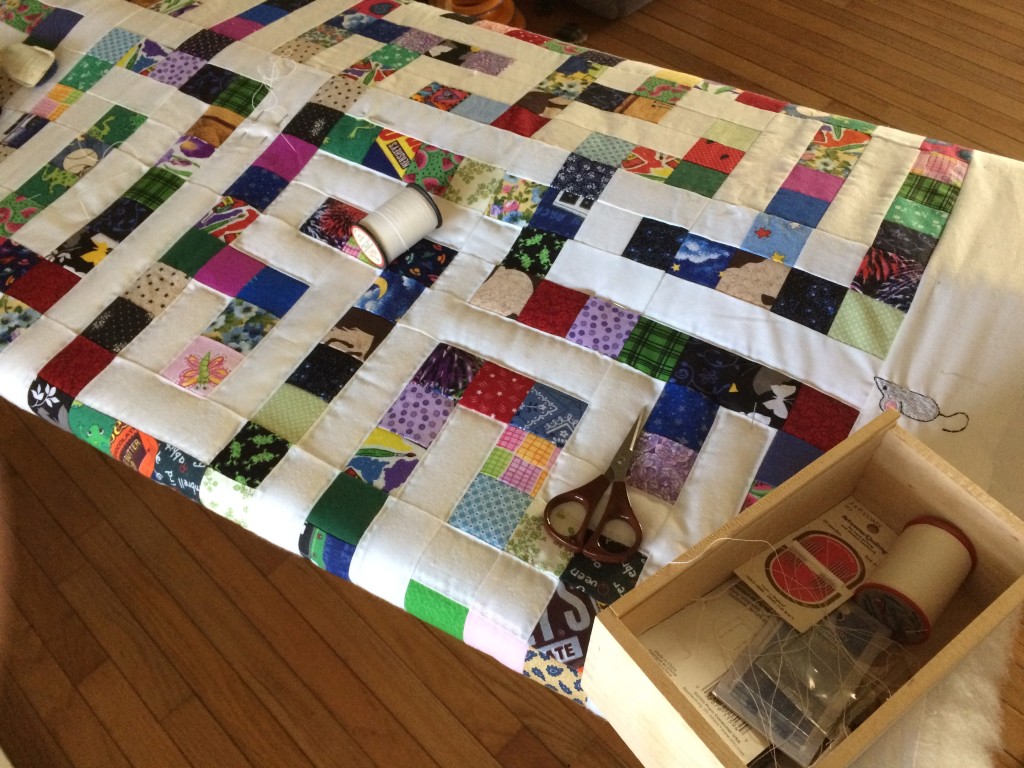
I decided on a 2-inch border. I stitched it down with a wobble stitch all around, mitering the corners. My plan was to stitch the field of the quilt with a right-angle spiral, just to tack the layers together. It should have been an easy finish at that point but I managed to break a needle without having a backup. I sent it along and the boy’s mom will finish for him what I could not.

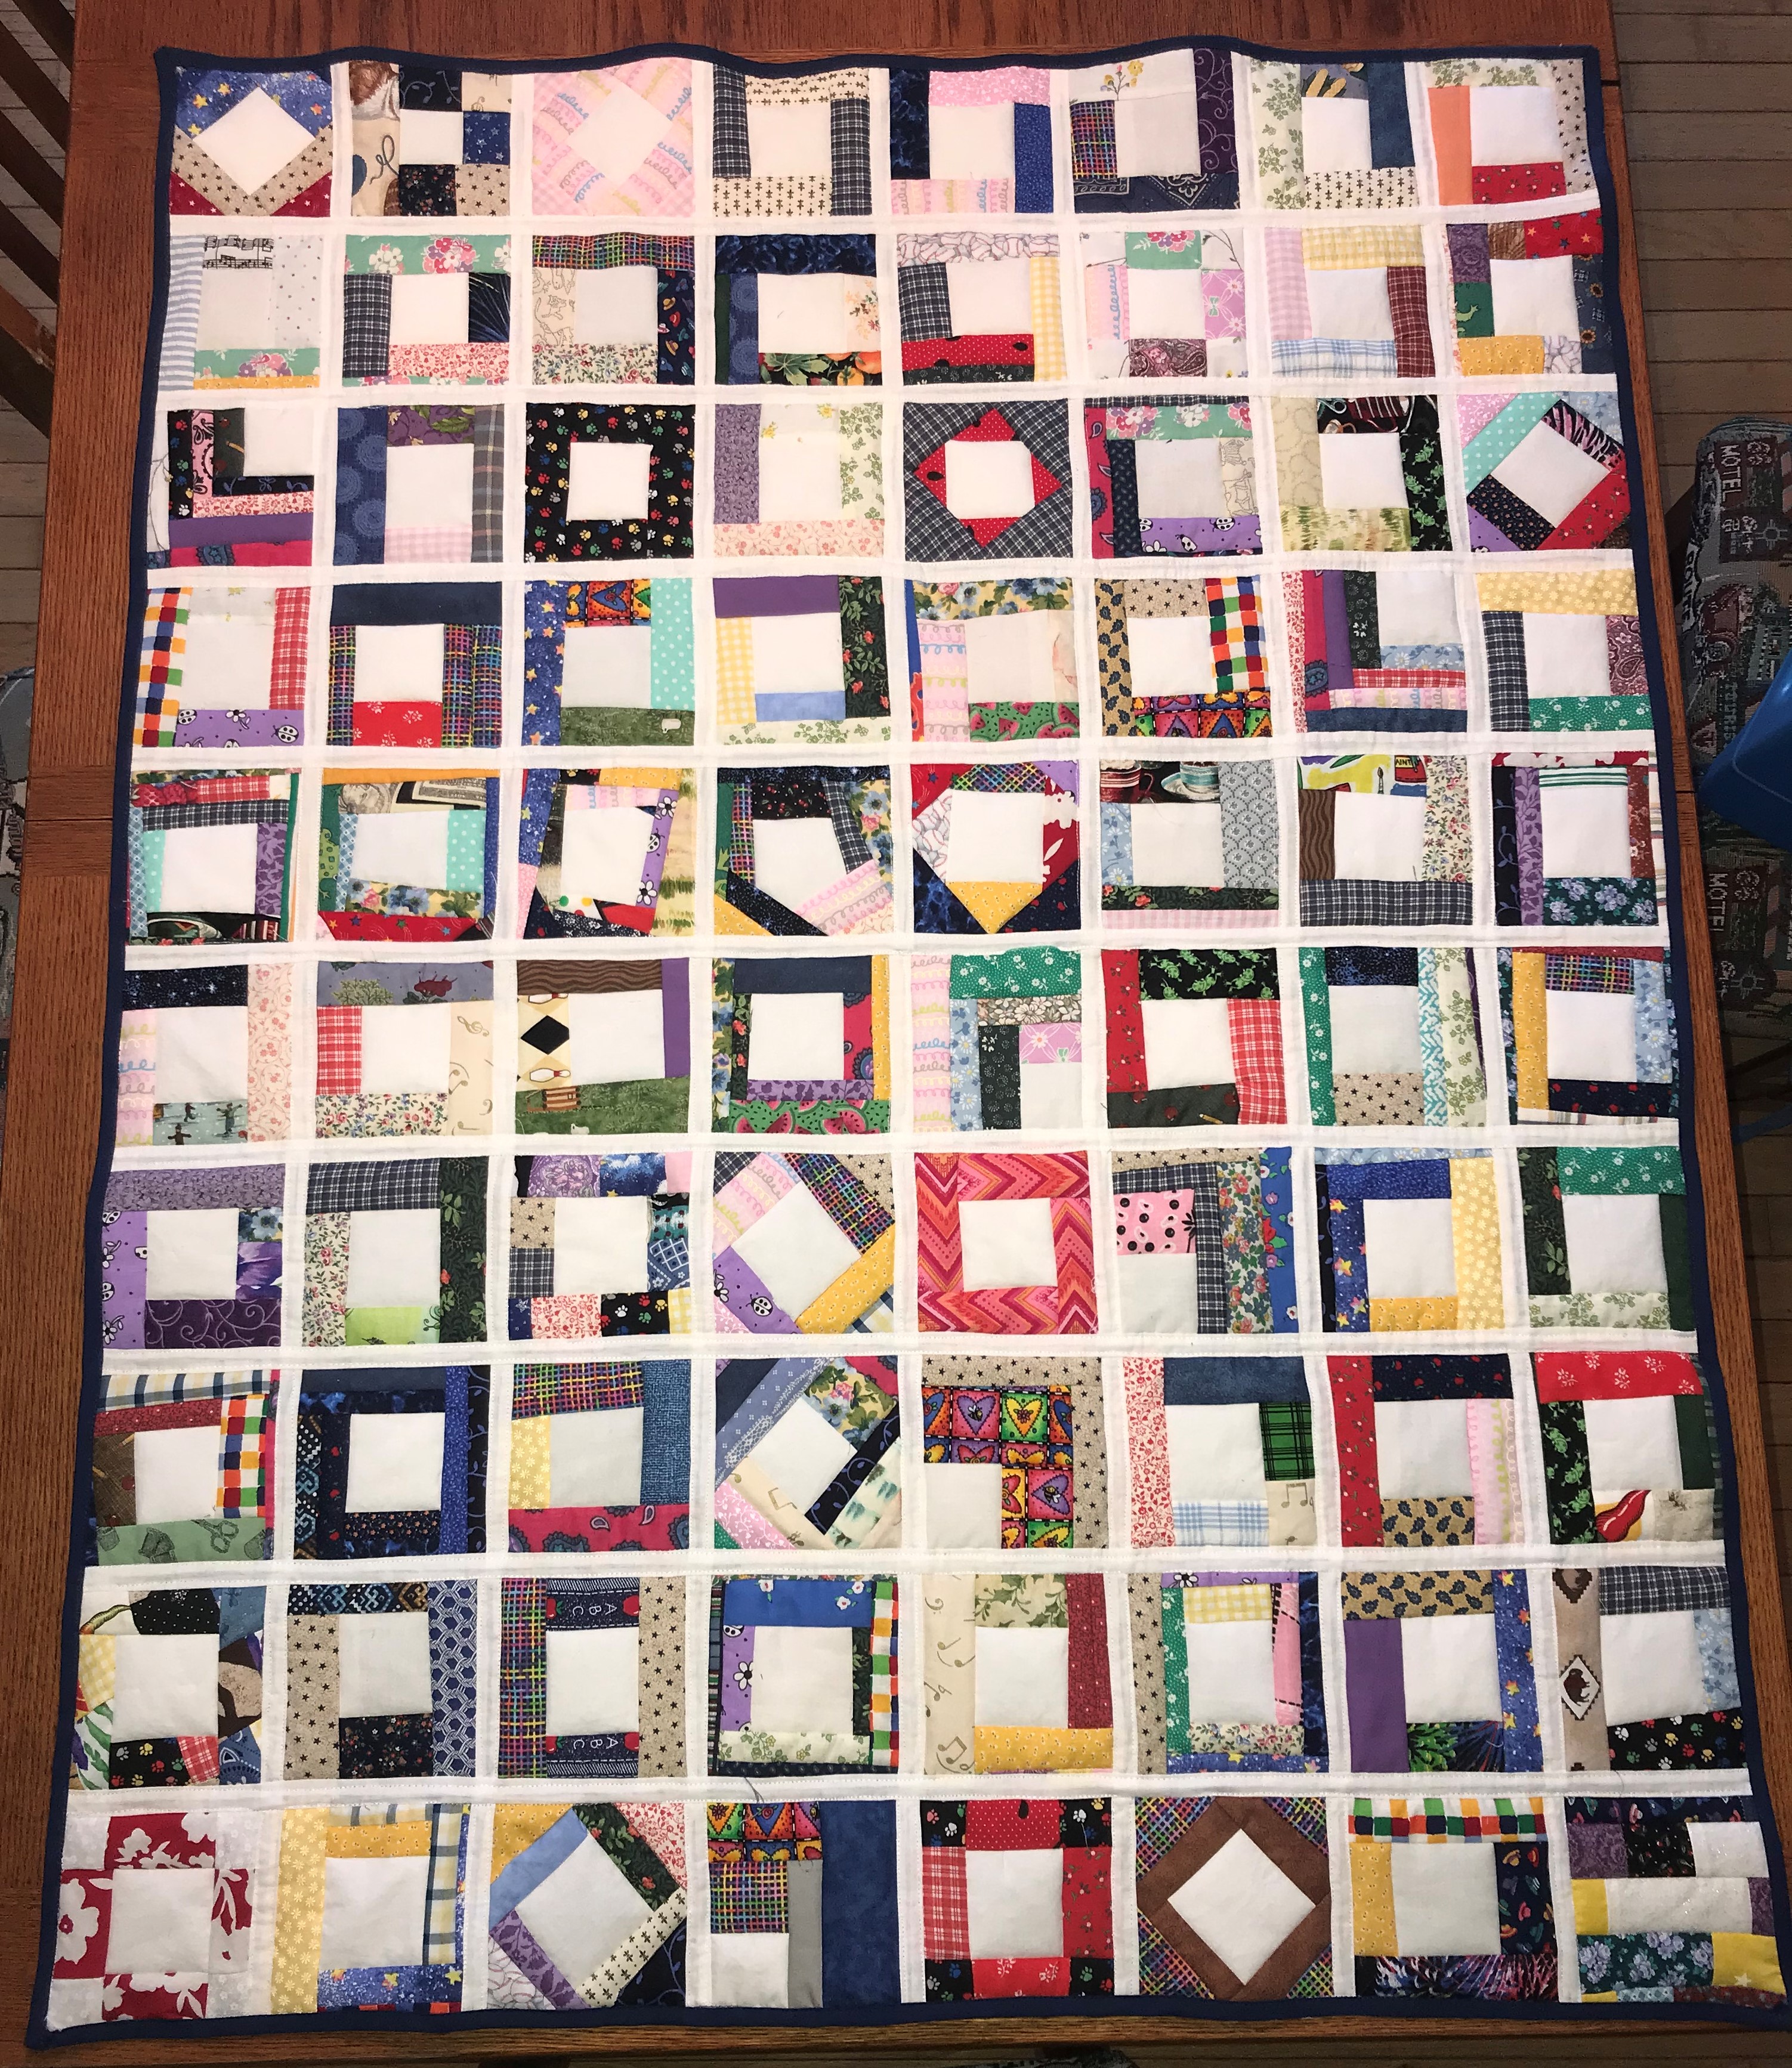
This quilt, having no piecing and small blocks and seams, worked out very well for eyeballing measurements and getting things close without having to be precise.

Another quilt ready to ship

I love this one, and I think I say that each time I finish another quilt for another grandchild.

quilt-as-you-go scrap quilt

What a bonus it was, when I used some print fabrics as backing squares! My scrap baskets overflow and being able to use larger squares of some of the prints made me feel as though I was making progress in using up the scraps. Well, as any quilter can tell you, it hardly made a dent. It feels as though some of the fabrics will live forever and probably reproduce. I see fabric from dresses made in the 90s, novelty fabrics from the lap quilts I made for my parents, and many others. Logically, I know I used the equivalent of 2 yards of 45″ width quilting fabric. I just don’t see baskets of scraps having any extra space after all this.

Next quilt will use some fat quarters I bought that coordinate. I haven’t settled on the design yet.

Getting rows together

This is more exciting than just sewing 80 blocks and trimming them to size. I had 3 rows sewn together and couldn’t wait to start connecting the rows.

Some progress on connecting rows

I’ll try to explain the process. I didn’t make this up; I found instructions on several blogs. This is not the only way to connect the QAYG blocks, but it’s the way I chose.

First, I sewed the binding strip to the one side of one block, right sides together.

pinned binding

I stitched along the fold line. Next, I flipped the next block so it was right sides together with the first block. I flipped the stack together and slid the block and the binding so that I could stitch along the fold line.

pinned binding

In the photo above, you can see that I folded the binding along the line of stitching just completed, and unfolded the second part to pin it to the block. At this point, make sure that the blocks are flush at the top and bottom, or your row may be wobbly.

The result is a flat binding strip on the top, and raw edges on the back that should be butted against each other.

The next part is the simplest. Lay the binding to cover the raw edges of the back. You will find that the binding goes from the stitching line on the left block, to the stitching line on the right. Pin, topstitch on each side of the binding. From both front and back you will see a couple of clean rows of topstitching.

I am loving how it is coming together. The added feature of the colored block backs alternating with the white backs adds interest, and makes a calmer design. I’ve been informed there are only 2 1/2 weeks until the baby’s due date. I replied that I think the quilt will come a little late.

Portable project

I said this was a great method for putting in just a few minutes here and there. It is also fantastic for being portable.

I live in Missouri but I’m originally from Michigan. I needed to go back for a visit and didn’t want to lose 7 or 8 sewing days, so I brought it along. I managed to fit everything into two smallish boxes, plus the small portable sewing machine.

I could have brought it into the motel room where I stayed overnight on the way there and on the way back. I decided I was too fatigued from the drive to do anything but read and relax.

With rows of 8 blocks and making 10 rows, I will need 80 blocks. Today I counted what I had sewn and trimmed, and it came to 55. I swear, the scraps keep multiplying when my back is turned. There seems to be just as many scraps now as there were before I sewed 55 blocks.

These are some of the favorite blocks I’ve sewn so far. I played with putting the white block in the corner or on point. I used narrow strips on some, wider strips on others.

I’m anxious to put this one all together. I think it will be a colorful feast for the eyes, and I’ll love to welcome the newest grandchild home with this quilt.

A small beginning

I’m calling this a stringy baby quilt. I chose the “Trash to Treasure” quilt block from my last post. I’m making it on a smaller scale of course. I decided not to cut the block into quarters and sew them back together, because I’m sewing it with backing and batting together to make a prequilted block.

I began with a square of white fabric, 2 1/2 by 2 1/2 inches. I cut a piece of batting and a piece of fabric for backing at 5 by 5 inches. I centered the small square over the batting and backing, and pinned. By the way, this is the reason I have a tub labeled Batting Scraps.

Then I gathered the little bits of fabric I had kept. I set aside anything that was an orphan block from another quilt, I’ll make those into mug rugs, lap quilts, or purses. I found quite a few small blocks sewn into a strip for the maze quilt, I set those aside as well. I started sewing to all four sides of the small square. I didn’t follow the edge exactly, trying to make it a little wonky so nobody would expect perfection. I certainly don’t!

First two blocks done.

Then I realized I backed both of them with white fabric. Not normally an issue, but for this quilt I plan to select backing fabrics of many colors. I made a third block with a pretty green dragonfly fabric for the backing. I trimmed them to 4 1/2 inch squares.

My plan is to make single fold bias tape from white fabric and use it to sew the blocks and rows together. Thus, quilt-as-you-go. I borrowed the method from another blog and I’ll write about the steps in a future post.

In trimming the blocks, I realized that the final strip of fabric can be quite wide, because I’m trimming about 1/4 inch from each side, and another 1/4 inch will be covered by the bias tape sashing. For future blocks I’ll keep that in mind.

Until next time, be safe and be well.

Maze quilt finished

Any quilter can tell you this – I know where the mistakes are and I’m not telling!

I love how it came out. In my mind it wasn’t quite as large as this, but the blocks kinds of took care of themselves.

I had pieced this quilt top in 2012. I remember where we lived (temporarily) at the time and I had it packed away for this baby. My son had only just met his wife at that time. I blogged this information in previous posts, but a summary is this: I found a site online that allowed me to create a maze. I found one with entrance at the left, exit on the right, and about the size I thought I wanted it to be. I printed it and subdivided it so that I could make it one block at a time. I followed it as a pattern, using color patches for the black “walls” and white for the path. Everything was labeled obsessively! I joined the patches and put it away for the future.

Another daughter-in-law looked at the color patches and recognized several from the quilts I had made and given when her sons were born. I love scrappy quilts for this reason – they use the small scraps and so many of them, and they appear in many quilts. If you’d like to see some of the other scrappy quilts, click here to view my photo gallery. Of course, for each patch I also see the other projects I had purchased the fabrics for originally, like a costume, a dress for myself, a play outfit for my stepdaughter.

I had to add a white border, and I recently embroidered the mouse at the entrance, and a wedge of cheese (yum!) at the exit.

For quilting I got out my Grace EZ3 quilting frame. I was skeptical at first, having to attach the three layers to two separate poles, but when I pulled the finished quilt off the frame, it was perfect. It preserved some of the loft of the batting. There was no large pucker that I would sometimes find after quilting in my lap without a frame. I’m sold, and very happy.

I used information from other quilt bloggers to cut bias binding for this quilt, settling on this post from Sew Can She to refer to. It seemed very confusing to me, but if I completed it one step at a time then referred to the video again and again, I could do as she did.

This was my first chance to try my new binding foot. It allows me to stitch once and accurately to attach binding to anything. I found that, since my foot has a bit of an uplift in front of the stitching, it worked best if I held the fabric up a little bit as it feeds into the foot.

Now this beauty is going to fly to Canada to comfort my first biological grandchild, a sweet little boy. I can already see him as a toddler running his trucks over the paths and making rumbling engine sounds and screechy brake sounds. Much like his daddy did as a toddler, but with this wonderful quilt.

Goal: finish the Maze

I recently learned that I have another reason to make a baby quilt; my son and his wife are expecting a first child. I can finally take the maze quilt from the cedar chest and finish. Yes, I have the completed top from 2012.

Maze quilt on the quilting frame

I first wrote about creating this quilt top on this post. I posted often, explaining every thought and step along the way. When I searched the internet, I saw very few shared photos of quilt tops as a maze, but I loved each one I found. I could imagine a child playing on the quilt, tracing a finger or running a car along the white paths surrounded by colorful blocks.

maze quilt top

After the big announcement, I showed the expectant parents the finished quilt top and asked what start/finish pair they want embroidered. I gave some examples, and they decided on a mouse searching for cheese. After digitizing the designs (creating in software from a clipart image) and stitching onto the quilt top, I emailed these photos. They loved it.

I’m sure you all do the same when using scraps from other projects. I reminisce about the diaper pouch I made for a co-worker, a dress I sewed for Mom, or a past baby quilt I had made. Nearly every patch can send me to a memory of a quilt, blouse, or doll outfit I had made.

For this grandchild’s quilt, although I have been quilting on my machine for many years, I decided to hand quilt. I had to find all the pieces to my EZ3 quilt frame and (guiltily) assembled it in the living room for the first time. Once I had it together I learned how to load the backing, batting, and top so that they aligned correctly.

I’m stitching in the ditch. My stitches are on the white paths, next to the color-patch walls. I keep several quilting needles loaded with thread as I roll the project along.

I’m not far into it yet. If I had to guess, I’m between 1/5 and 1/4 done with the hand quilting. As I work I wonder what binding I may use. I can purchase fabric to make it, use prepackaged binding, or even make the binding as patchy as the rest of it. This photo shows a patchy binding, and I’m considering the same.

For Lea

Our 7th grandchild was born early, and I was caught unprepared. I finally have the quilt done for baby Lea. I started it soon after I finished Callan’s in June, and I even had a shortcut. I already had a lot of small patches cut, and several were joined in various formations that I could use in this one. I had found a photo on the internet, which is how many of my ideas happen, and knew I wanted to try my own version of it. It didn’t matter what sizes the original poster had made hers, I was using what I already had. I can’t find the person’s blog where I found the design, so I can’t give credit. If you recognize this, please comment and let me refer to your post.

A couple of things slowed me down – I have arthritis in my hands and it is getting worse. The patchwork didn’t bother me, but even machine quilting isn’t comfortable for very long. I even gave up finishing the binding by hand, using the machine only. I also fell and sprained a wrist and the opposite hand’s thumb, so it really hurt to quilt by machine!

So, enjoy the photos, and the baby will soon be enjoying the quilt.
lea quilt1

lea quilt2

lea quilt3

Quilt finished in time

I love it when I can deliver a baby quilt before the baby is delivered. Grandson Callan is still expected, as I write this, and the quilt is in the hands of the parents, completed a couple of weeks ago.

Image

Image

I did the binding differently this time. I machine-stitched it to the front and folded it to the back, but what is different is that I machine-stitched it to the back as well. I made sure the stitches would catch the binding, and used a blind hem stitch (3 straight stitches then a zig zag). The arthritis in my hands just won’t allow the tug of hand-stitching binding any more. I did hand-stitch the label into place, which I created on my 12-year-old Brother embroidery machine.

I have already begun the quilt for the September grandbaby.


Change of plans

Once before, I made a baby quilt and it was sized more for a twin bed (almost) than a baby. That was the fireworks quilt from 2011, posted here. I almost made that error again. Somehow, when I added the sizes of the blocks and the sashing, it didn’t seem as large as when I started sewing it all together.

When I had several rows sewn together, still 6 blocks wide, I realized it was far too big. I laid it on the floor and reimagined how it should look. I decided it was one block wider than it should be, and I would only sew rows 3-8 together. That meant some stitch ripping, which is not unusual for me in any project. It made for a much friendlier, crib-sized quilt.

Image

Examples of twins:

ImageImage

ImageImage

The floral fabric above and to the right is leftover from sewing the baby’s aunt an Easter dress when she was about 7 years old.

Image

The baby’s father requested the Hershey print fabric for a wall hanging project when he was a teenager.

Image

Sadly, the block from this fabric didn’t make it into the quilt (poor planning on my part) but I’m glad there are two cornerstones with the bowling pin fabric. I spent a lot of time with the baby’s father and the rest of our family in a bowling alley while he was a young teenager (and a very good bowler, I must add).