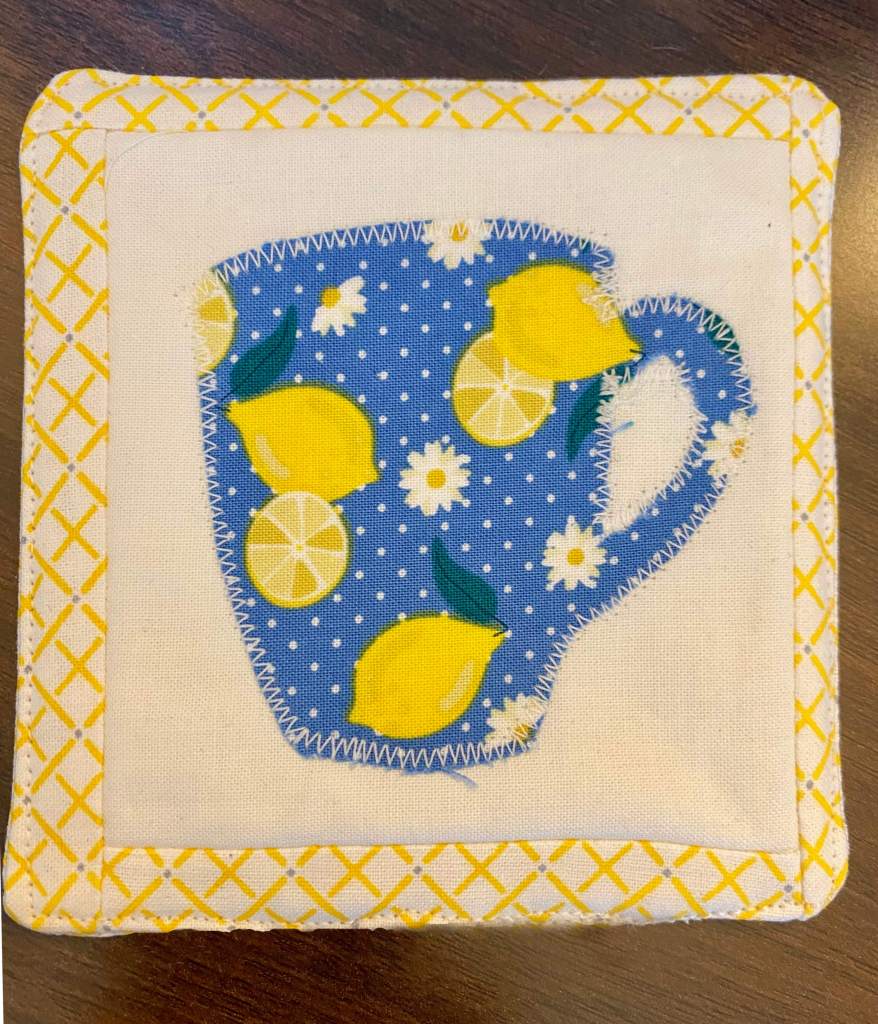
My Coaster Tutorial

I think everyone who makes a coaster has her/his own way of doing it. I have decided on this method because for me it’s a bit faster and a little more fun in the fabric choice.

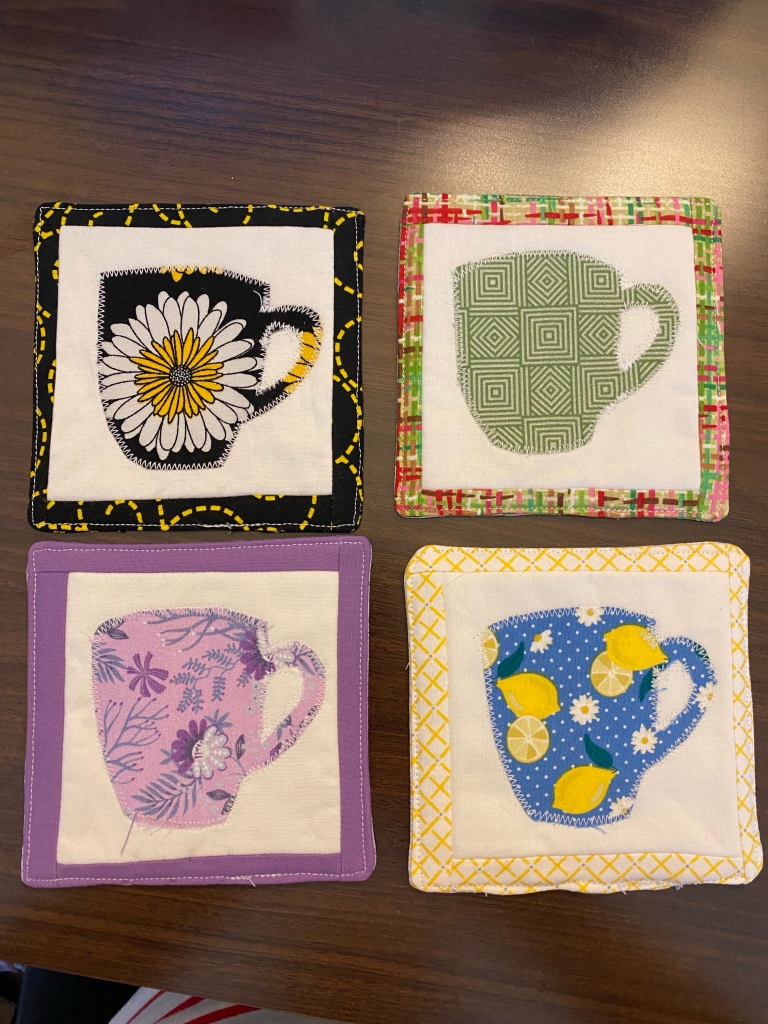
I made a set of 4 coasters for my sister, different fabrics, but all with the same applique. Here it is broken down into steps.

  • Cut a central fabric 4×4 inches. I used white.
  • Cut cotton batting and a backing fabric 4 3/4 x 4 3/4 inches. My backings match either the border or the applique.
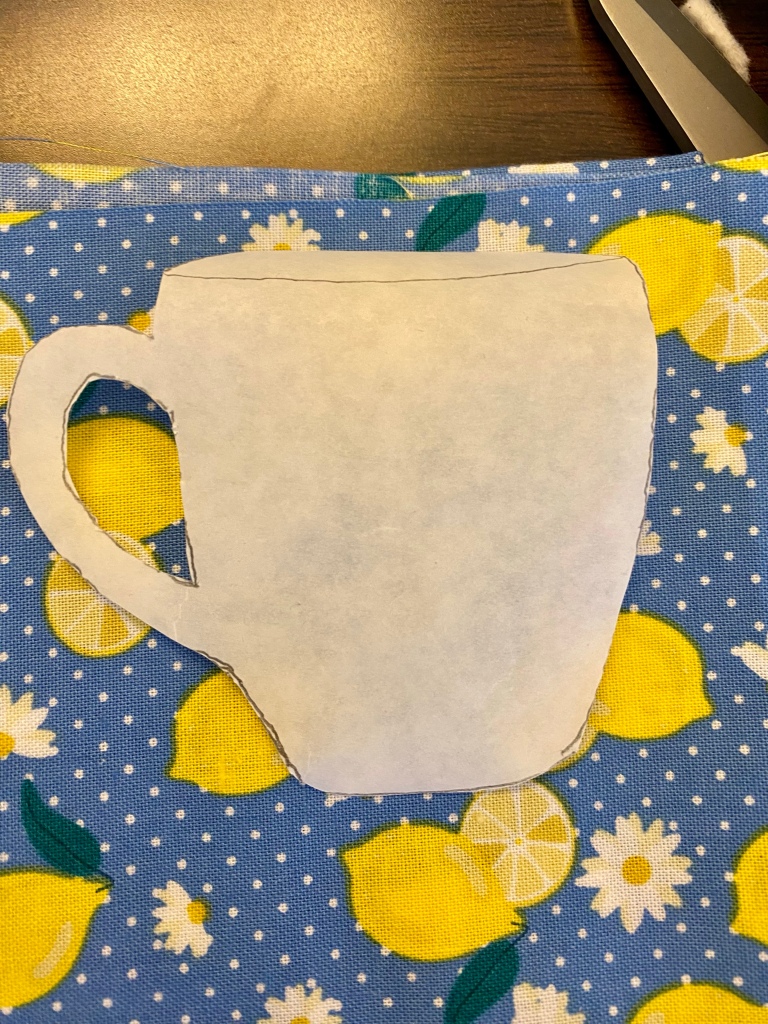
  • Trace your applique design onto Heat N Bond or other double-sided adhesive. If it matters, trace the design as if backwards to how the fabric should look. Cut out, including waste pieces within the design.
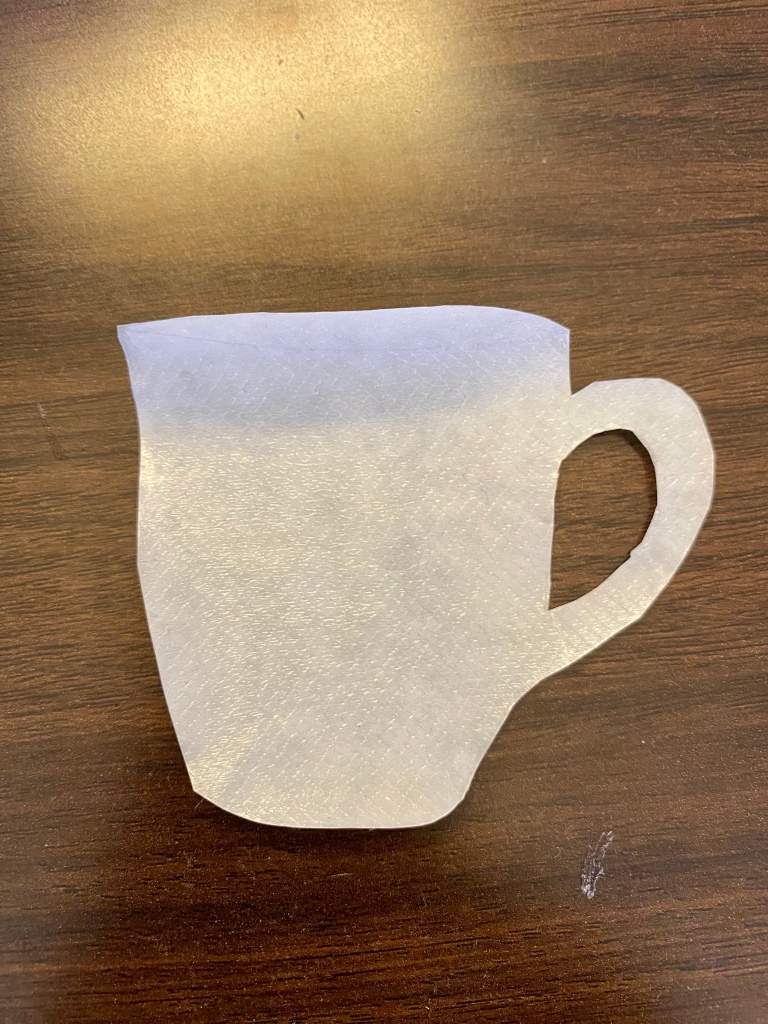
  • Press it to the back side of the fabric and cut out as above. Use a pin to score the paper on the back of the applique, revealing the other adhesive. Place it on the central fabric and press into place.
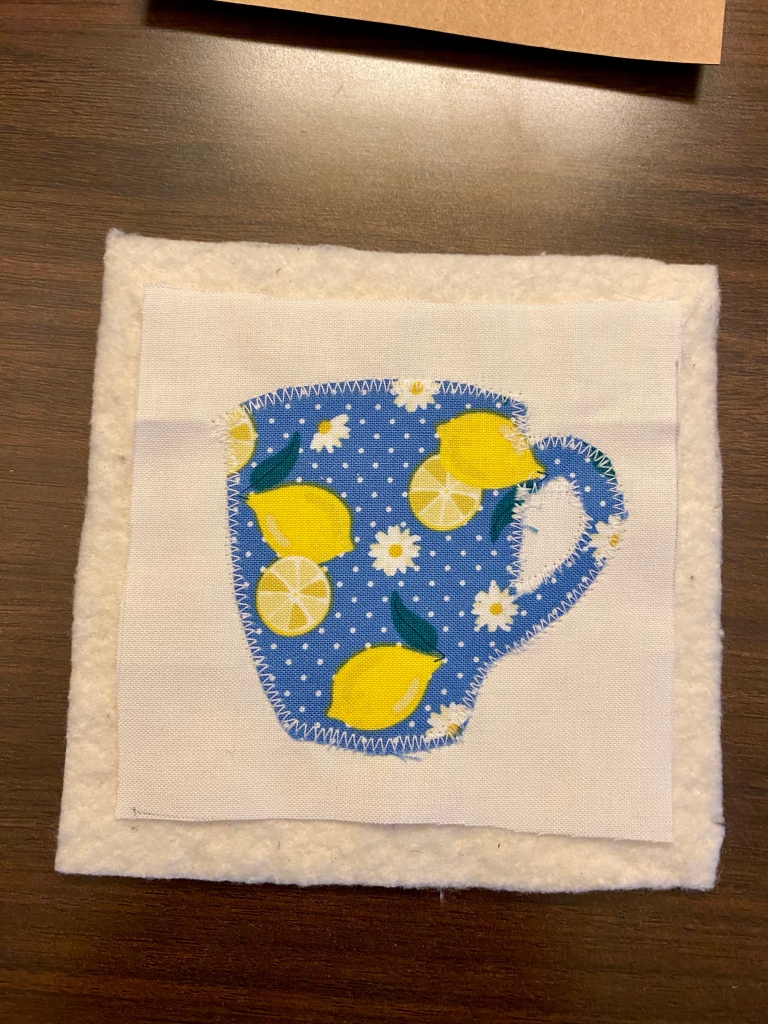
  • Using a narrow zigzag, or other decorative stitch, stitch all around your applique. Edges may shred without this step. I’ve used a blanket stitch and a hem stitch on other coasters.
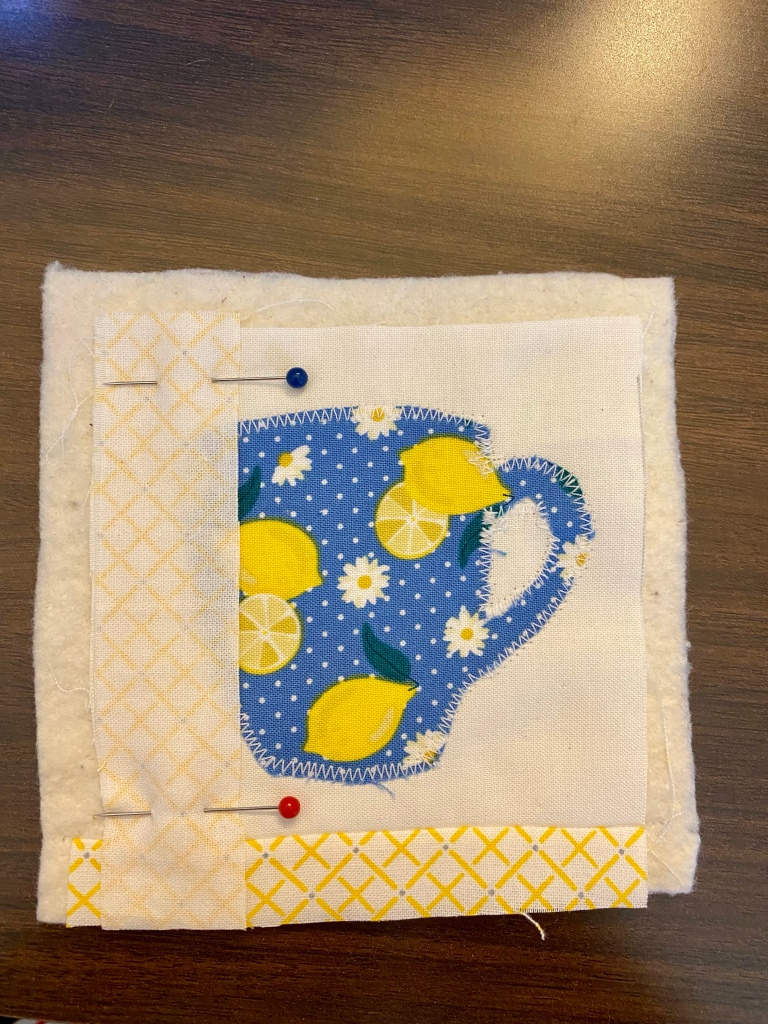
  • Center the design on the batting, leaving the backing off and pin in place. I had cut 1 inch strips of a coordinating fabric for a border. (I used the method I learned for making a precise hem in a skirt, 50 years ago.) Pin at the edge of the white fabric, stitch, turn, press, and flip it over. You’ll see some overlap to trim even with the batting.
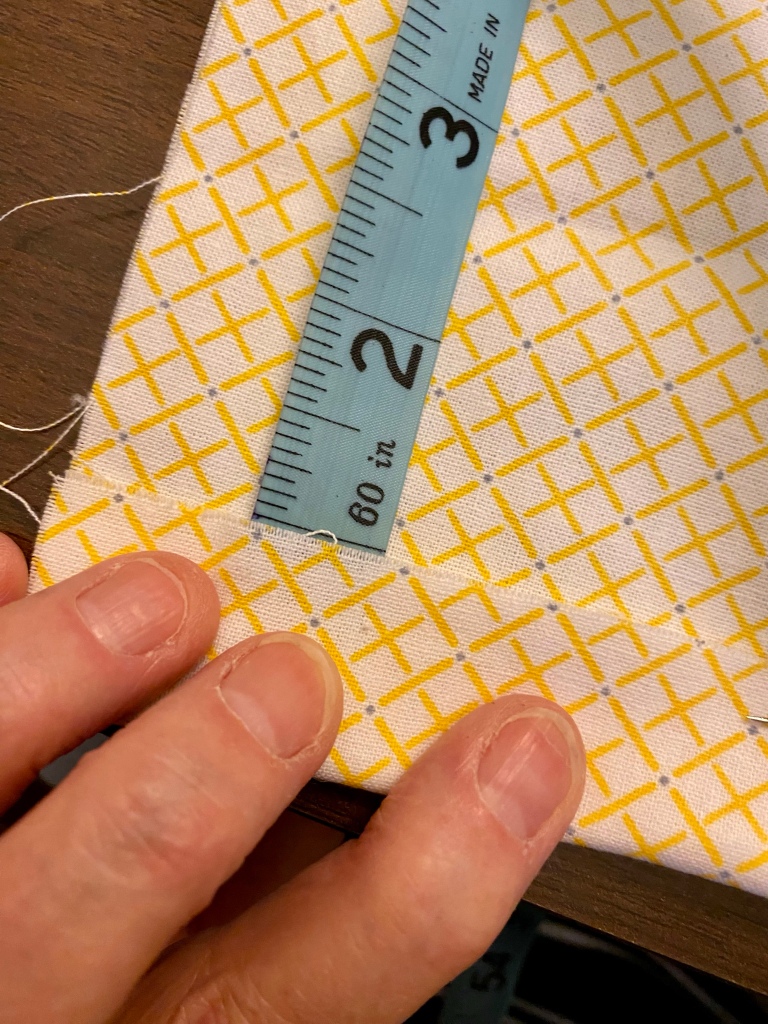
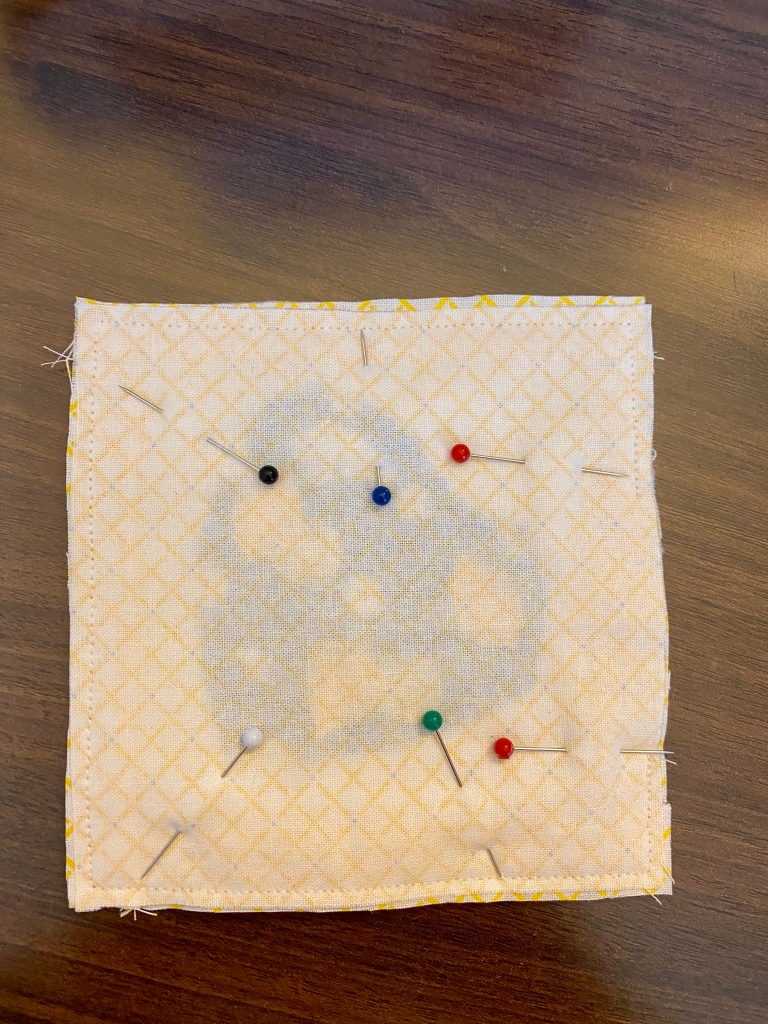
  • When you have done 4 edges the same way, lay the coaster with the design facing up, and layer the backing with right side facing down. Stitch along the edges and leave open about 2 inches for turning. I give myself a visual cue of a red pin where the edges of the turning gap is.
  • Turn right side out, pushing out the corners and straightening the edges. You may want to trim across the corners first, which I had neglected to do to have them sharp instead of rounded. Turn the raw edges to the inside and press, pin (or both) in place. Topstitch close to all edges. Give it a final press.

Applique

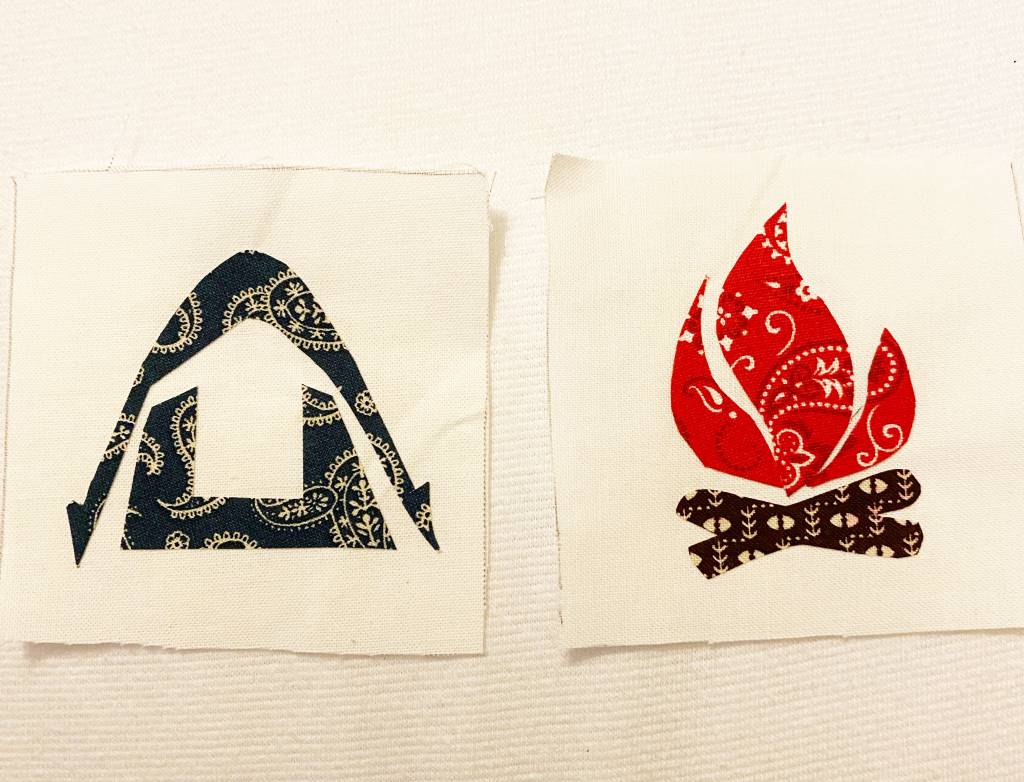
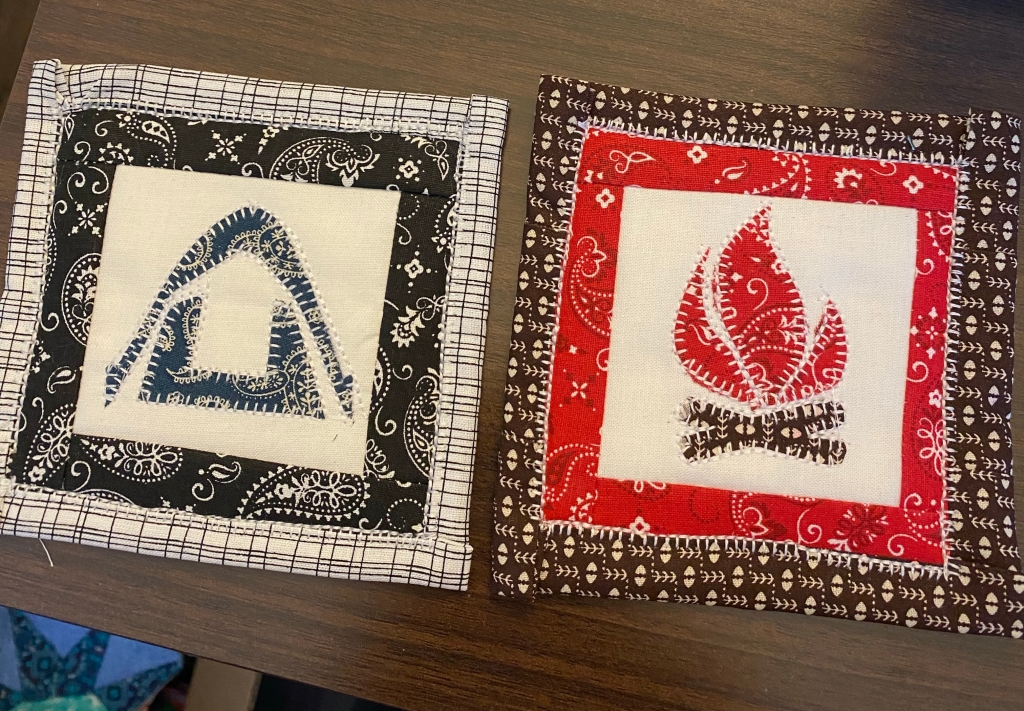
This week I worked on some applique. I used HeatnBond, which is fusible on both sides. I found some simple outlines I wanted to use, first were the campfire and tent. I traced the shapes onto the paper side of the HeatnBond and cut around them, then fused them to the back side of the fabric I wanted to use. I used a pin to scratch the paper backing and remove it, then I fused the fabric to the items. In this case it was to make two coasters.

The applique needs stitching, so I chose a blanket stitch, made it small to match the scale of the coasters, and I love the result. I added borders and even repeated the blanket stitch there. I cut the backing oversized to fold to the front and bind it.

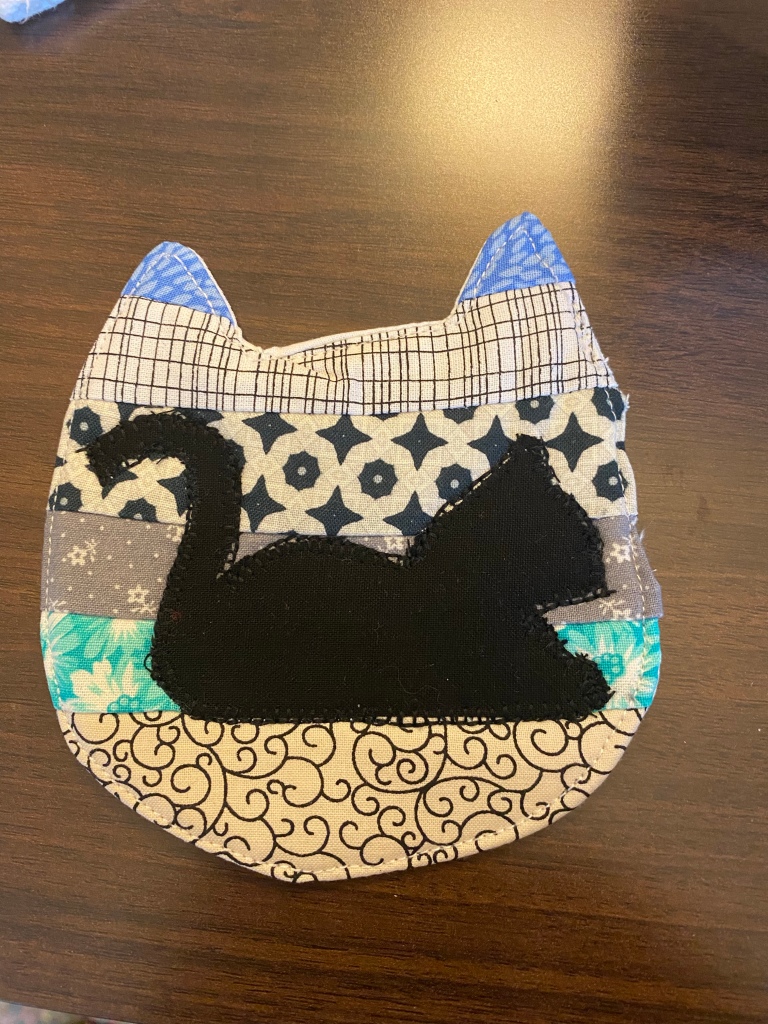
I found a cat silhouette I liked and added a cat applique to one of the cat-shaped coasters. I will continue to use the method on other things, like an initial on a coin pouch, or other shapes.

While looking for shapes I found some I liked, but they would work better as embroidered accents. To do that I’ll have to work on my embroidery machine (fix the tension) and test out a few.

The Little Stone Church

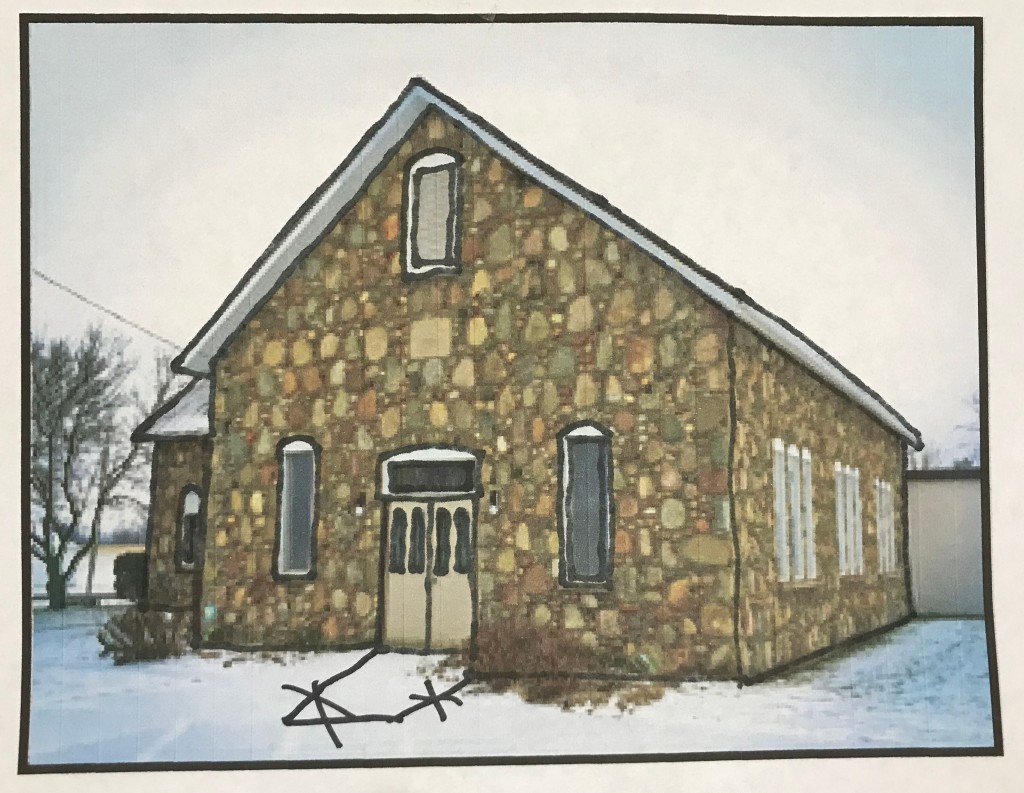
I managed to finish another block. This one was fairly simple and I didn’t have too many mistakes. I knew I wanted to put the stone print fabric to good use, even though I wish it had been smaller stones and more of an orangey color.

You can see the outlines where I’ve drawn with black marker. It helps me to see the shapes and the scale.

I used a white fabric for the sky, since this photo was taken on an overcast winter day. I found a leftover bit of sparkly white (angel costume, could you guess?) and I used that for the snow. There weren’t a lot of details to put into this one. I left off the addition on the right hand side, and kept the bare tree fairly sparse. I’m very happy with how this one turned out.

Not my best work…

I see that I made a few mistakes. To begin with, I knew the green I used for background was too thin, but I didn’t heed my warning. The end result is a few wrinkles that will stay there. Oh well.

covered bridge

I chose a different photo of the same bridge in Ionia, Michigan. Lots of green, much better than trying to create fall leaves in fabric. This time, I made sure to work background-to-foreground, it works out much better that way. First I notice that the top 2/3 is green, except for a peek of the sky. When I added the fabric for that, I placed it behind the green and edged the green with satin stitch so that kept the perspective of green trees ahead of the blue sky.

Below all the green, to the left is the concrete foundation and the river. To the right is the green grass and rocks. I added those to the background portion, lining up where I wanted the bridge. The fabric I used for the river is just the concrete foundation fabric, but showing the underside. After adding the bridge, the final detail was the guardrail.

I know it isn’t great or beautiful, and the background is very plain, but it’ll have a place in my quilt.

In case you wondered, I’ll be doing my own quilting but I don’t have a quilting machine. I’ll quilt as I go, which is a process of making each block as a quilt, with batting and backing. Then I will sew them together in a column, and eventually sew the columns together.

The next block I plan to make is a small stone church in Clinton County, Michigan. It is simple, and I can use the stone fabric again.

Shepardsville United Methodist Church

Barn Quilt – first block done

Thanks to a reader’s comment, I found some motivation to work on the barn quilt.

Barn Quilt - first block done
first block done

I took plenty of pictures to show you how I go about interpreting a photo or painting into a quilt block. Some of it is pieced, and some of it is appliqued. I’ve been enjoying the process of collecting fabrics, 1/4 to 1/2 yard at a time, so I have plenty of textures, shades, and colors to choose from. I keep them in a zippered plastic bag that some bedding came in. I find them very handy for keeping a project together.

I found a photo of a painting of a barn online, and printed it. I’m sorry I don’t have the reference for anyone, but if you recognize it I will surely correct that omission.

As I mentioned in a post last winter, I taped the printed page to a window, right side to glass, and drew basic outlines on the back side with a sharpie. I do this because I am not trained in art, and cannot see the shapes unless I do.

I laid out my fabrics and chose the ones I would use for this block.

Then I looked at the photo and realized I had approximately 1/3 sky, 1/3 other, and 1/3 grass foreground. I used a plain muslin for the center part, which will be covered by barn and trees. I used strips as wide as my block would end up to be, and sewed 1/4 inch seams.

Then I chose the tree fabrics and cut rough outlines. I knew that part would be covered by the barn. I goofed a little bit, but it’s easy to change or adjust. I used a bit of the darkest green to make a treetop peeking out over the closer (lighter) trees at the left.

I sewed the edges of the tree pieces with a narrow, short zigzag stitch, not quite as small as a satin stitch. Just enough to keep the edges from fraying, but not so that I  spend hours sewing small pieces. I didn’t use interfacing on the back, but you may want to. If your zigzag stitch is small enough, it’ll pucker the fabric and interfacing will help stop that. You can also use a double fusible web to fuse your pieces together before you sew. I pinned in place, held my breath, bit my lip, and did just fine.

I edged the barn pieces (and part of the roof) in white to mimic the white painted edges shown in the picture.

I added barn door and windows with white thread. I could do more with the trees, but I’m going more for representational on the other parts, and sticking to details on the barns.

One down, umpty-eleven to go.