
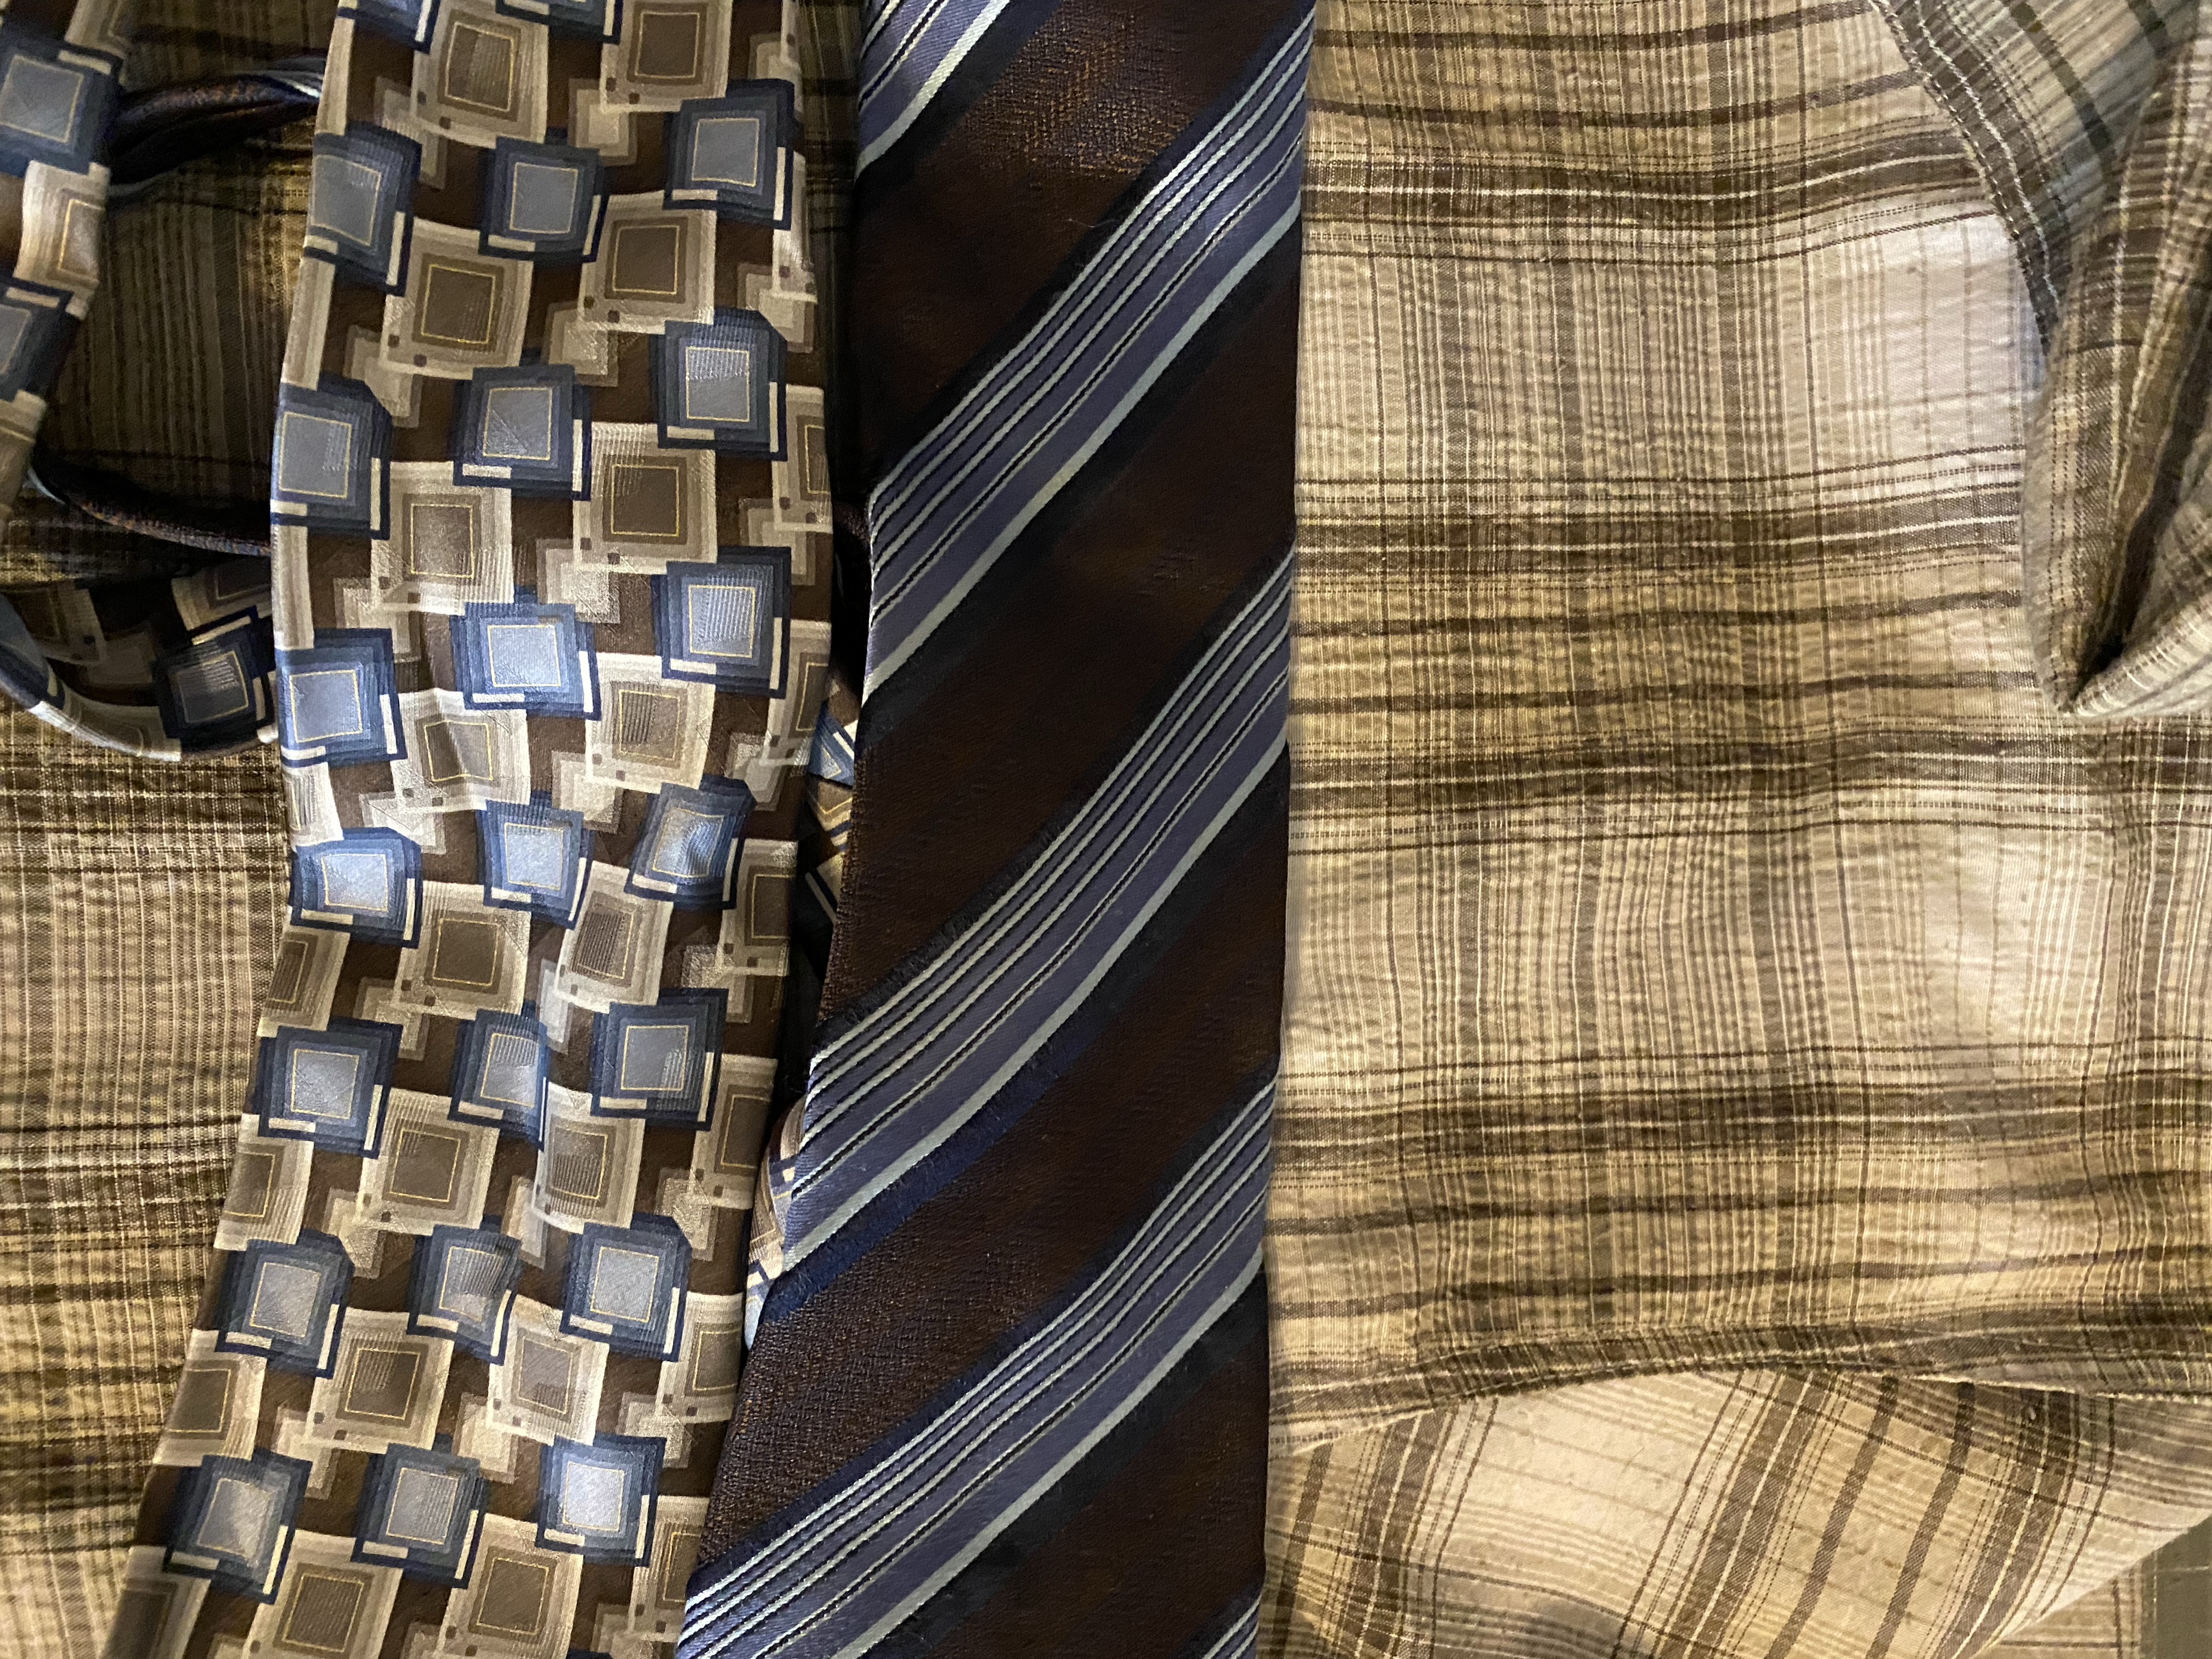
I had seen photos online of tote bags people had made from fabric, using men’s ties for the handles. I decided to go a little further and use one of my late husband’s shirts for the body of the bag.

Decide the approximate dimensions of the tote bag. I cut the shirt so that the front pocket was included, but in the end it became decorative only. I may adjust the tutorial in the future so that it would be a functional pocket. I now had two pieces of fabric of the same measurements.

Keeping the button placket in place, flatten the front of the shirt and stitch it closed so it is no longer functional. Cut two pieces of fabric for the lining. Stitch one to each of the front and back pieces. I stitched it so that I had to turn it right side out, making a finished edge at the top.
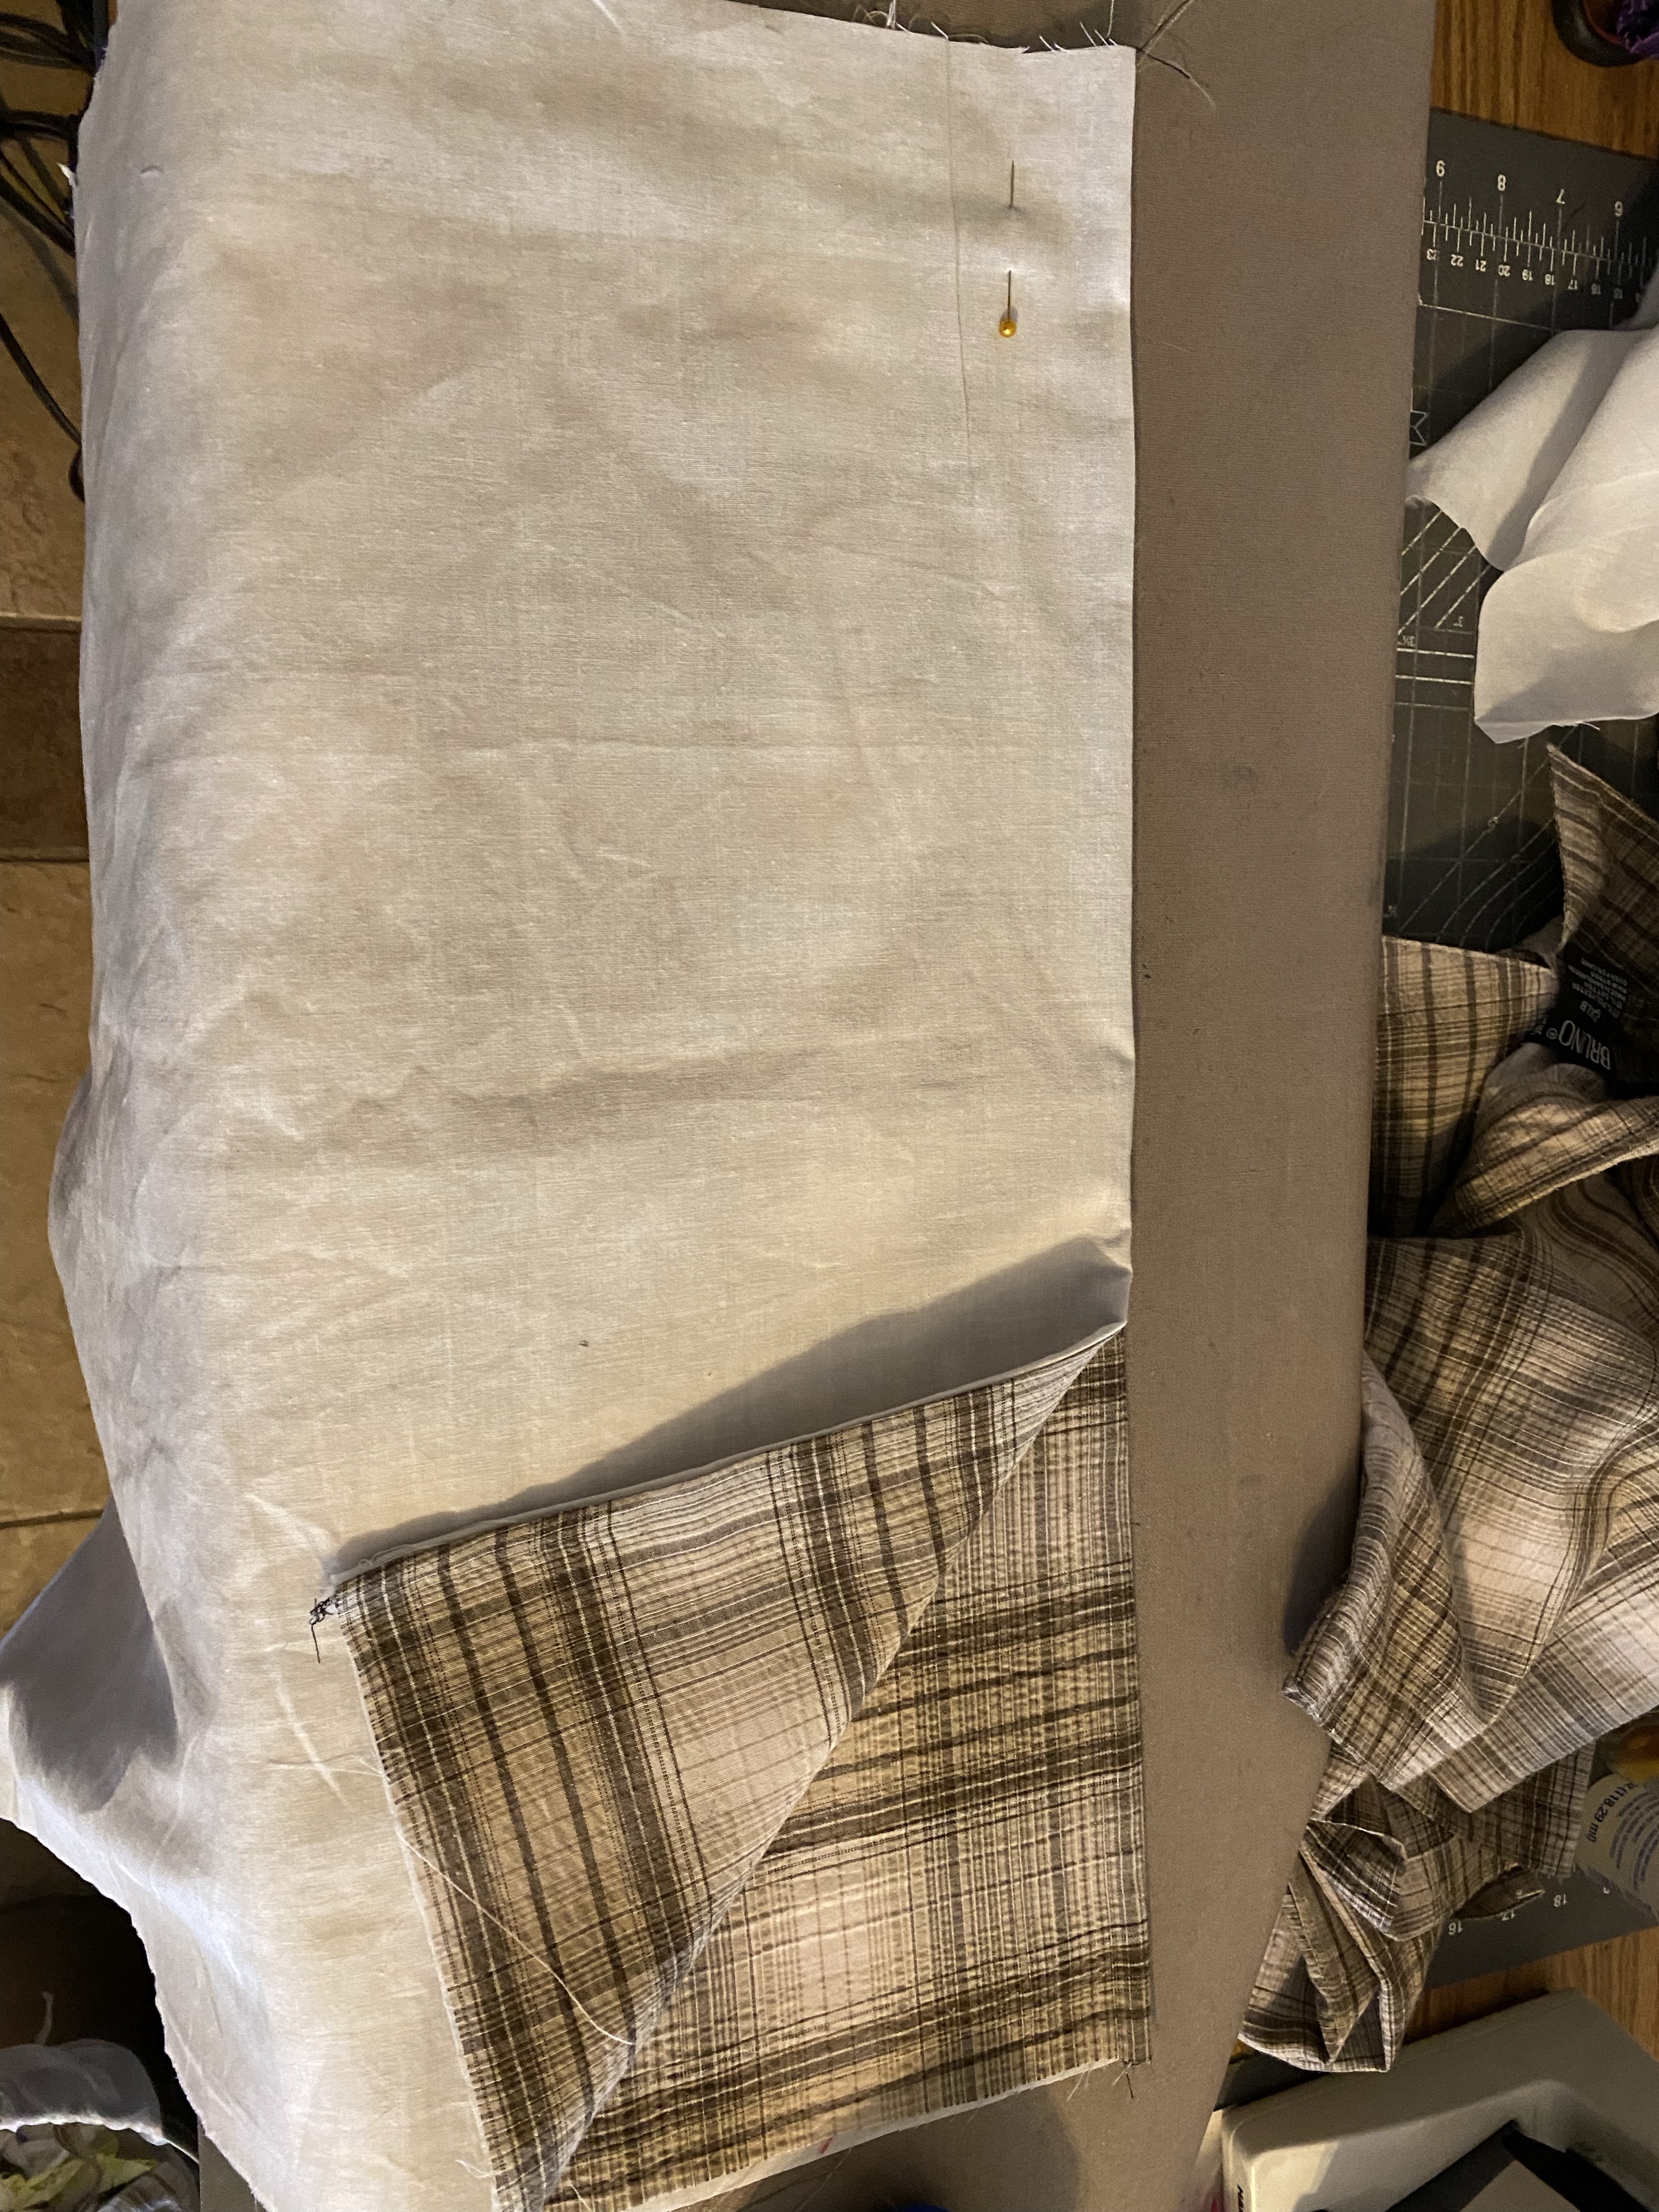
With shirt fabric right sides together, stitch the sides and bottom of the tote bag. I wanted depth to my tote bag. I’ve seen calculations on other blogs for how to square the corners. Here is my simplified version: 1) Decide the depth – I used 4 inches. 2) Make a point at one lower corner, aligning the seam of one side to the seam of the bottom. 3) Use your ruler to measure where 4 inches is edge to edge, with 2 inches at the seam. Mark the line and stitch. Do the same for the other corner.

Start pinning your ties so that the narrow end comes down from the top edge about halfway. Try the bag on your shoulder and pin where the strap becomes the length you want it to be, coming down on the same side of the bag. You may want to adjust how much of each end of the tie is sewn to the bag. Flip the bag over, do the same with the other tie. The wide end of the tie can end before the bottom of the bag or it can wrap under the bottom seam and end on the other side. Topstitch all around the ties.
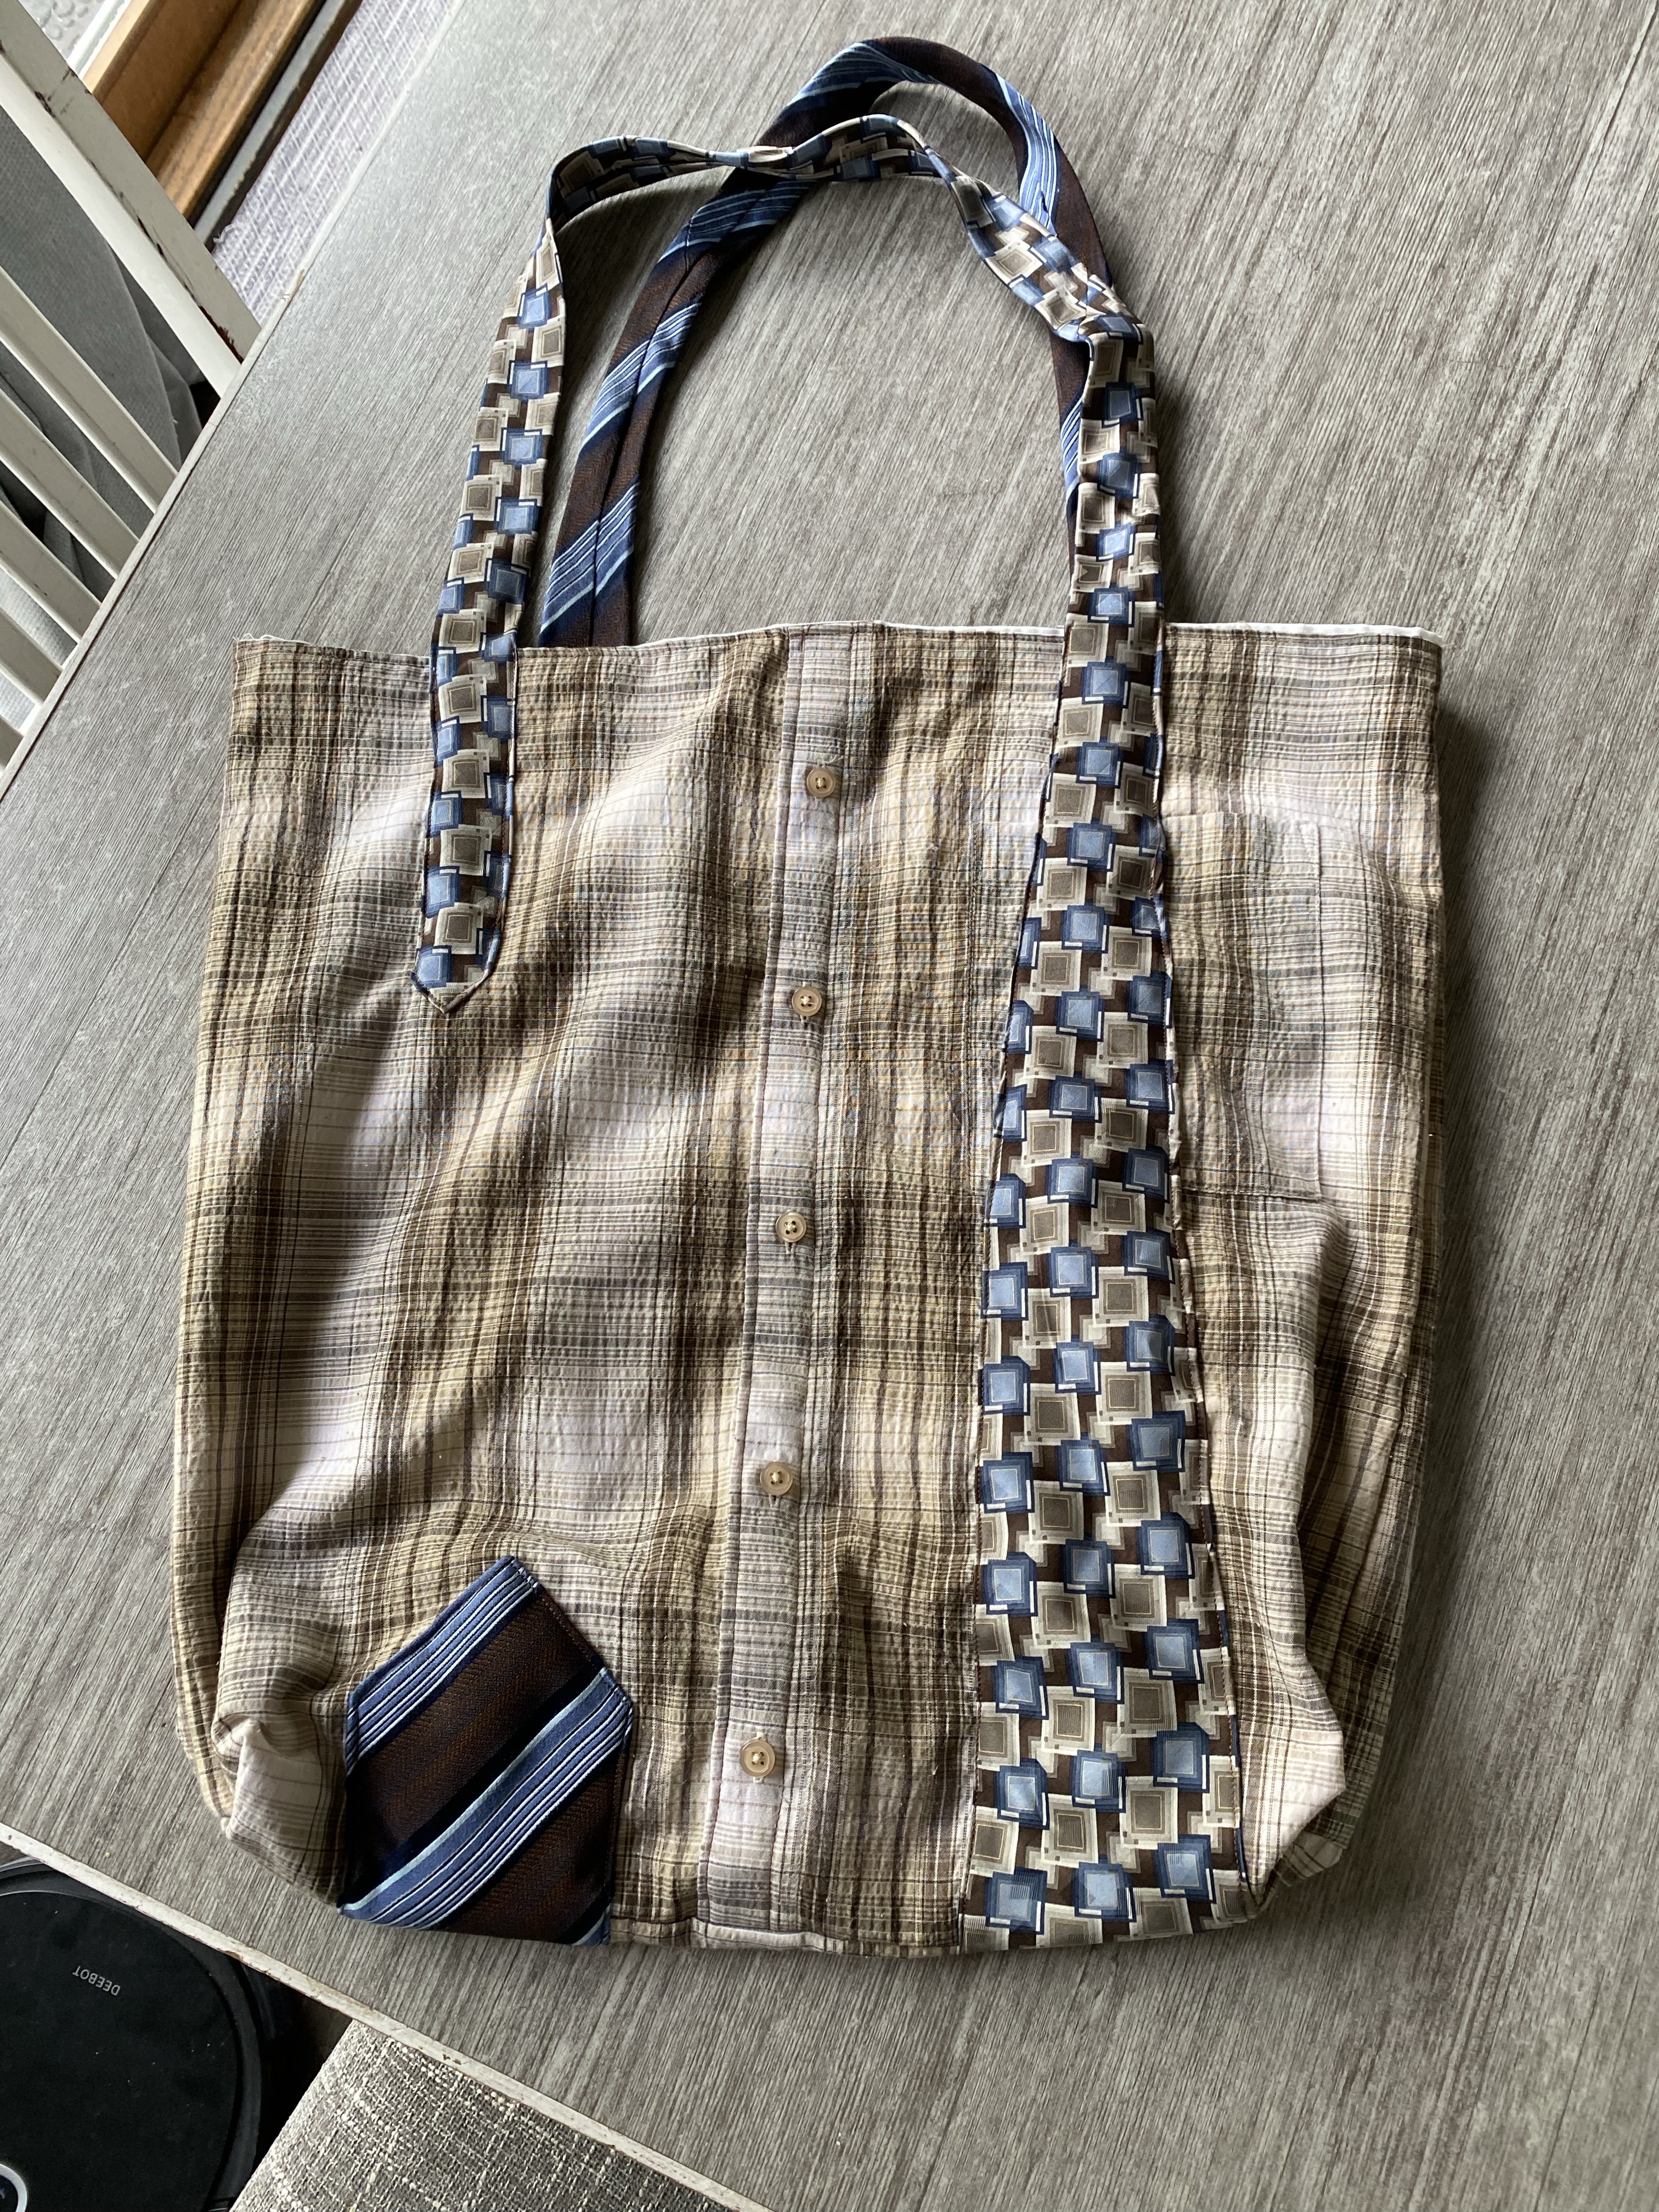
I am very pleased with how it turned out, except that I think my bag is a bit too big. That is what prototypes are for!
